Broken crayons have a magical secret. With a little grown-up help, they can turn into chunky, easy-to-hold coloring blocks that fit small hands beautifully. And the best part: this is more of a cozy kitchen project than a full-blown craft explosion. Let’s dive in and make something useful (and fun) together!
Why chunky crayons help toddlers
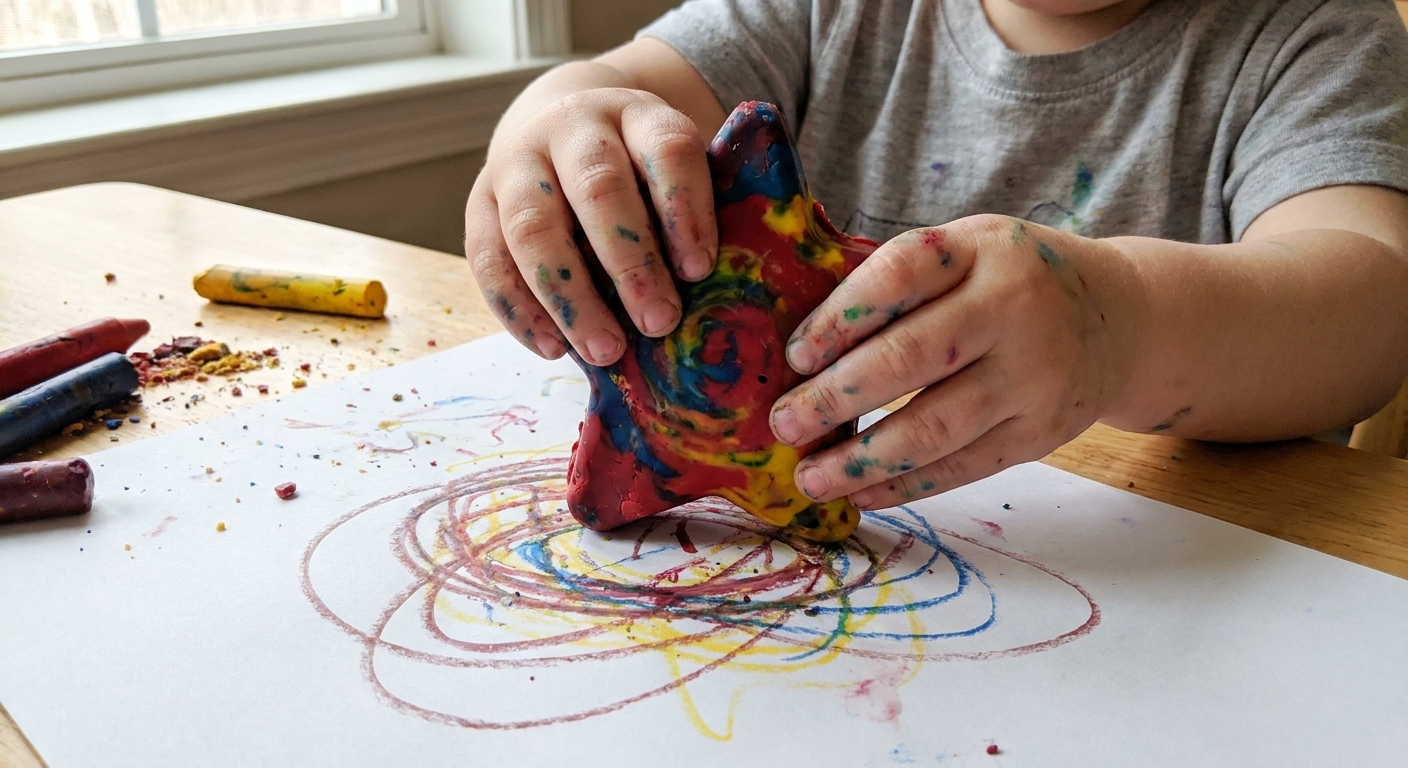
Toddlers are still building hand strength and control. Skinny crayons can feel slippery and frustrating, but chunky crayon shapes make it easier to:
- Grip and press without squeezing too hard
- Color for longer before their hands get tired
- Try new strokes like big circles, zigzags, and back-and-forth lines
- Explore color mixing in a fun, low-pressure way
If your little one is working on fine motor skills too, you might also like our sticker activities for a stronger pincer grasp.
What you’ll need
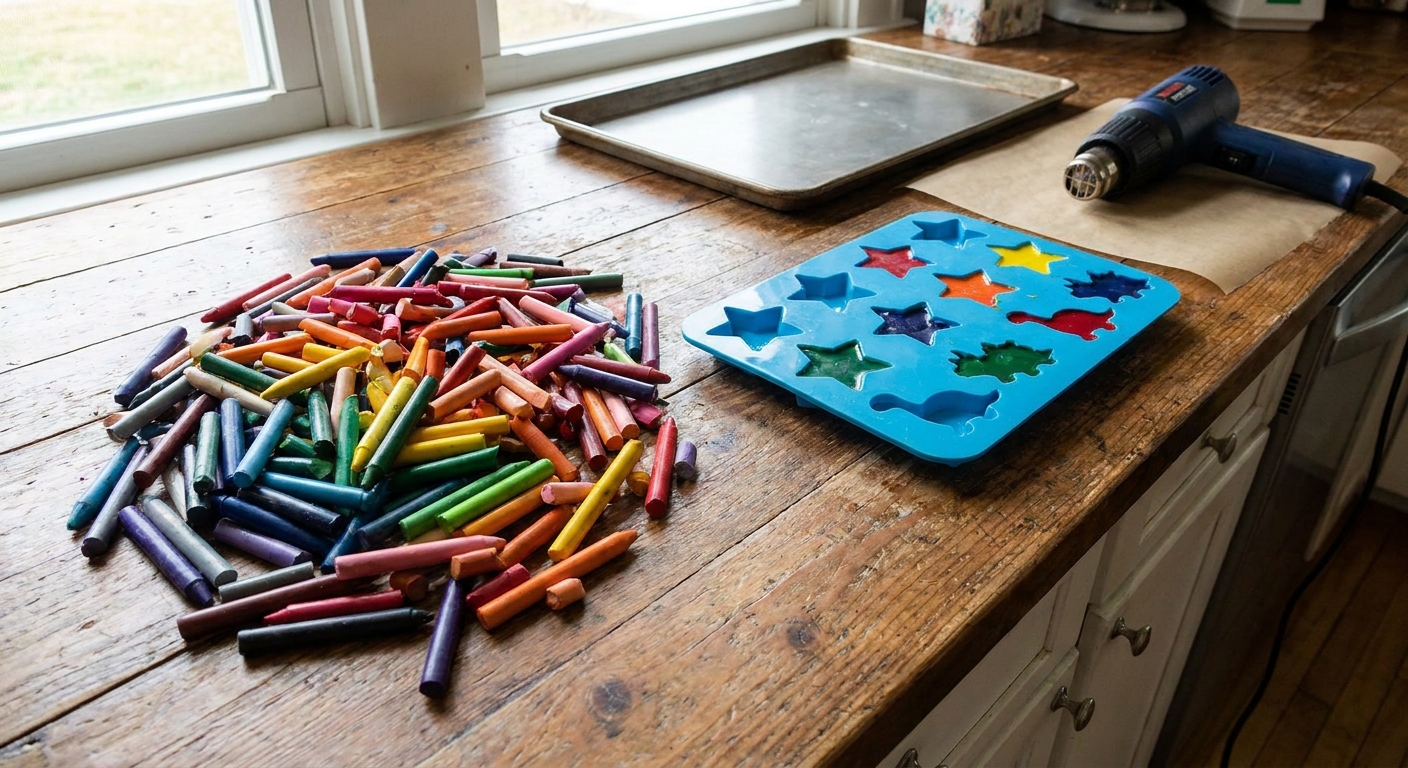
- Broken crayons (paper removed)
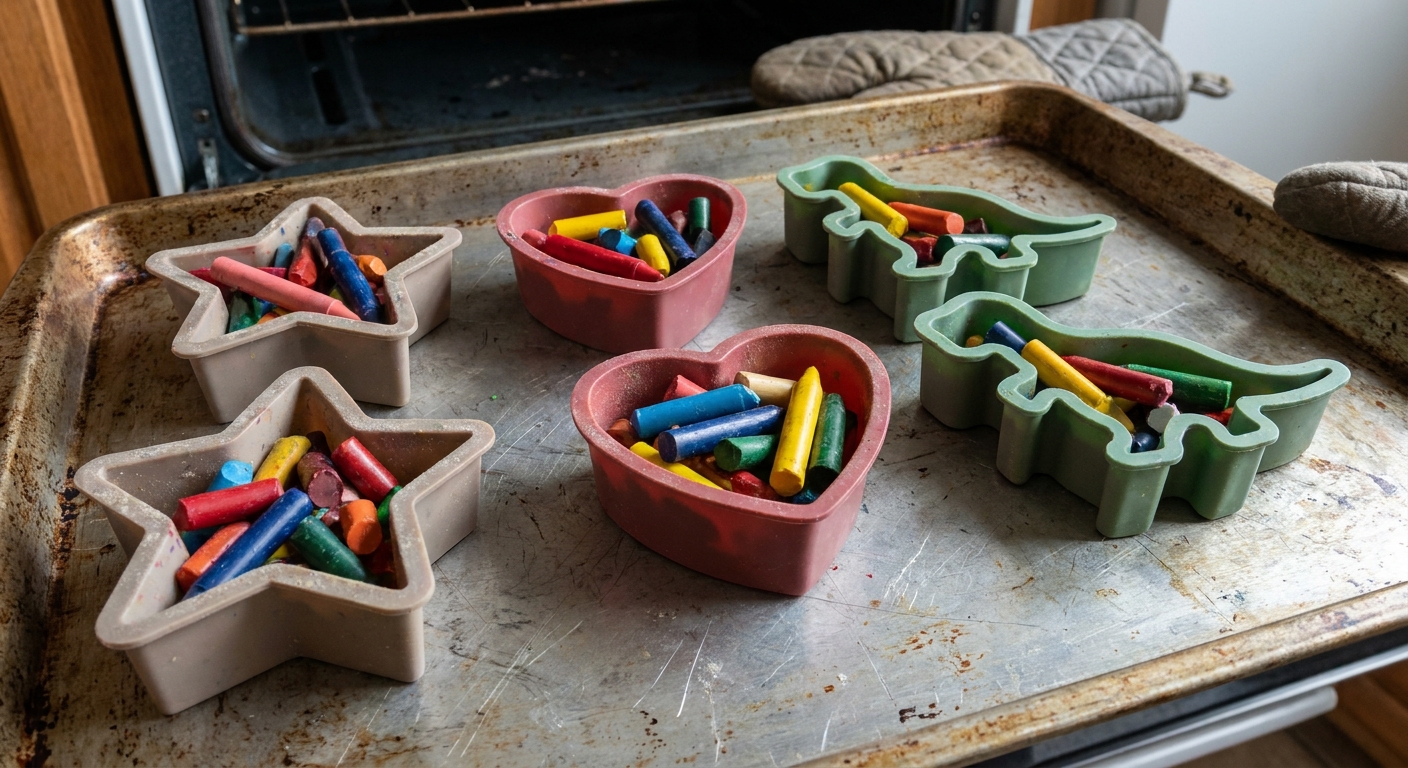
- Silicone mold with bigger cavities (hearts, stars, LEGO-style bricks, circles, etc.)
- Baking sheet (for stability)
- Optional: small knife or craft stick for peeling wrappers
- Oven mitts
- Cooling rack or heat-safe surface
- Optional: parchment paper or foil to line the baking sheet for easier cleanup
Mold tip: Choose shapes that are wide and thick. Deeper molds create sturdier blocks that are easier for toddlers to hold.
Crayon tip: Mixing brands is fine, but different crayons can melt at slightly different speeds. If you want the most even melt and smoothest finish, using mostly one brand helps.
Safety notes
- This is a grown-up-only oven job. Toddlers can help sort colors and drop pieces into molds from a safe distance.
- Use crayons only. Do not melt unknown wax products, old candles, or scented wax melts since they can behave differently when heated.
- Ventilation helps. Crayons are designed for kids, but any warm wax smell is best handled with a cracked window or fan.
- Avoid overheating. Too-high temperatures can darken wax and increase odor. Low and slow is the cozy-ducky way.
- Size matters for safety. Choose molds that create large, chunky shapes. Avoid tiny molds that could create small pieces if they snap.
- Choking hazard check: Finished crayons should be one solid piece. If a shape crumbles or breaks into small bits, save it for older kids or remelt it into a sturdier block.
If your toddler still mouths everything, consider steering craft time toward taste-safe play during that stage. Our roundup of taste-safe sensory bin fillers can help you choose safer activities for now.
Step-by-step
1) Peel the wrappers
Remove as much paper as you can. A tiny bit of paper left behind often floats up as the wax melts, but it can also darken or disperse, so peeled pieces give the cleanest results.
Quick peeling tricks:
- Soak crayons in warm water for a few minutes, then slide wrappers off.
- Slice the wrapper lengthwise with a small knife (grown-up only) and peel.
2) Sort and plan your colors
You can make:
- Solid-color blocks (great for color recognition)
- Rainbow mix blocks (exciting swirls and surprises)
- Two-tone blocks (fun for experimenting with shading)
For more color play ideas, visit simple sensory bins for color recognition and sorting.
3) Fill the silicone mold
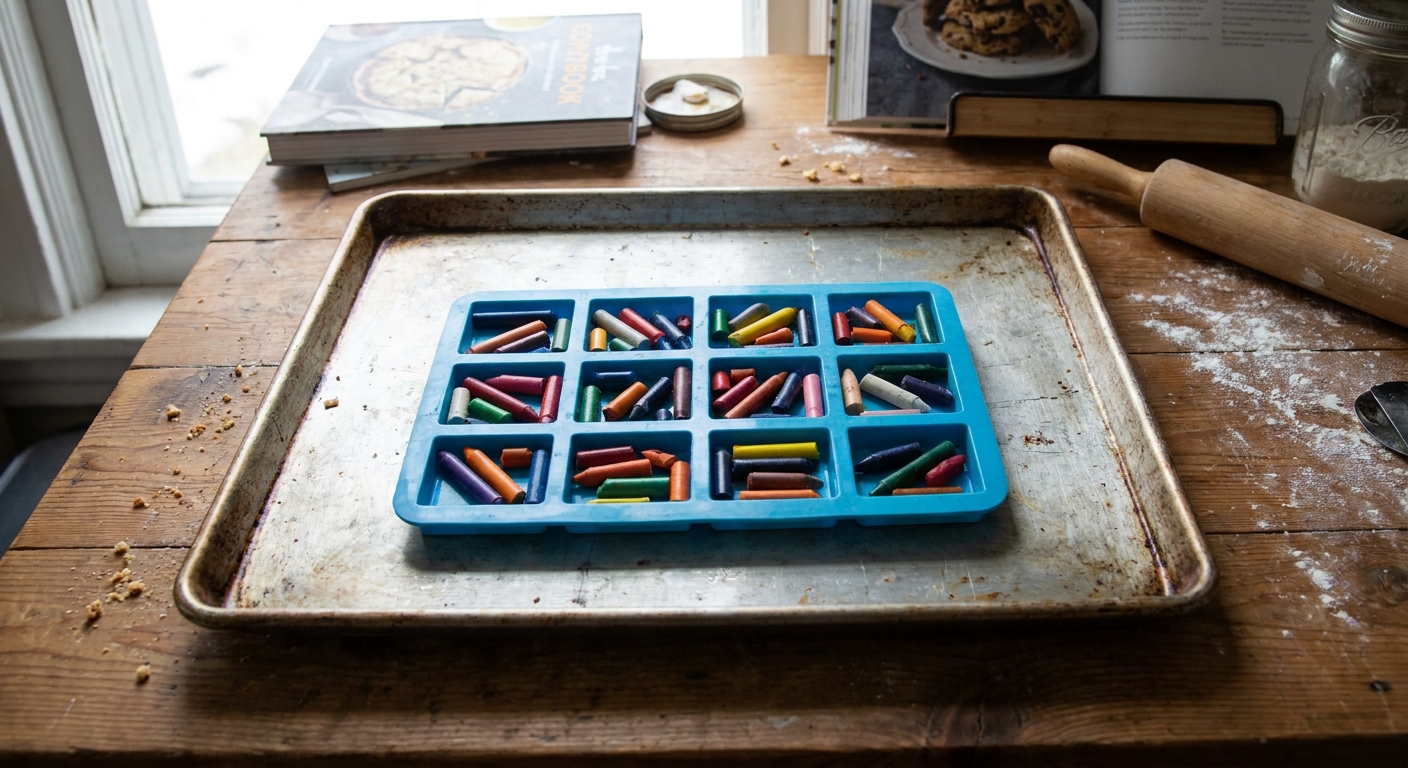
Place your silicone mold on a baking sheet first, then fill each cavity with broken pieces.
- Pack it full: Crayon pieces melt down and settle.
- Keep similar sizes together: Tiny shavings melt faster than big chunks, so mixed sizes can create little gaps unless you top off later.
4) Bake low and watch closely
Most crayons melt smoothly at low oven heat. A good starting point is 225°F (about 107°C).
- Where: Middle rack, with the mold sitting on a baking sheet for stability.
- Time: about 10 to 20 minutes, depending on mold size, how packed the pieces are, and your oven.
- Start checking: around 8 to 10 minutes.
- Don’t leave it unattended: Wax can overheat if forgotten.
- What to look for: fully melted wax with a glossy surface and no solid chunks left.
If you still see gaps: carefully add more crayon pieces to the melted wax (grown-up only) and return to the oven for a few minutes.
Important: Do not move the mold while the wax is fully liquid. That is when spills love to happen.
5) Cool completely before popping out
Remove the baking sheet and let the mold cool on a heat-safe surface. Once it reaches room temperature, pop the crayons out.
- For faster results, you can place the cooled mold in the refrigerator for 20 to 30 minutes.
- You can use the freezer in a pinch, but extra-cold wax can make some shapes more brittle and more likely to crack when flexed.
Make them sturdier
If chunky crayons keep snapping, usually one of these fixes helps:
- Choose deeper molds so the finished crayon is thicker.
- Use more wax per cavity and top off after the first melt if the level drops.
- Let them set at room temperature for a few hours after unmolding. Wax can feel firm quickly but still benefits from a little extra time to fully settle.
Easy coloring games
Once your new crayons are ready, try these simple ways to encourage scribbling and early drawing skills:
Big-shape coloring
- Draw one large circle or square on paper.
- Invite your toddler to “fill it up” with color.
Roads and rivers
- Use a thick marker to draw two parallel lines like a road.
- Challenge your toddler to keep the crayon “on the road.”
Tape-resist surprise
- Place painter’s tape in simple lines or shapes on paper.
- Color over the tape with chunky crayons.
- Peel to reveal crisp lines (grown-up peeling is best).
For more tape fun, waddle over to painter’s tape floor games for toddlers.
Cleanup and storage
- Hands: Wash with soap and warm water. If wax feels stubborn, a little cooking oil on a cloth can help lift residue before washing.
- Table protection: Use a tray, placemat, or a sheet of parchment paper under coloring pages.
- Storage: Keep chunky crayons in a small bin or basket so they do not roll away. Sorting by color can turn cleanup into a matching game.
Troubleshooting
My crayons have holes or dips on top
That’s normal settling. Top off with a few extra crayon pieces and warm for a few more minutes.
The colors look muddy
Try using fewer colors per mold cavity, or stick to similar shades (blues with blues, reds with reds) for cleaner blends.
They are crumbling when I pop them out
They may be too thin, not fully melted, or chilled too fast. Remelt in a deeper mold and let cool slowly at room temperature before refrigerating.
The mold tipped and wax spilled
This is why the baking sheet helper is so important, and why it’s best not to move the mold while the wax is fully liquid. If it happens, let wax cool fully, then peel it off the sheet and remelt it in the mold.
FAQ
Can I use a microwave instead of an oven?
It can be done, but it is easier to overheat wax in a microwave and create hot spots. If you go this route, use a microwave-safe silicone mold or a microwave-safe glass container, heat in short bursts, and stir carefully (grown-up only). For toddler crafts, an oven at low temperature is usually more predictable and steady.
What molds are safe to use?
Silicone molds labeled oven-safe are the best choice. Avoid thin plastic molds and anything not intended for heat.
Are chunky crayons better than regular crayons?
They can be more comfortable for toddlers who are still developing grip strength. Regular crayons are still great too. Chunky shapes are simply a fun way to offer variety and make broken crayons useful again.
Quick wrap-up
Upcycling broken crayons into chunky shapes is a simple way to turn “oops” into “woohoo.” With a silicone mold, low heat, and a little patience, you’ll have sturdy, easy-to-grip coloring blocks ready for tiny hands and big scribbles.
When you’re ready for more low-prep creative fun, splash over to Easy Arts & Crafts for more toddler-friendly ideas.