Quack hello, sensory explorers. A toddler sensory bin is one of the easiest ways to turn a few simple materials into a big learning moment. The best part is that the first bin does not need to be fancy. It just needs to be safe, inviting, and easy to reset.
Let’s dive in and make a happy mess together!
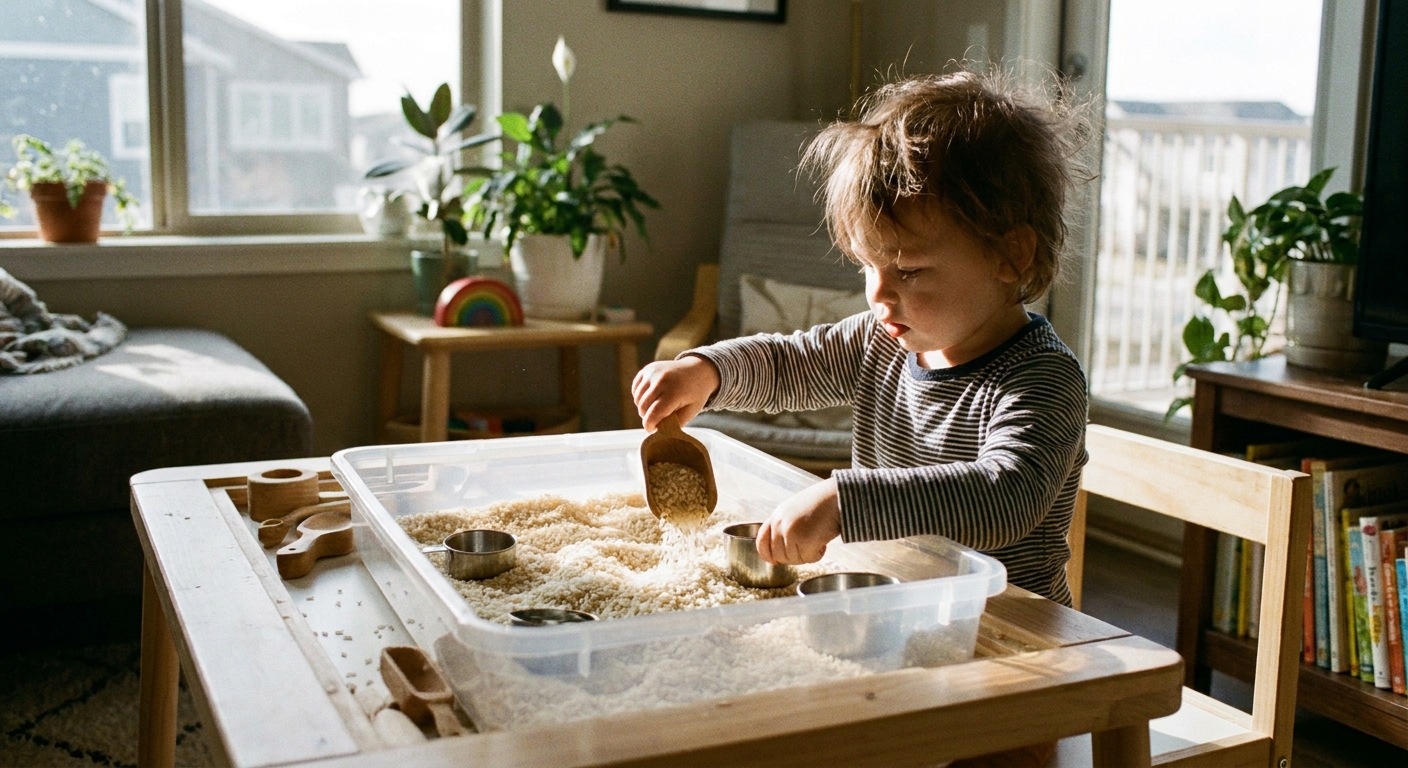
What a sensory bin is
A sensory bin is a container filled with a material your toddler can touch, pour, scoop, pinch, and explore. It supports:
- Curiosity and focus as toddlers investigate texture and cause and effect
- Fine motor practice through scooping, grasping, pouring, and transferring
- Early language with simple words like full, empty, sticky, smooth, loud, quiet
- Independent play in short, manageable bursts
Quick age note: Sensory bins work across the toddler years (often around 12 to 36 months), but the right materials depend more on your child’s stage than their birthday, especially if they are still in a strong mouthing phase.
For more playful learning ideas that fit right into everyday routines, peek at Early Learning & Development.
Step 1: Choose a container
The container sets the tone for how relaxed the activity feels. Choose something sturdy, easy to clean, and sized for your toddler’s reach.
Great beginner options
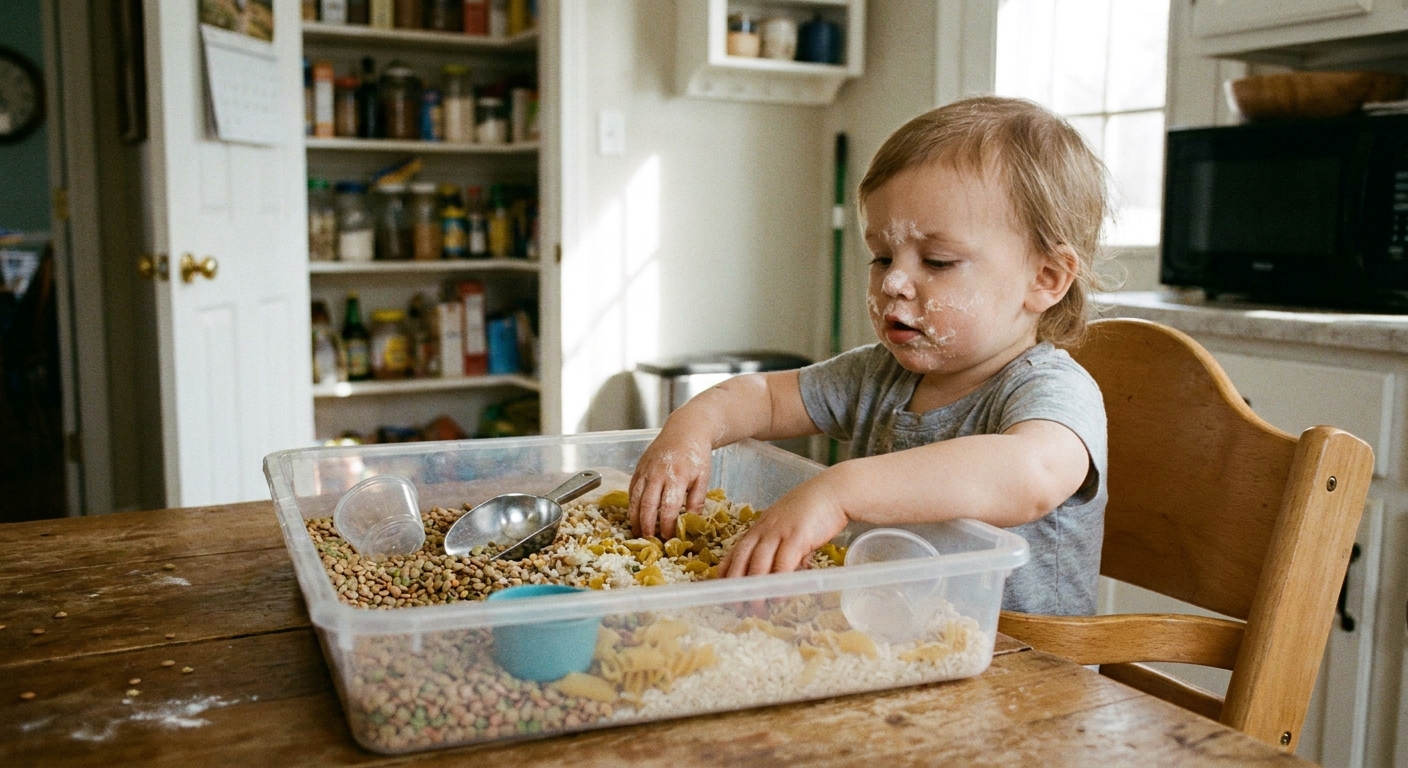
- Wide, shallow plastic bin: easy to see into and reach across
- Under-bed storage bin: gives more room for scooping and spreading
- Rimmed baking sheet: perfect for a tiny “starter” bin with minimal mess
- High chair tray: ideal for first-time explorers and quick cleanup
Quick checklist
- Low sides for access but tall enough to slow down big spills
- Smooth edges with no cracks
- Big enough for hands and at least one scoop or cup
- Easy to carry from play space to sink or storage
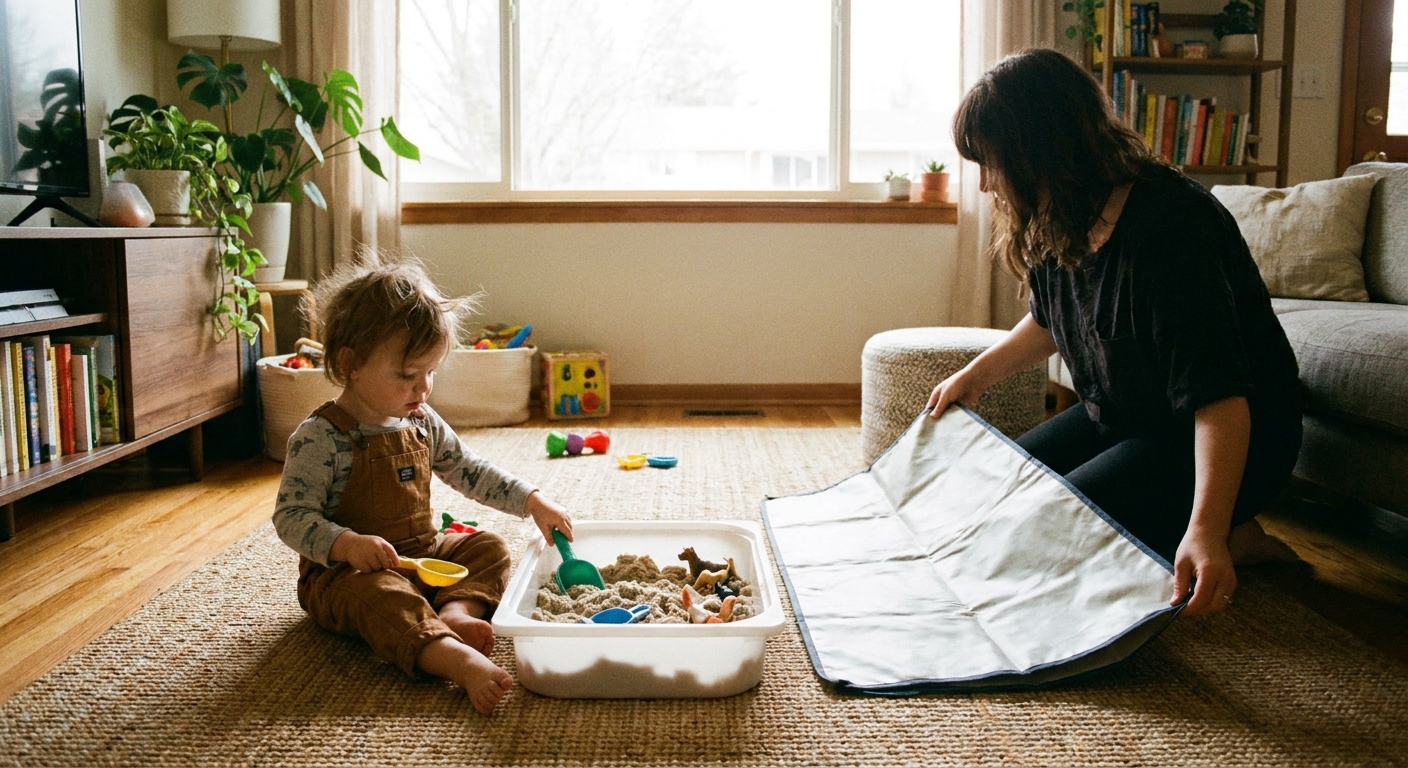
Mess-tamer tip: Put the bin on a towel, a washable mat, or a shower curtain liner. It catches runaway filler and makes cleanup feel like a quick swoop instead of a big job.
Step 2: Pick a safe filler
Your filler is the main sensory experience. For a first bin, simple is best.
Safety first (read this before you choose): If your toddler is still mouthing small items, skip small dry fillers like rice and small pasta, and skip pom poms. Choose larger, softer, or truly taste-safe options, and supervise closely. When in doubt, go bigger.
Best first fillers
- Dry oats (soft feel and easy pouring) only if your child can safely manage dry textures. For strong mouthers, use a larger, softer edible option instead, like cooked pasta or larger cereal pieces, with close supervision.
- Dry rice (satisfying sound and easy scooping) best for older toddlers who no longer mouth small items and with close supervision
- Large dry pasta (bigger pieces are easier to see and pick up) choose chunky shapes to reduce choking risk
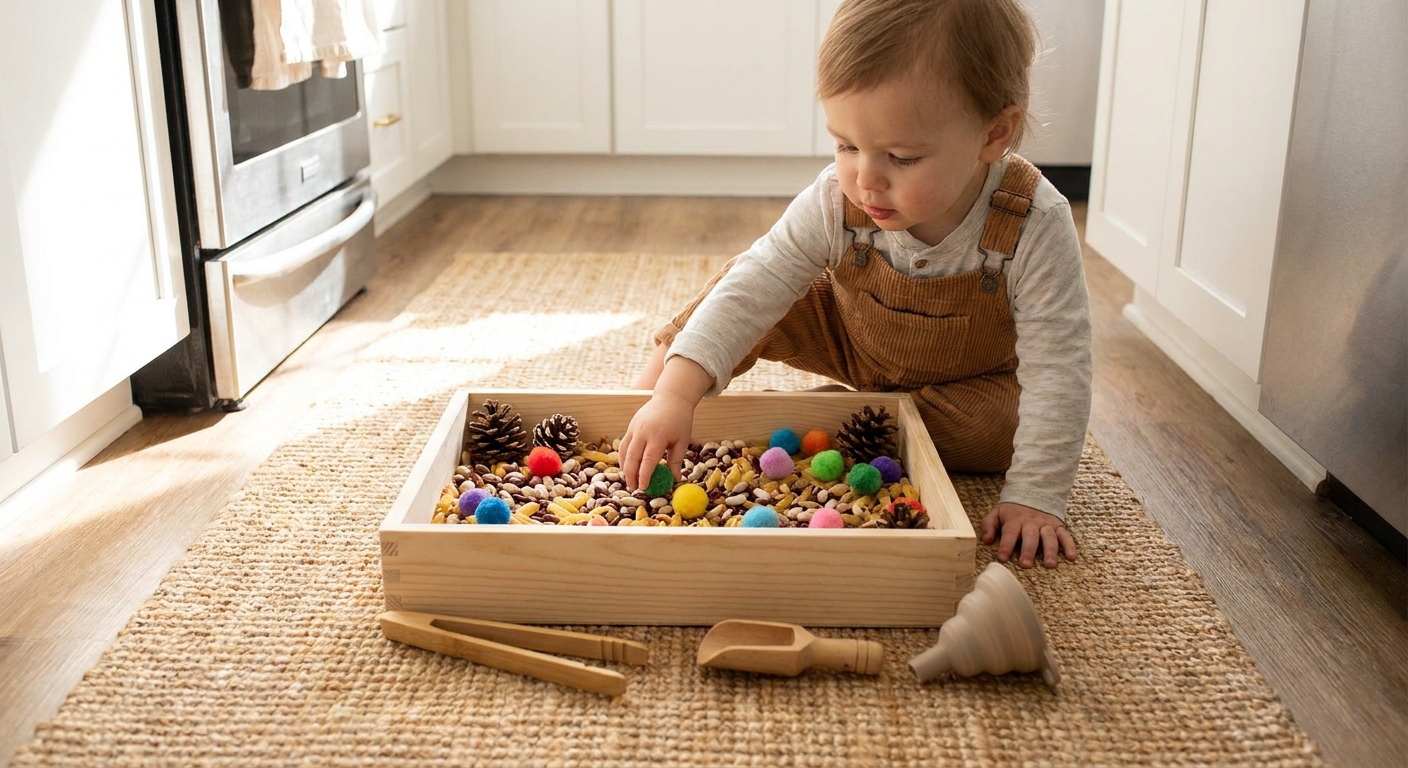
- Pom poms (lightweight, easy grabbing) best for older toddlers or non-mouthers, supervised
- Shredded paper (crinkly and fun for hiding objects) supervise to avoid tasting and tearing into tiny bits
- Water (in a shallow bin with close supervision)
How much to use
Start with just 1 to 2 inches of dry filler. You can always add more later. A shallow layer is less overwhelming and easier to clean up.
Extra safety notes
- Mouthing stage: Use larger fillers or supervised, soft edible fillers. Avoid small beads, tiny beans, and anything that can be a choking hazard.
- Allergies and sensitivities: Keep materials simple and skip added scents.
- Eye safety: Remind “hands stay low in the bin” and save tossing games for outside play.
Want more ideas for themed bins and filler combinations? Waddle over to Sensory Play & Bins.
Step 3: Add simple tools
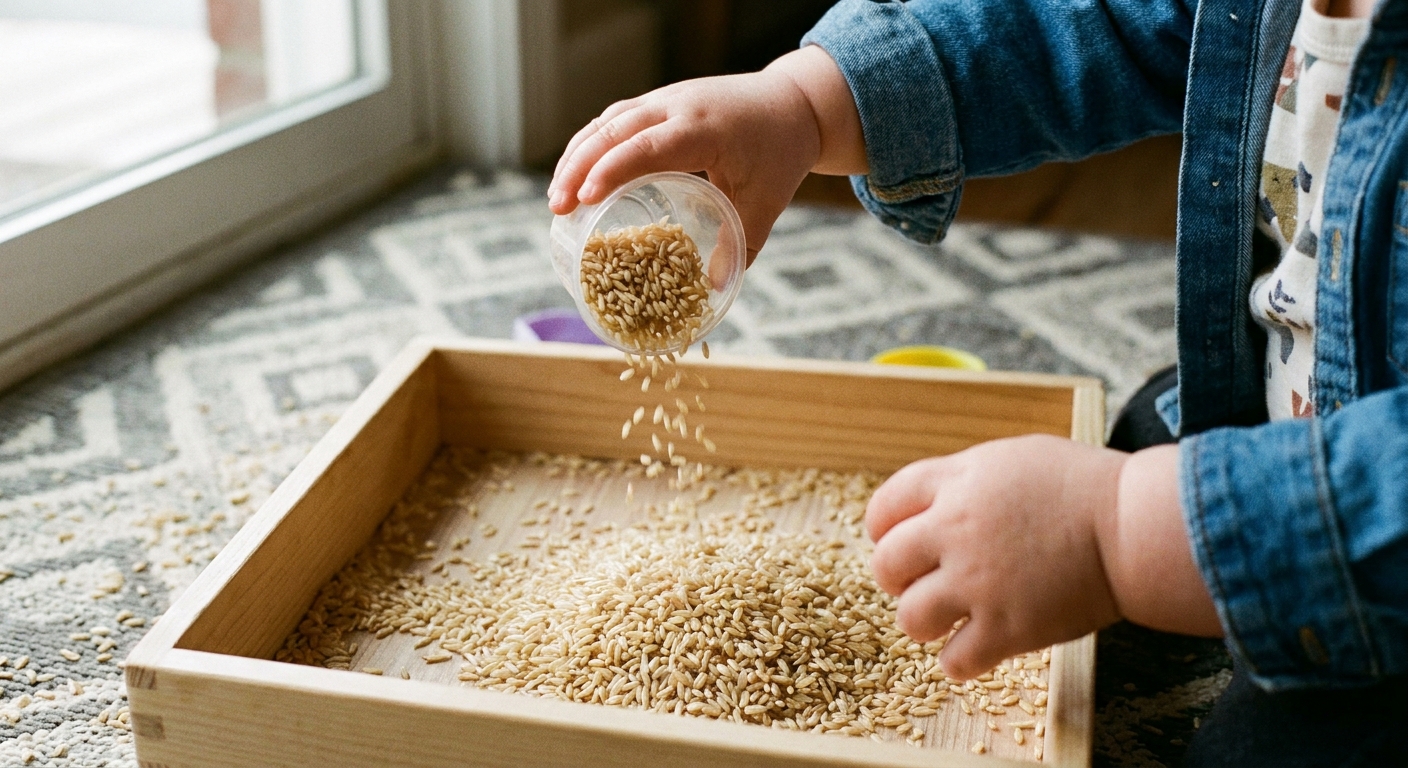
Tools turn touching into real play. For your first bin, keep it small and repeatable.
Easy starter set
- A scoop or large spoon
- 2 to 3 cups or small containers
- One funnel (optional but very fun)
- A small bowl for transferring
- Tongs (optional, best for older toddlers)
Tool safety tips
- Choose tools that are sturdy and smooth.
- Avoid tiny items that could be swallowed.
- If a tool turns into a throwing toy, swap it for a softer or larger option.
Step 4: Pick a theme
The first bin can be completely theme-free. But if a tiny theme helps your toddler jump in, keep it easy.
Beginner themes
- Construction: large dry pasta “rocks” or shredded paper “rubble,” plus scoops and cups
- Farm: oats (if appropriate for your child’s stage) or shredded paper, plus a few chunky animals
- Beach day: large pasta “shells,” cups, and a small bowl
- Color hunt: pom poms in two colors and two matching cups (best for older toddlers or non-mouthers)
Theme rule: A theme should make play simpler, not more complicated. If adding little figures makes it cluttered, remove them and let the scooping be the star.
Step 5: Set up the space
A calm setup helps toddlers stay with the activity longer.
Where to place the bin
- Kitchen floor on a towel or mat
- Bathtub for maximum mess control (especially for water bins)
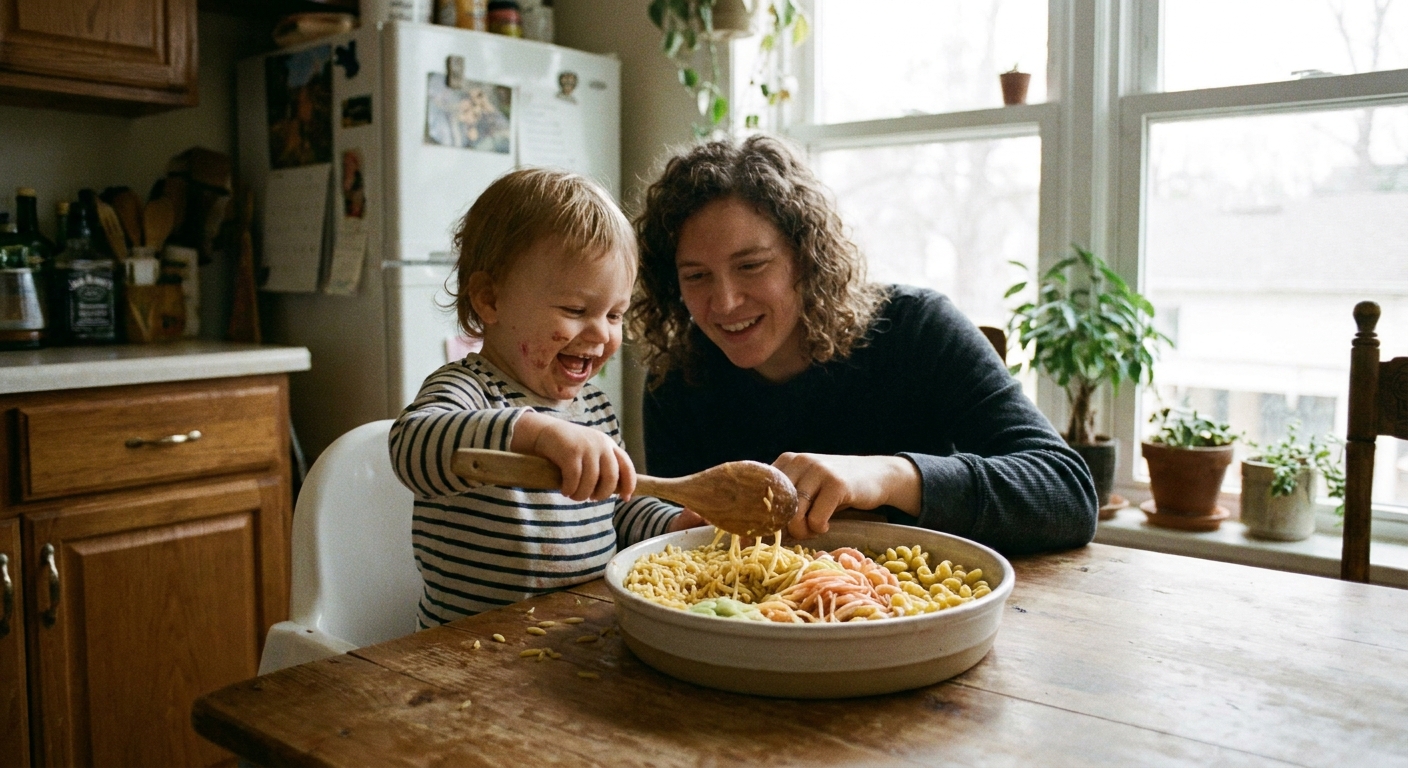
- Low table with a chair where feet can touch the floor
- Outside for breezy, no-worries cleanup
What to keep nearby
- A small dustpan and brush, or a handheld vacuum if your vacuum can handle dry fillers
- A wipeable cloth for hands
- A “spare bowl” for overflow transfers
Rainy day indoors? There are more cozy, low-prep ideas in Indoor & Rainy Day Play.
Step 6: Introduce it fast
Toddlers do best with a tiny invitation and a quick demonstration.
A simple script
- Name it: “This is our sensory bin.”
- Show one action: Scoop and pour once.
- Give one rule: “Filler stays in the bin.”
- Step back: Let your toddler take the lead.
If your toddler hesitates, offer just one choice: “Would you like the scoop or the cup?” That small decision often unlocks play.
Step 7: Support independence
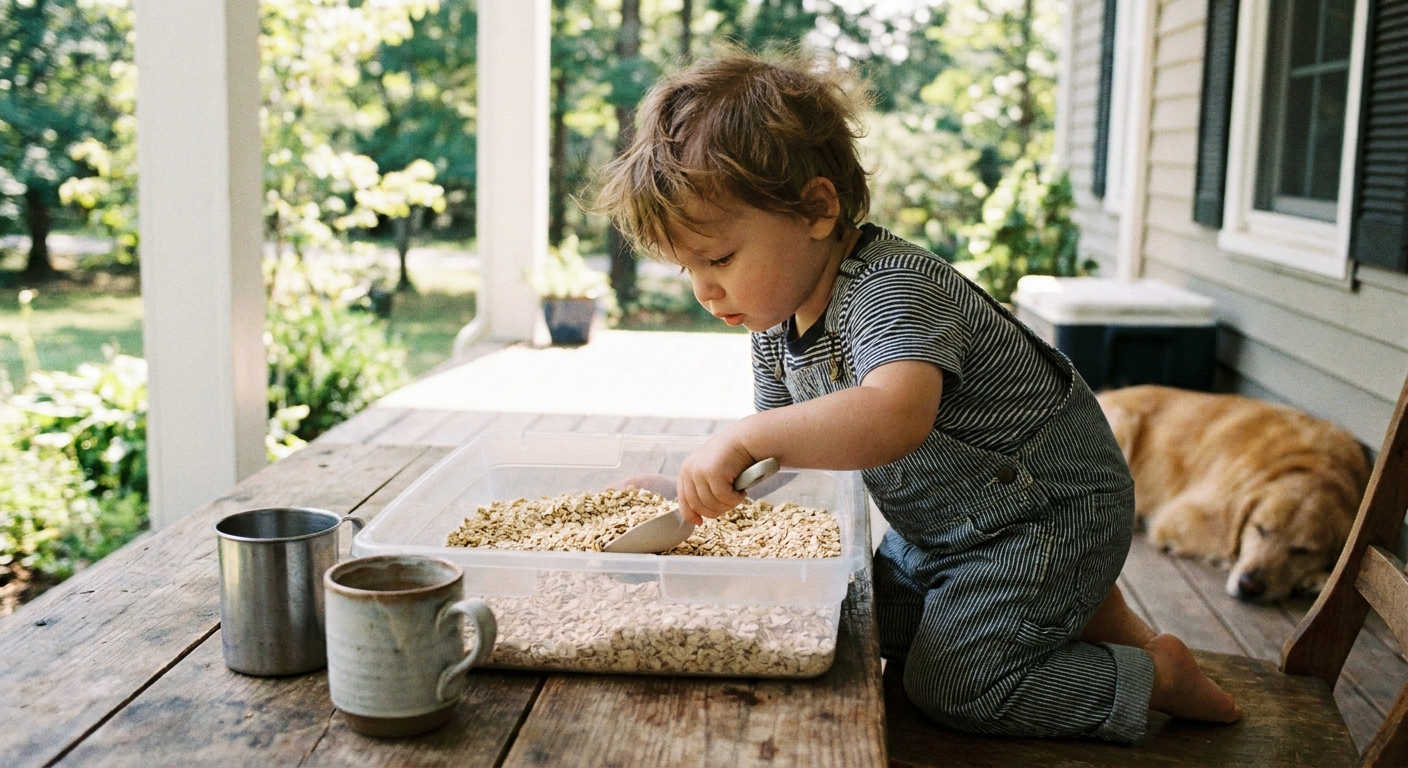
Independent play starts small. The goal is not “play alone forever.” The goal is “play with growing confidence.”
How to help
- Stay close, look calm: Sit nearby and let your toddler explore.
- Use short comments: “You filled it.” “Now it’s empty.”
- Avoid too many questions: It can interrupt focus.
- Repeat the same bin: Familiar materials often create longer play.
When to step in
- If your toddler is about to put unsafe materials in their mouth
- If the filler is being thrown
- If frustration builds and play turns into overwhelm
Reset trick: If play gets wild, quietly place an empty bowl next to the bin and demonstrate “scoop into bowl.” Many toddlers switch from scattering to purposeful transferring right away.
How long to play
For a first sensory bin, 5 to 15 minutes is a very normal win. Some toddlers will do 60 seconds and wander off. That still counts. End the activity when:
- Your toddler starts tossing instead of exploring
- You notice tired cues (rubbing eyes, whining, extra clumsiness)
- The filler is getting mouthed more than played with
A gentle ending helps: “Two more scoops, then we clean up.”
Easy first bin ideas
These are simple, low-fuss combos that work well for beginners.
1) Scoop and Pour Oat Bin
- Filler: 1 to 2 inches of dry oats (only if appropriate for your child’s stage)
- Tools: scoop, 2 cups, bowl
- Play idea: fill, dump, repeat
2) Rice Cup Transfer Bin
- Filler: dry rice (best for non-mouthers)
- Tools: measuring cup, funnel, small container with lid (optional)
- Play idea: pour through funnel into container
3) Pom Pom Pick-Up Bin
- Filler: pom poms (best for older toddlers or non-mouthers)
- Tools: muffin tin or small bowls, tongs (optional)
- Play idea: sort by color or “feed” pom poms into bowls
Cleanup and storage
Cleanup is part of the routine, and toddlers can help in tiny ways.
Quick cleanup plan
- Pause play: “Two more scoops, then clean up.”
- Big pieces first: Pick up cups and tools.
- Return filler: Pour from bin back into a storage container, or scoop it in.
- Floor sweep: A quick sweep or vacuum (again, only if your vacuum can handle it).
- Wash hands: Sensory play ends best with warm water and soap.
Reuse and hygiene tips
- Keep it sealed: Store dry fillers in a sealed container or keep them right in the bin with a lid to discourage bugs and keep out crumbs.
- Use your eyes and nose: If filler looks dusty, clumpy, damp, or smells off, toss it and refresh.
- After heavy mouthing: If the filler has been mouthed a lot, it is time to toss it. (This is especially true for shared bins between siblings.)
- Keep it dry: If water gets into a dry bin, dry it out completely or replace it to prevent mold.
Common first-bin bumps
“My toddler dumps everything out.”
Dumping is normal. Offer a “dumping spot” like an empty bowl or a second bin. Show “scoop into the bowl” and cheer the new direction.
“My toddler only wants to taste the filler.”
Switch to a supervised, safer edible option that matches your child’s chewing skills, or pause sensory bins and try a supervised water activity. If the mouthing stage is strong, keep materials large and simple.
“My toddler loses interest in 30 seconds.”
That can be a success. Try again tomorrow with the same bin. Familiarity often increases playtime. Also try reducing tools to just one scoop and one cup so it feels less busy.
“The mess stresses me out.”
Make the bin smaller, use a towel under it, or move it into the bathtub. A calmer setup makes sensory play feel like a treat instead of a chore.
A quick safety reminder
Sensory bins are meant to be closely supervised, especially for toddlers who mouth objects. Choose age-appropriate materials, keep play rules simple, and skip anything that feels unsafe for your child’s current stage.
When you are ready for your next bin, a tiny change can feel brand new. Swap the filler, add one new tool, or move the bin to a different spot in the house. Small tweaks keep the wonder going.
Waddle on, and happy sensory playing!