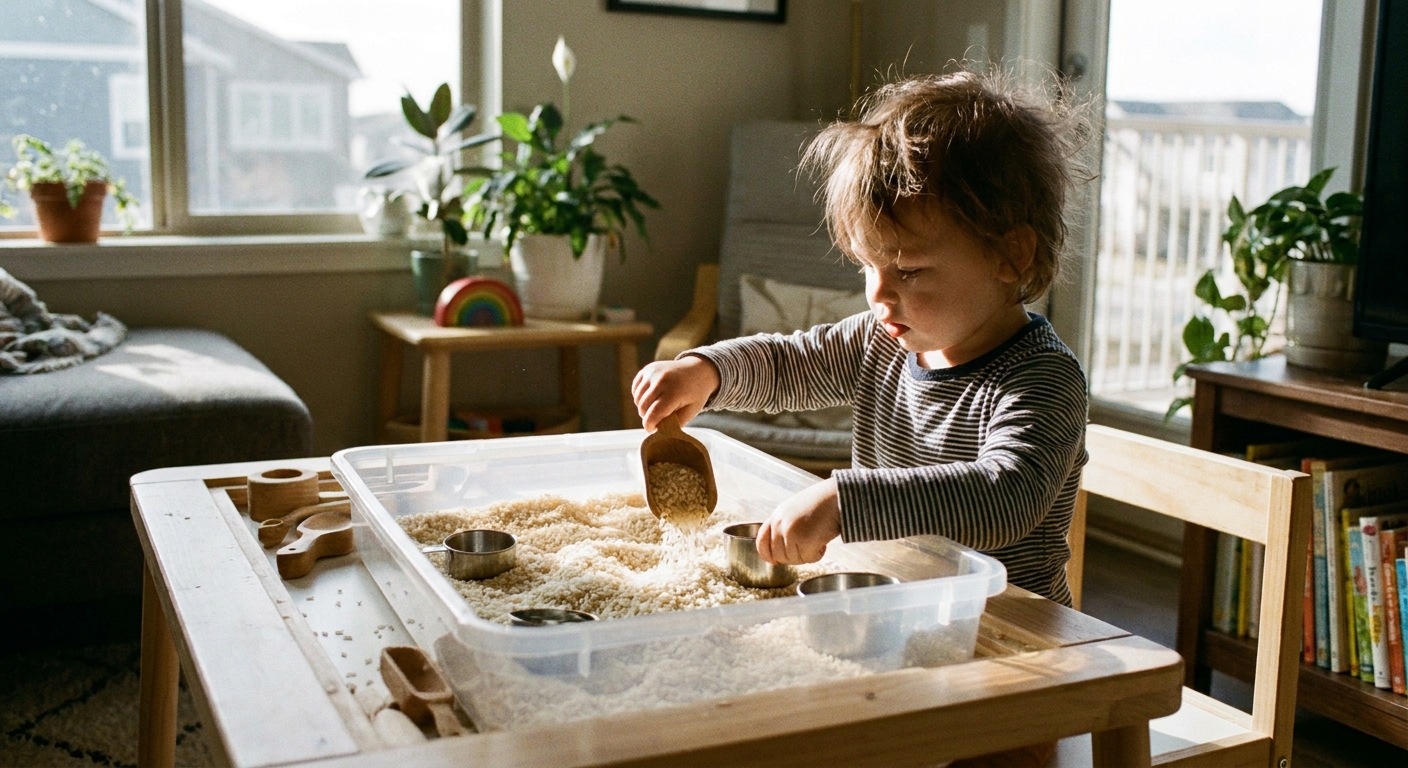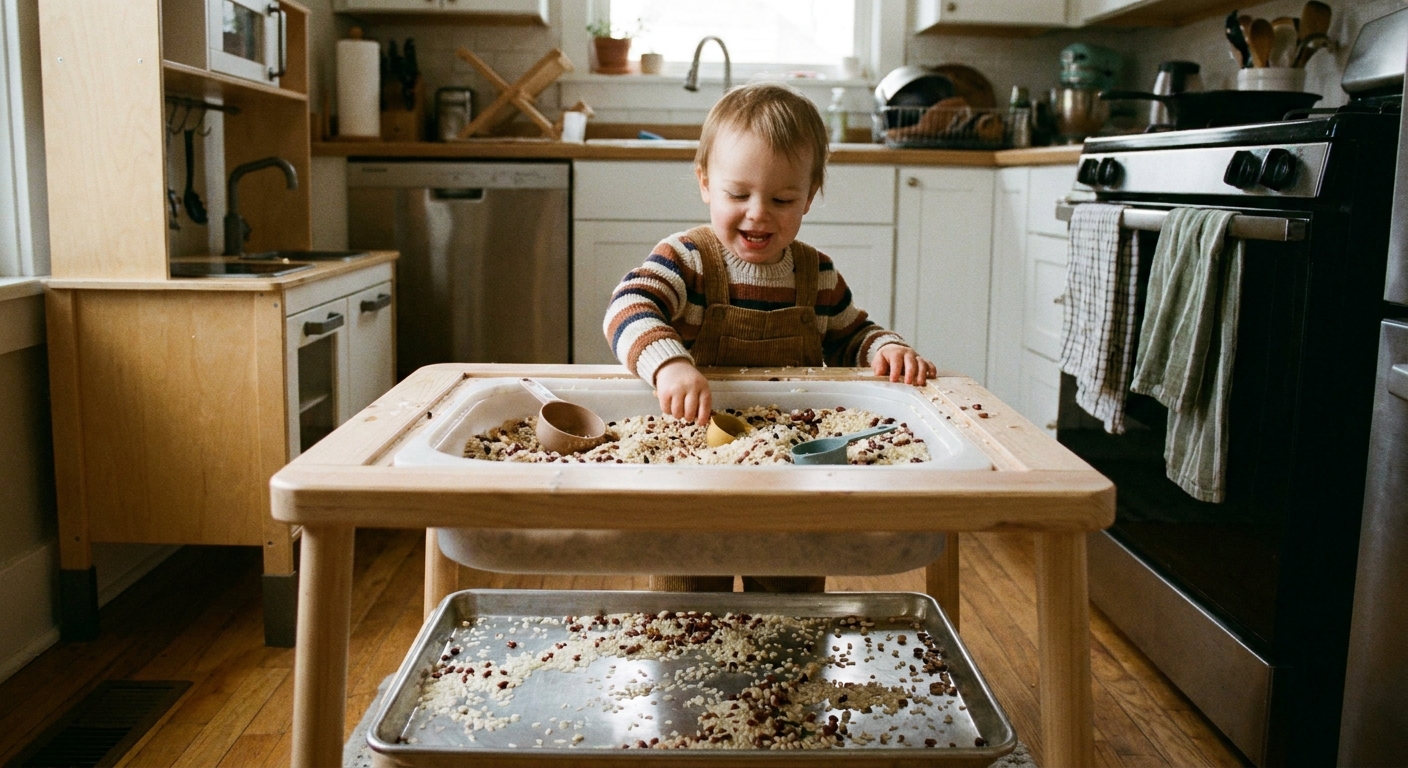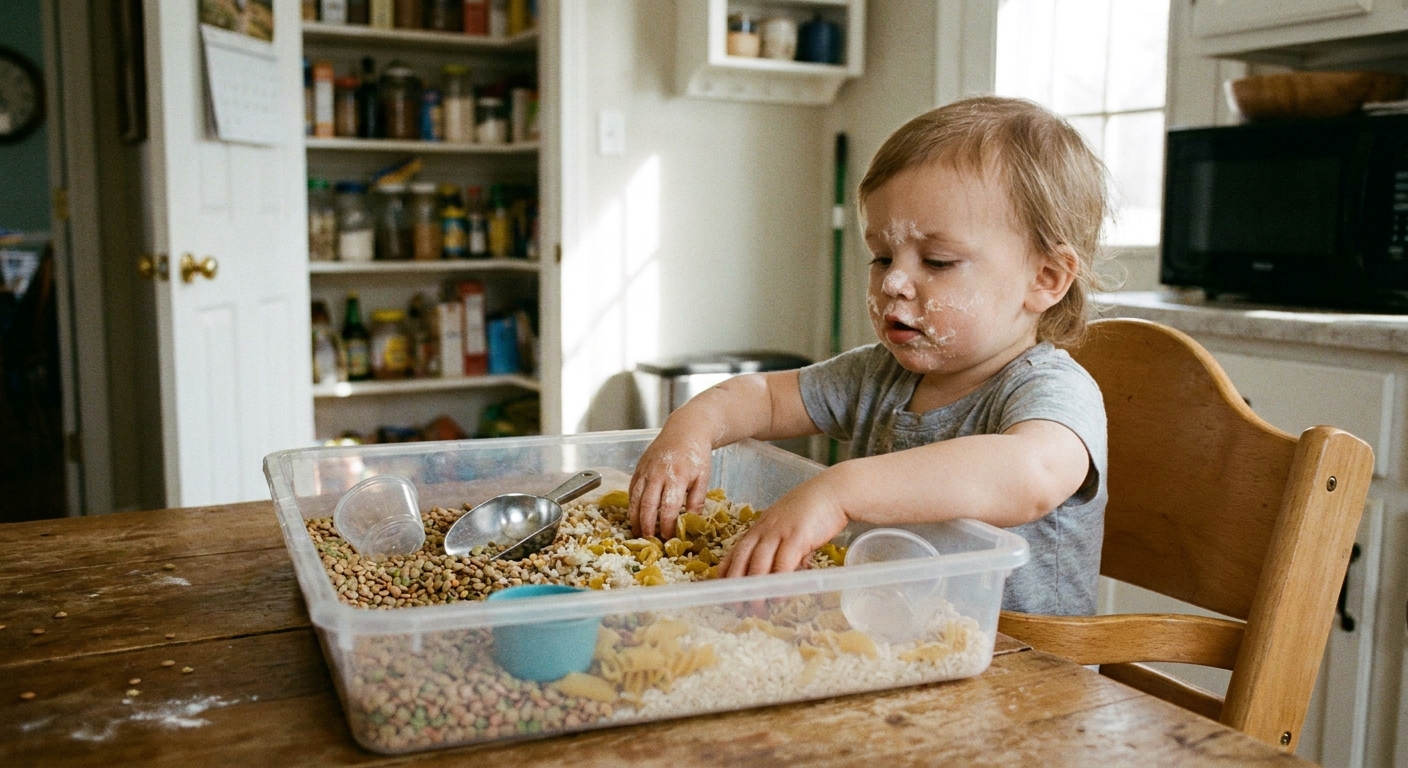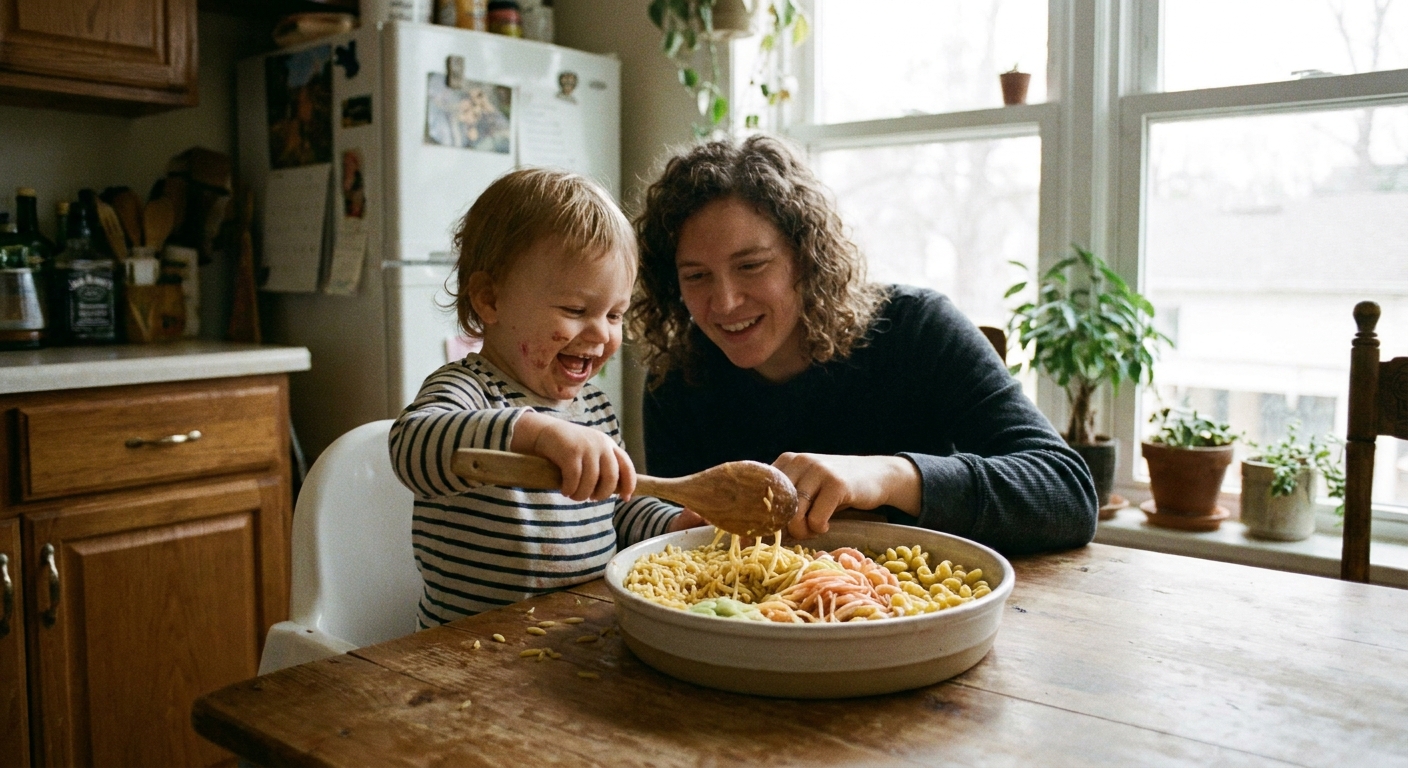
Let’s dive in and make a wonderful, happy mess together! Sensory bins are full of scoop, pour, and squish magic. In a small house, though, that magic can travel fast under the couch and into every corner. The good news is that a tiny space can still handle big sensory play with a few smart “mess fences” and a simple cleanup rhythm.
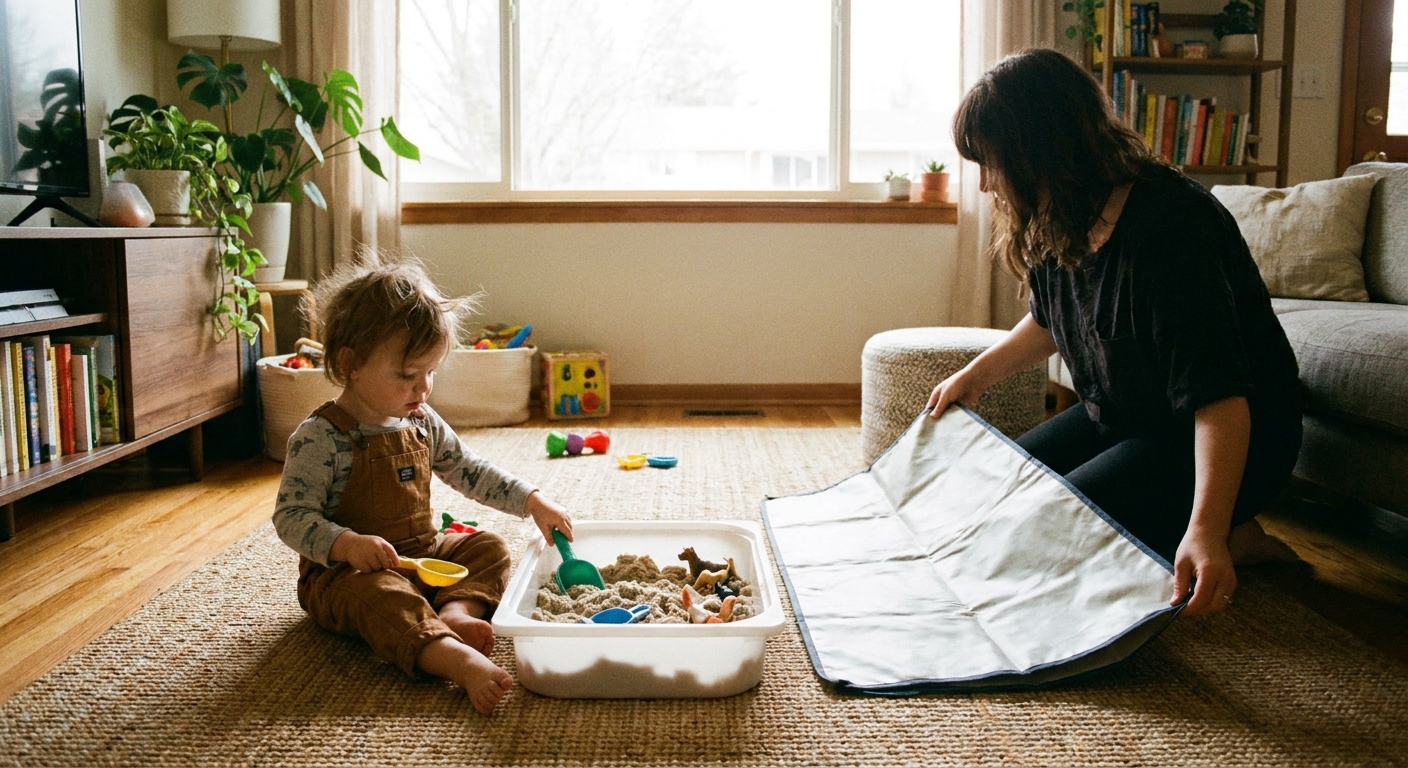
Start with the 3-part mess plan
Before any rice or water comes out, it helps to think in three layers. This keeps setup quick and cleanup calmer.
- Under: Catch what falls (drop cloth, shower curtain liner, or big towel).
- Around: Create a border (inflatable pool, tray, or a mat “island”).
- On top: Choose tools and rules that reduce flying fillers (bigger scoops, smaller amounts, clear “stay in the bin” routine).
Pick the right under layer
The best mat depends on what you are using. In small spaces, the goal is not perfection. The goal is easy shake-out, easy wipe, easy fold.
Dry fillers (rice, beans, kinetic sand, pasta)
- Shower curtain liner: Budget-friendly, slides under a bin, and you can funnel spills back into a container by lifting two corners.
- Vinyl tablecloth or craft mat: Heavier, less bunching, and easier to sweep.
- Large towel: Softer and quieter, but tiny grains can cling. Great for big pieces like pom poms or foam shapes.
Wet fillers (water, bubbles, ice)
- Waterproof liner: A shower curtain liner shines here.
- Absorbent layer on top: Add a towel around the bin’s outer edge to catch drips from hands and cups.
Use a pool as a mess moat
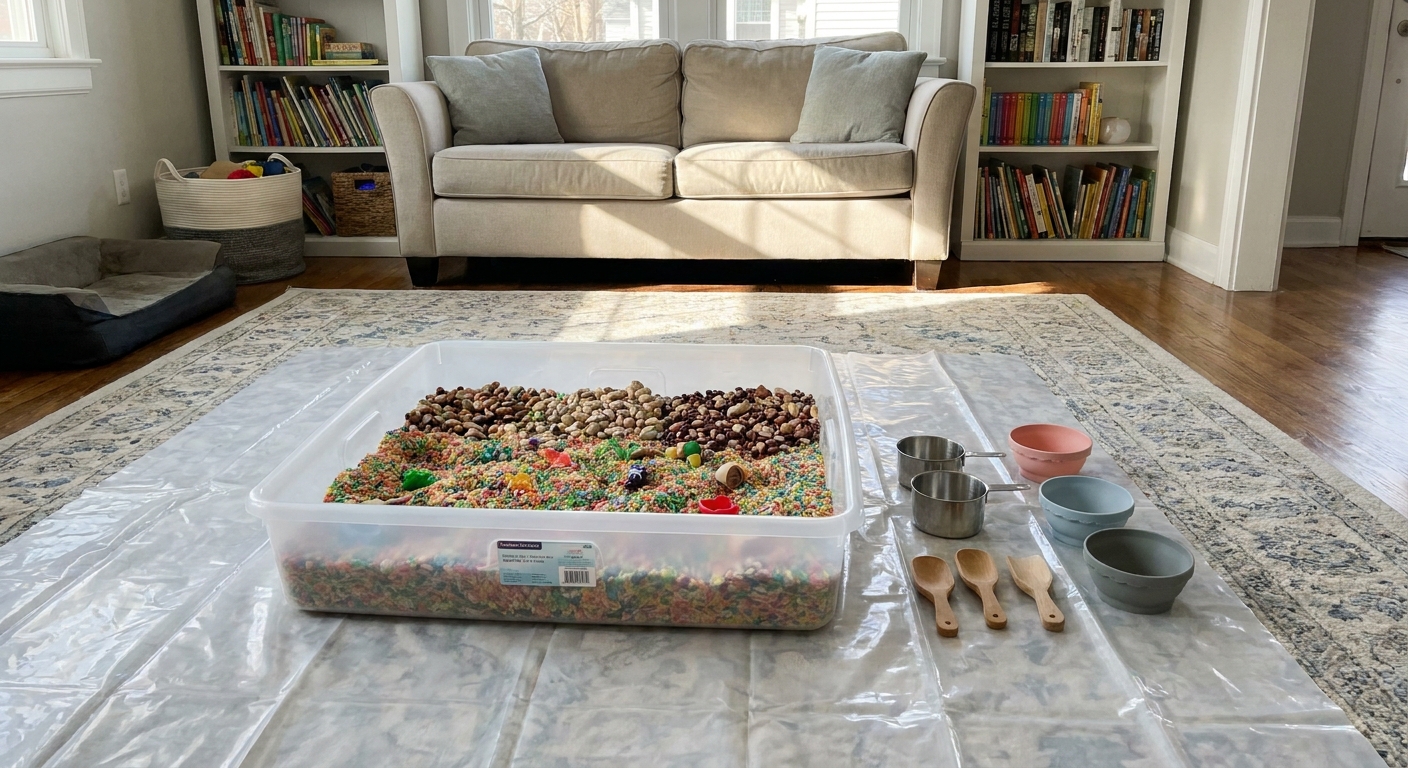
For small houses, an inflatable kiddie pool can be one of the easiest ways to keep filler from traveling. It makes one clear play zone and catches what tumbles out of little hands.
How to set it up
- Put the pool on a flat surface with good walking space around it.
- Place the sensory bin inside the pool, not directly on the floor.
- Keep tools in a small basket inside the pool so kids do not need to step out to “shop” for scoops.
- For water play, add a towel right at the pool entrance for quick hand and foot drying.
Make it work in tight rooms
- Choose a smaller pool so an adult can still walk by safely.
- Deflate between uses if needed. If reinflating is a hassle, a shallow plastic boot tray or large storage lid can act as a mini moat.
Boundaries that toddlers follow
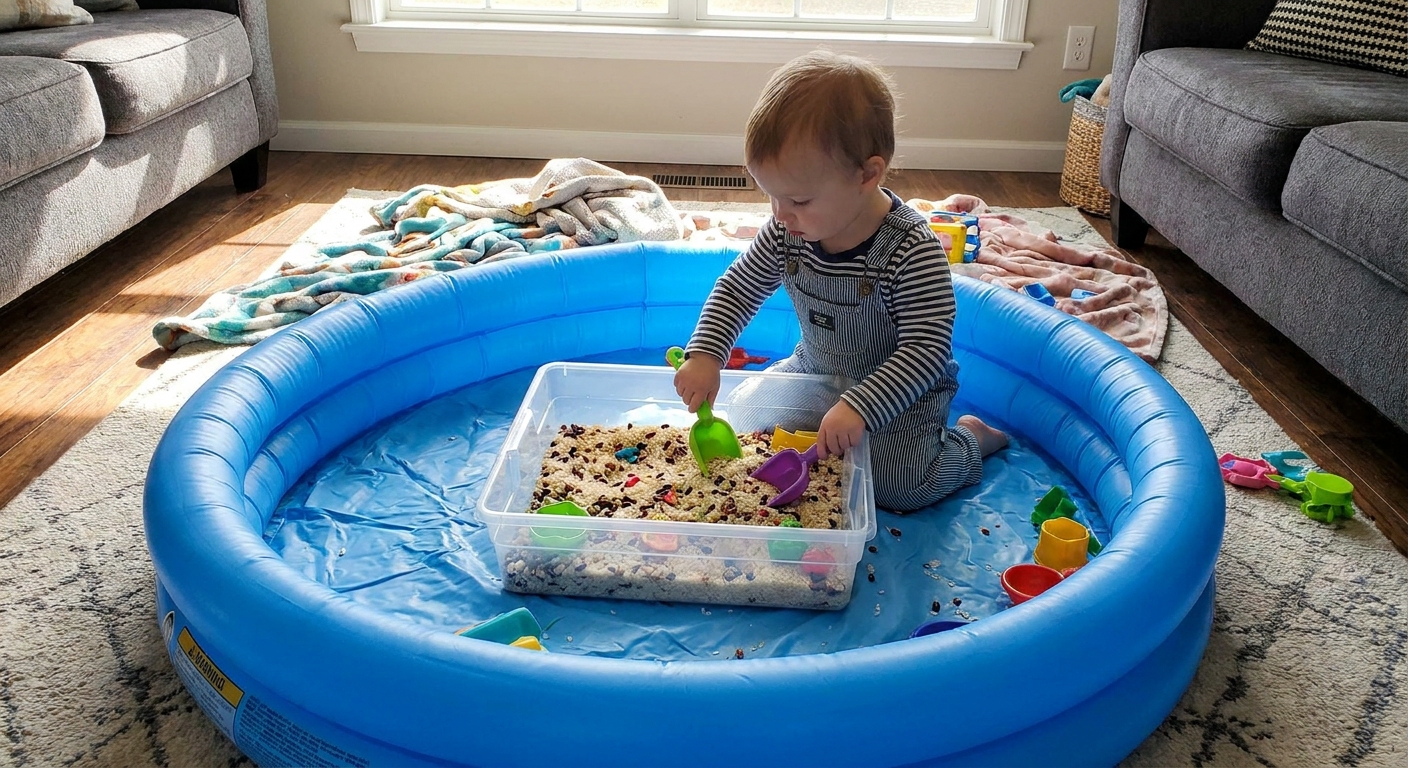
Toddlers learn boundaries best when they are simple, consistent, and visible. A small house benefits from clear limits because there is less buffer zone before a mess reaches something important.
Make the boundary easy to see
- Painter’s tape square: Tape a big box on the floor. The rule is “feet stay in the box.” If you have wood or delicate flooring, test a small spot first, or use a mat instead since some tape can lift finish.
- Play mat island: One mat equals one play zone. If filler leaves the mat, we pause and put it back.
- Pool rule: “All the scoops stay in the pool.”
Use short, repeatable phrases
- “In the bin.”
- “Hands low.”
- “Scoop, then pour.”
- “If it flies, it rests.”
Try the two warnings, then switch routine
If filler keeps getting tossed, the bin can take a quick break and return with a calmer option: larger tools, heavier items, or a smaller amount of filler. This keeps play positive instead of turning into a big grown-up cleanup moment.
Bin choices that cut spills
Sometimes the container is the real hero.
Choose a deeper bin for dry fillers
- Look for higher sides so scoops stay below the rim.
- Fill only one third to one half full. A bin stuffed to the top is a spill waiting to happen.
Use an under-bin tray
- Place your sensory bin inside a larger shallow tote or tray. The outer tray catches overflow.
- Store filler in a lidded container so setup and clean-up are quick.
Keep tools big
- Bigger scoops and cups tend to move filler more slowly.
- Avoid tiny spoons for rice if tossing is a habit. They fling like catapults.
By-material containment tips
Rice and other tiny grains
- Best setup: Deep bin + shower liner + taped boundary or pool.
- Reduce scatter: Add larger mix-ins (big pom poms, chunky animals, large shells) so play becomes more “hunt and find” and less “pour forever.”
- Fast cleanup: Sweep into a dustpan, then finish with a vacuum. For tiny leftovers, a lint roller can help on some fabrics, but test a small spot first and use it as a last step since adhesive can be annoying on certain textiles.
Sand (including kinetic sand)
- Best setup: One play surface only (tray or pool), because sand loves to cling.
- Rule that helps: “Sand stays low.” Encourage pressing and building inside the bin instead of high pouring.
- Fast cleanup: If it is damp or clumpy, let it air out a bit, then sweep. Wipe hands before leaving the play zone.
Water and bubbles
- Best setup: Waterproof liner + towel edge + smaller water amount.
- Reduce splashes: Choose short cups and wide bowls instead of tall pouring containers.
- Fast cleanup: Keep a towel within arm’s reach. A quick “hands and elbows” wipe prevents drips on door handles and furniture.
Taste-safe swaps for heavy mouthers
If your little duckling is still in the “everything goes in my mouth” stage, it can help to choose fillers that are less stressful if a tiny bit gets tasted. You still need close supervision, but these can feel more age-friendly:
- Oats (dry, plain)
- Cereal (larger pieces tend to be easier to spot and pick up)
- Plain cooked pasta (best for short sessions, then toss)
- Edible mud (a simple mix like cocoa powder plus flour plus a little water, used in a tray and cleaned up right after)
Even with taste-safe options, keep play slow and supervised, and skip small items that can still be choking hazards.
The cleanup basket
In a small house, cleanup goes best when the tools live together. A simple basket stored near your sensory supplies can include:
- Small hand broom and dustpan
- Handheld vacuum or a regular vacuum attachment ready to go
- Two microfiber cloths
- A small spray bottle of gentle soap and water (for tables and trays)
- A sealable container or zip bag for stray filler you sweep up
When cleanup is predictable, it feels like part of play, not a surprise job.
Quick setup and cleanup
Five-minute setup
- Lay down the under layer.
- Place the bin and tools in the play zone.
- Say the one rule you will repeat: “In the bin.”
- Start with a small amount of filler. Add more only if play stays calm.
Five-minute cleanup
- Pause play and do a “last scoop” back into the bin together.
- Shake or funnel the mat into a container.
- Sweep what remains, then vacuum if needed.
- Wipe hands, then wipe the bin rim and nearby surfaces.
- Store the bin with a lid so it is ready next time.
Where to set up
Not every home has a playroom, and that is perfectly fine. These spots often work well:
- Kitchen floor: Easy wipe-up and close to the sink.
- Bathroom: Great for water play, with built-in splash tolerance.
- Entryway tile: A smart place for sand or messy nature bins, if you have safe space to sit.
- Balcony or porch: If available and supervised, outdoor air plus easy shake-out can be a big win.
Two tiny-space options
- Highchair bin: A small, shallow bin on the highchair tray can be a wonderful “contained” sensory moment. Keep the filler amount small.
- Seated table play: Set the bin on a low coffee table with the under layer beneath. Seated play often reduces wandering and spills.
If you need more indoor play ideas for tight spaces, peek at Indoor & Rainy Day Play. For more bin inspiration, visit Sensory Play & Bins.
Safety notes
- Supervision matters: Many common fillers (especially dried rice and beans) are choking hazards for toddlers who mouth objects. Stay close and choose larger, age-appropriate materials when needed.
- Water needs 1:1 supervision: Even small amounts of water require constant, arm’s-reach attention.
- Watch for slipping: Water plus smooth floors can get slick fast. Towels and a defined wet zone help.
- Allergies and sensitivities: If a child has known sensitivities, choose fillers accordingly and keep play surfaces clean.
- Pets: If pets share your space, keep tiny fillers securely stored to avoid snacking or tracking.
Keep fillers fresh
- Wet rice, beans, pasta, and edible fillers: Do not store these for reuse. Toss after play to avoid mold and smells.
- Water bins: Empty right after play, then rinse and dry the bin before storing.
- Dry fillers: If they start to look dusty, clumpy, or full of crumbs, it is okay to refresh them. A quick sift can help, but sometimes the kindest choice is to discard and start clean.
Troubleshooting mess escapes
If rice is everywhere
- Lower the fill level.
- Switch to a bigger filler (large pasta, foam shapes, scarves) for a while.
- Move the bin into a pool or into the bathtub for extra containment.
If dumping is the main event
- Offer a dumping station inside the bin: two bowls to pour between.
- Use heavier containers that do not tip easily.
- Try a smaller bin that is harder to lift and flip.
If kids keep leaving with sensory hands
- Put a damp cloth right at the boundary and make “wipe, then walk” the routine.
- Keep tools and add-ins inside the play zone so there is less wandering.
One last fluffy-duckling reminder
Sensory play is allowed to be a little messy. The goal in a small house is not to stop the mess completely. The goal is to tell the mess where to live. With a good under layer, a clear boundary, and a simple cleanup basket, rice and sand can stay in their lane and your living room can still feel like a living room.
Now, wings ready? Let’s scoop, pour, and play.