Let’s dive in and make a wonderful, happy, low-mess together! A contact paper sticky wall is one of my favorite rainy-day art tricks because it gives toddlers that big, satisfying “stick it!” feeling without glue bottles, drips, or paper scraps taped all over the house.
What a sticky wall is (and why toddlers love it)
A sticky wall is a big sheet of clear contact paper hung with the sticky side facing out. Toddlers add lightweight art bits (like tissue paper and yarn), peel them off, and rearrange again and again.
- Low-mess: No glue, no paint, no drying time. (You may still get a few dropped bits on the floor, and that is normal.)
- Big-motor friendly: Standing and reaching are great for whole-body play.
- Fine-motor practice: Pinching, placing, smoothing, and peeling build hand strength.
- Instant “I did it!” Collages look bright right away, especially on a sunny window.
Materials
- Clear contact paper (shelf liner style)
- Painters tape (gentler for walls and window frames)
- Optional: masking tape or washi tape for extra reinforcement
- Collage pieces: tissue paper squares, yarn snippets
- Optional tools: child-safe scissors for yarn cutting, a small tray or shallow bin to hold materials
Simple supply tip: Pre-cutting tissue paper and yarn keeps the activity truly toddler-led. Little hands can grab and place without waiting for grown-up help.
Best place to hang it
Window (my top pick)
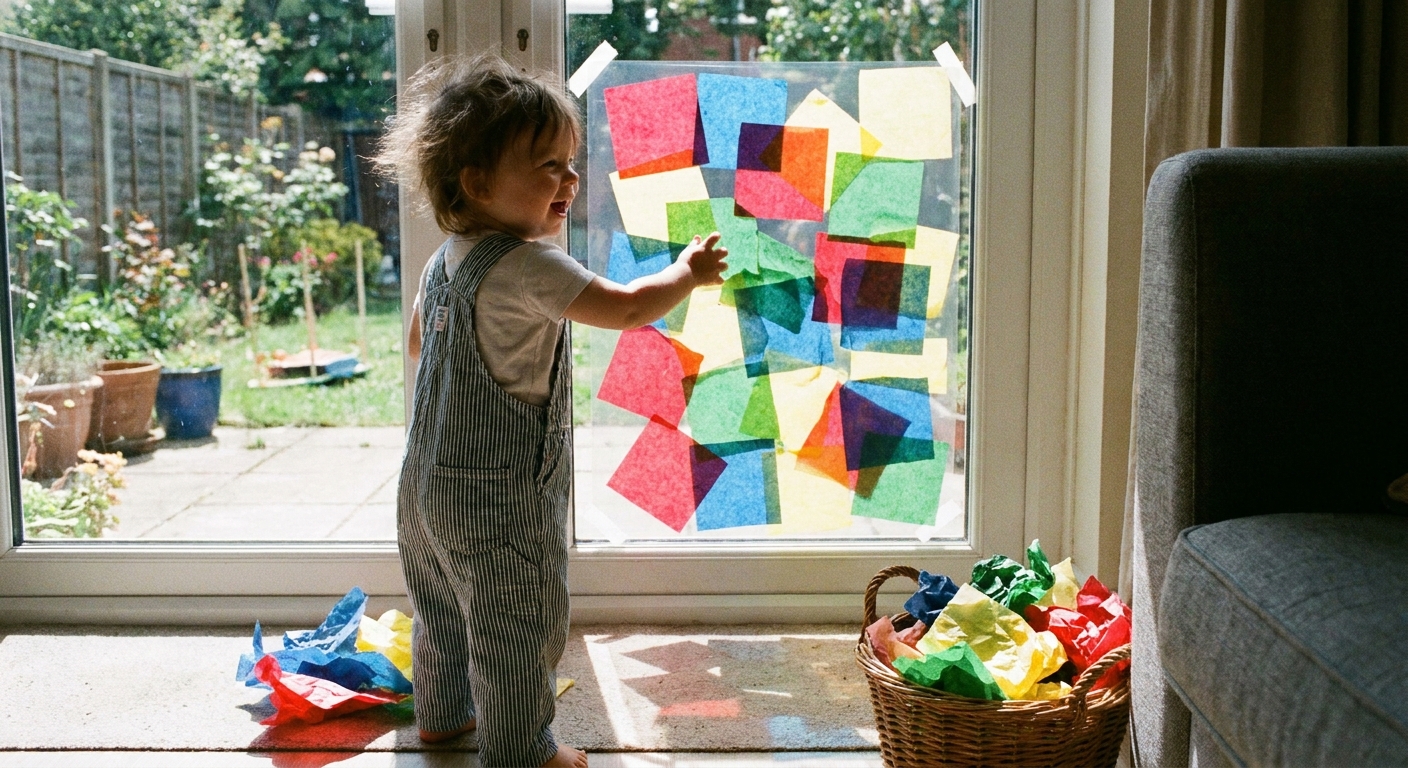
Windows make colors glow and usually clean up easily. Choose a low windowpane or a glass door panel where your toddler can reach comfortably.
Quick test first: Before you commit to a big sheet, test your tape (and even a small corner of contact paper) on an inconspicuous spot, especially on painted trim. Heat and direct sun can make some adhesives leave residue.
Smooth wall
A smooth, clean wall works too. Pick a spot that is easy to supervise and far from anything you do not want taped.
A sliding glass door
Great for big art and lots of reaching space. Just be sure the tape will not interfere with opening and closing the door.
Avoid: freshly painted walls, textured walls, wallpaper, or delicate surfaces that can lift when tape is removed.
Step-by-step: Set up a contact paper sticky wall
1) Prep the collage pieces first
Cut tissue paper into small squares or rectangles. Snip yarn into short lengths (about 3 to 6 inches is toddler-friendly and less tangly).
- Tissue paper: small pieces stick easily and are satisfying to layer
- Yarn: adds texture and encourages careful placing
2) Cut contact paper to size
A good starter size is roughly poster-sized. Bigger is wonderful, but start smaller if you are new to sticky walls or short on space.
3) Tape the contact paper up before removing the backing
This is the easiest way to avoid the contact paper folding onto itself.
- Hold the contact paper up with the backing still on.
- Tape the top edge securely with painters tape.
- Tape the side edges lightly so it stays aligned.
4) Reveal the sticky side slowly
- Starting at the top, peel the backing paper down a little at a time.
- As you peel, tape down the side edges and bottom edge to keep everything smooth and flat.
Goal: A tight, flat sheet with the sticky side facing out so little hands can press and smooth without the sheet flopping.
5) Offer materials in small, calm batches
Set out a small tray with tissue paper and yarn. Too many pieces at once can turn into a “dump and scatter” moment.
6) Invite your toddler to stick, peel, and rearrange
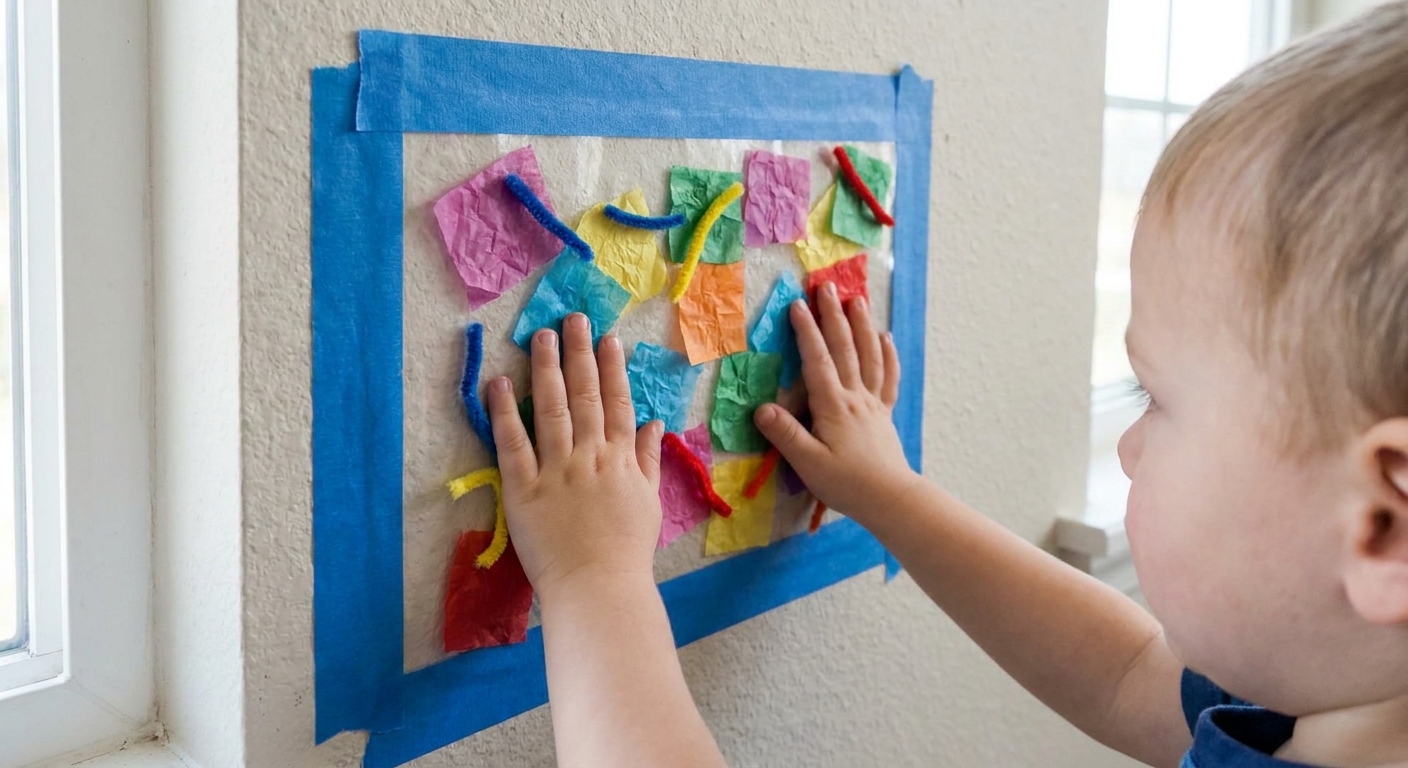
Demonstrate one simple motion: press and smooth. Then step back and let the collage grow. Toddlers often love repeating the same action again and again.
How to secure it safely
Tape tips that help
- Use long strips of painters tape across the top edge like a header.
- Reinforce corners with extra tape if your toddler likes to pull.
- Keep the bottom edge taped so the sheet does not flap while sticking pieces.
Height matters
Hang the sticky area at your toddler’s chest level so it is easy to reach without stretching, climbing, or tipping forward.
Supervision note
This activity needs close supervision, especially for kids under 3. Small collage bits can become choking hazards, including tissue paper wads, little yarn snippets, or anything a toddler might try to mouth. If your child is in a mouthing phase, use larger pieces (harder to wad up) and skip yarn.
If you need extra ideas for toddlers who mouth everything, this post can help: 10 Taste-Safe Sensory Bin Fillers for Toddlers Who Mouth Everything.
Easy collage ideas
1) Color splash collage
Offer two colors of tissue paper and invite your toddler to fill the whole sticky wall. Great for simple choices and color naming.
2) Lines and loops
Use yarn pieces in different lengths. Toddlers can make straight lines, curves, or little piles. Encourage “press and smooth” to make the yarn stick.
3) Window sun-catcher
On a window, overlapping tissue paper makes new colors where pieces layer. The light does the magic.
4) Big shapes
Grown-ups can place a simple outline first using yarn (a circle, a heart, a big letter shape), then toddlers fill it with tissue paper.
Age tweaks
- Younger toddlers: use larger tissue rectangles, fewer pieces at a time, and a smaller sticky wall.
- Older toddlers: add a simple pattern challenge (stripes, rainbow order) or make one big letter and fill it in together.
Clean-up and taking it down
To pause and save it
Leave the sticky wall up for another day. If you want to protect the collage from dust or curious pets, press a second sheet of contact paper on top, sticky side down, to “seal” it.
To remove it
- Peel off collage pieces. You can toss them, or save a few favorites. Just know they often lose stickiness once they get linty.
- Slowly remove tape from the wall or window.
- Roll the contact paper into a ball and toss it.
Surface tip: If tape feels stubborn, pull it back on itself slowly at a low angle rather than straight out.
Troubleshooting
The contact paper keeps curling
Hang it with the backing on first, then peel the backing down gradually while taping the sides and bottom.
Pieces are not sticking well
- Try smaller tissue pieces.
- Press and smooth with a flat hand.
- If the sheet has collected lint or dust, start fresh with a new piece of contact paper.
My toddler wants to rip it down
Reinforce edges with more tape and offer a job that satisfies the “pull” urge, like peeling tissue pieces off and putting them back on. If throwing is the main game, these tips can help with sensory materials too: How to Stop Your Toddler from Throwing Sensory Bin Fillers.
Too many dropped pieces
Place a towel or small blanket underneath, or offer materials from a shallow bin to keep pieces corralled. For more ways to keep play tidy in tight spaces, visit Containing Sensory Bin Mess in a Small House.
Make it a cozy rainy-day plan
A sticky wall pairs beautifully with other low-mess indoor activities. If your little one loves hands-on experimenting, you might also enjoy No-Mess Sensory Bags with Household Items or browse more ideas in Indoor & Rainy Day Play.
Now waddle on over, press those tissue squares, and let your toddler’s masterpiece glow in the window.