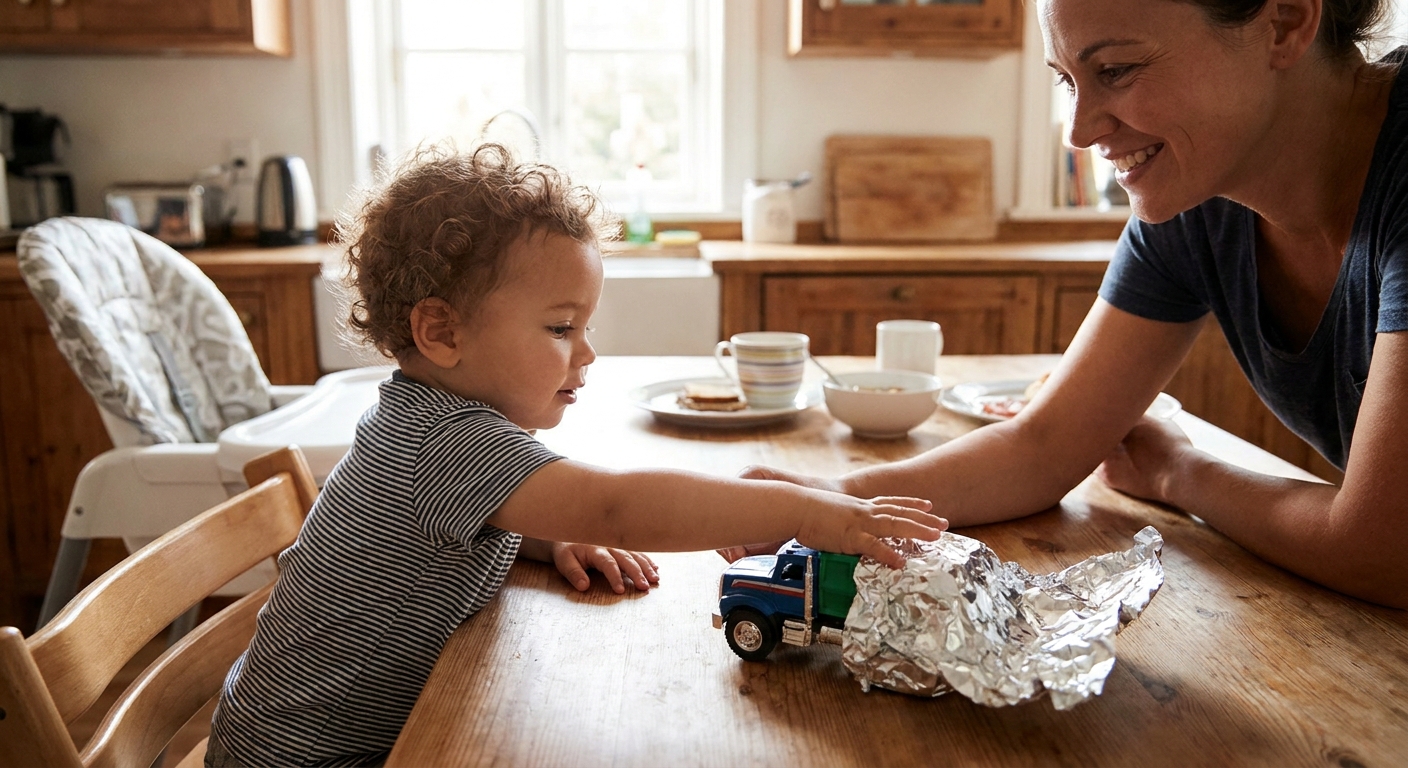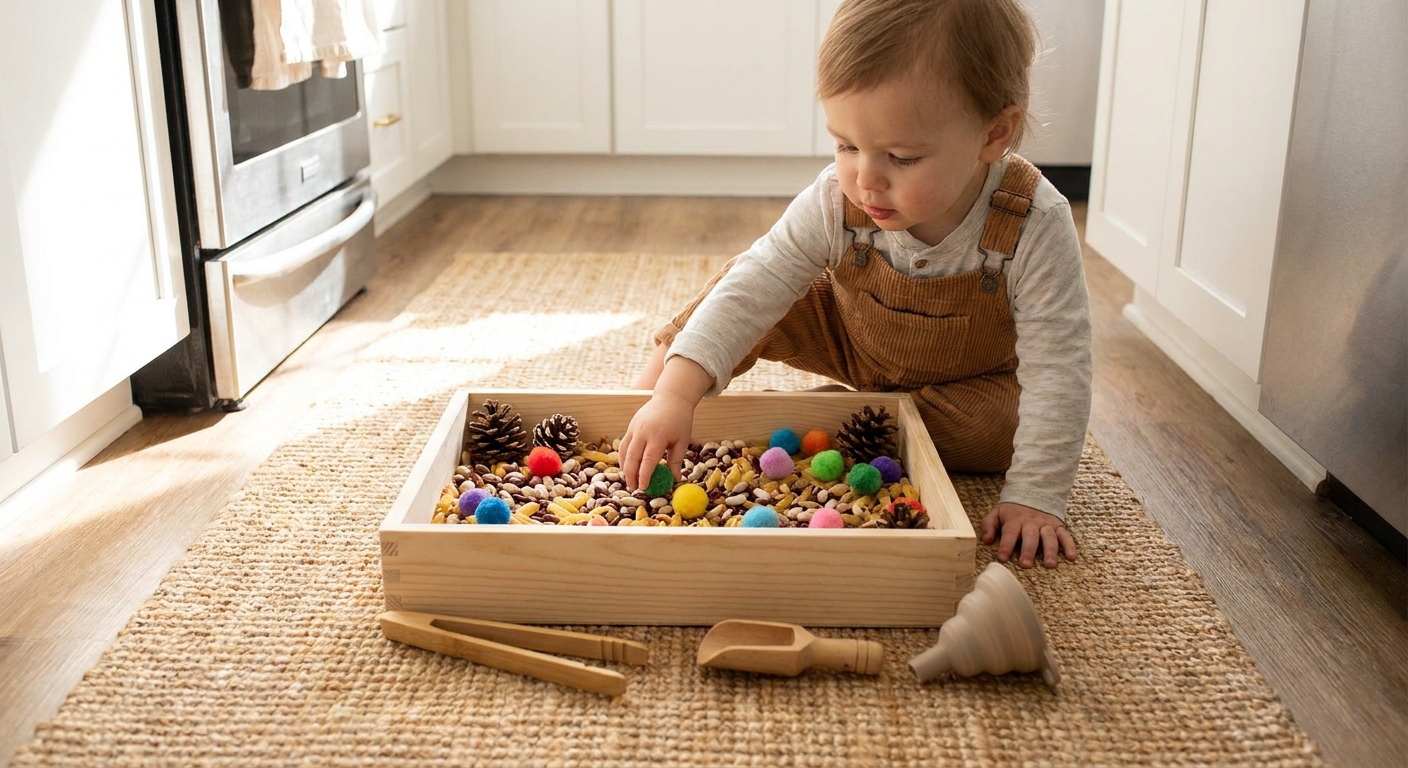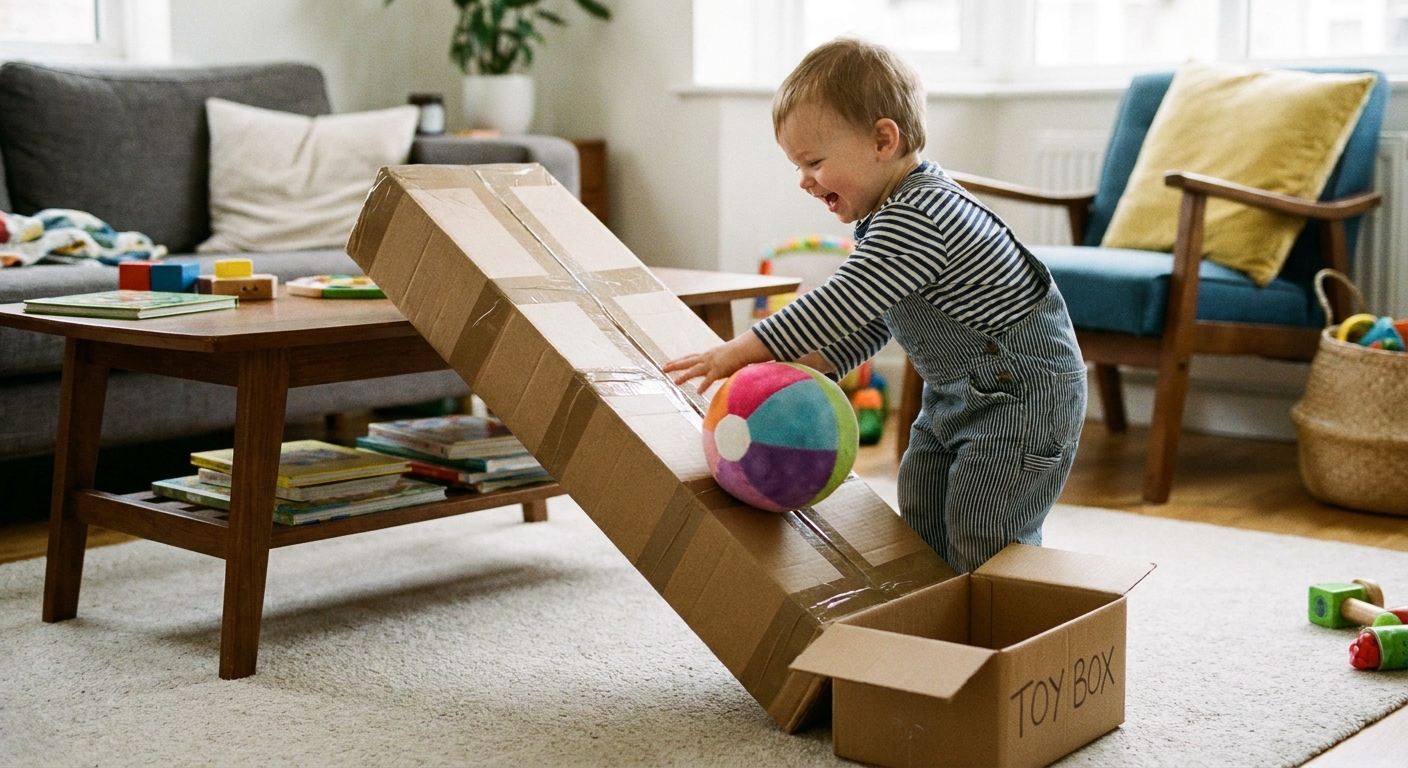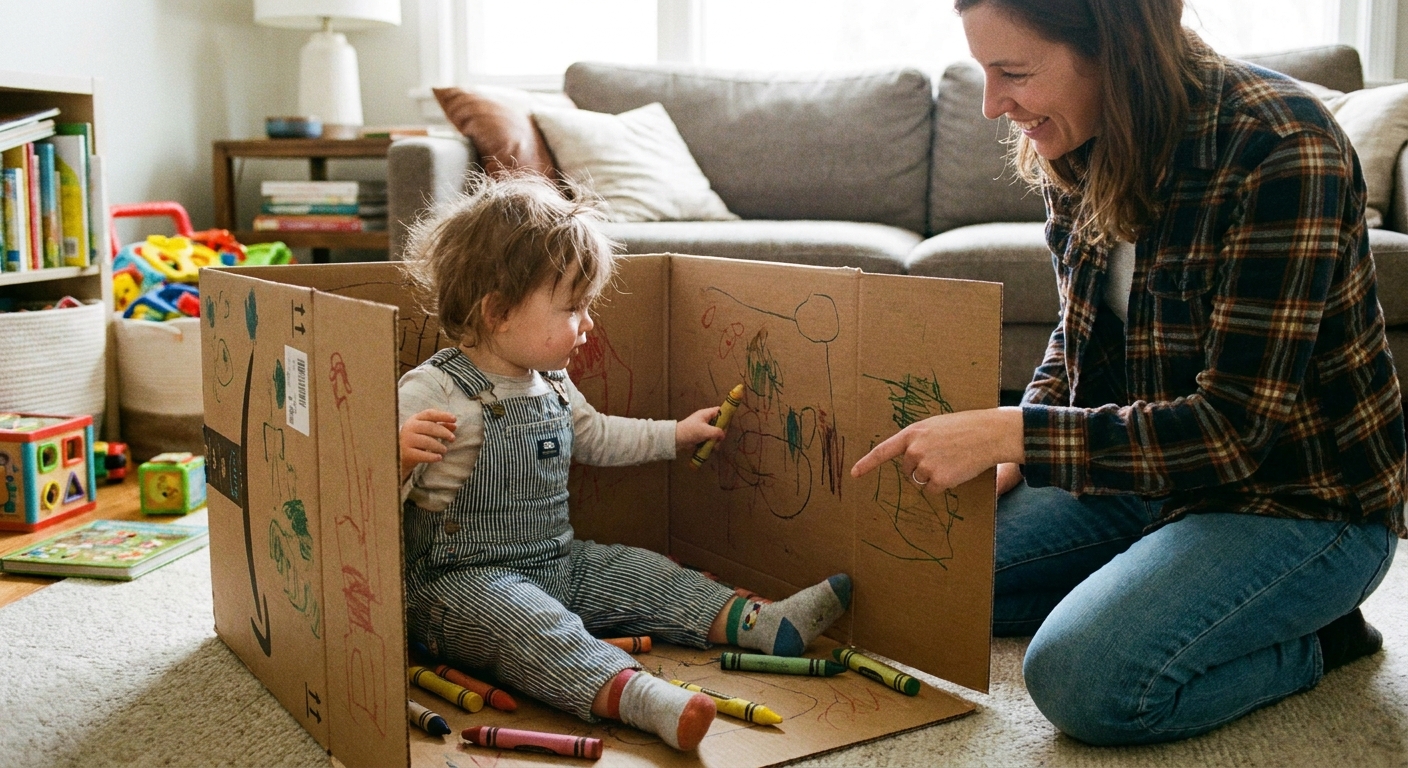
Let’s dive in and make a wonderful, happy mess together! A DIY shape sorter is one of those magic toddler activities that looks simple, but can quietly support big early learning skills. With a few recycled containers and some careful cutting, toddlers get to practice matching, turning, posting, problem-solving, and that proud little “I did it!” feeling.
Good to know: Prep is about 10 to 20 minutes (grown-up only). Play time is however long your toddler wants to “post and dump.” This works best for toddlers with close supervision, especially if your child is still in a mouthing phase.
Why shape sorters are powerful
Shape sorting is more than matching. It can help toddlers practice and build:
- Spatial awareness: figuring out how an object fits into a space
- Visual discrimination: noticing edges, corners, and differences between shapes
- Fine motor strength: grasping, rotating, and pushing pieces through a slot
- Problem-solving: trying, adjusting, and trying again
- Early math language: in, out, same, different, corners, sides, bigger, smaller
If you want more easy learning setups like this, the Early Learning & Development page is full of playful ways to build skills through everyday materials.
Quick safety notes
Puddle here, waddling in with the grown-up reminders. Cutting plastic and cardboard can leave sharp edges, so all prep needs to happen without little helpers underfoot.
- Grown-up prep only: do all cutting and hole-starting yourself.
- Smooth every edge: cover slot edges with strong tape, then check with your fingertip.
- Use big, chunky pieces: skip anything that could be a choking hazard.
- Supervise closely: especially for toddlers who mouth toys.
- Check tape often: tape can peel over time, so do a quick check before each play.
If your child is in a heavy mouthing phase, stick with large, soft pieces and consider taste-safer sensory play ideas too. The list at 10 Taste-Safe Sensory Bin Fillers for Toddlers Who Mouth Everything can help you plan other safe, satisfying activities.
What to recycle for the base
Start by giving your container a quick wash and dry (especially if it held food). Then pick something sturdy. Here are toddler-friendly favorites:
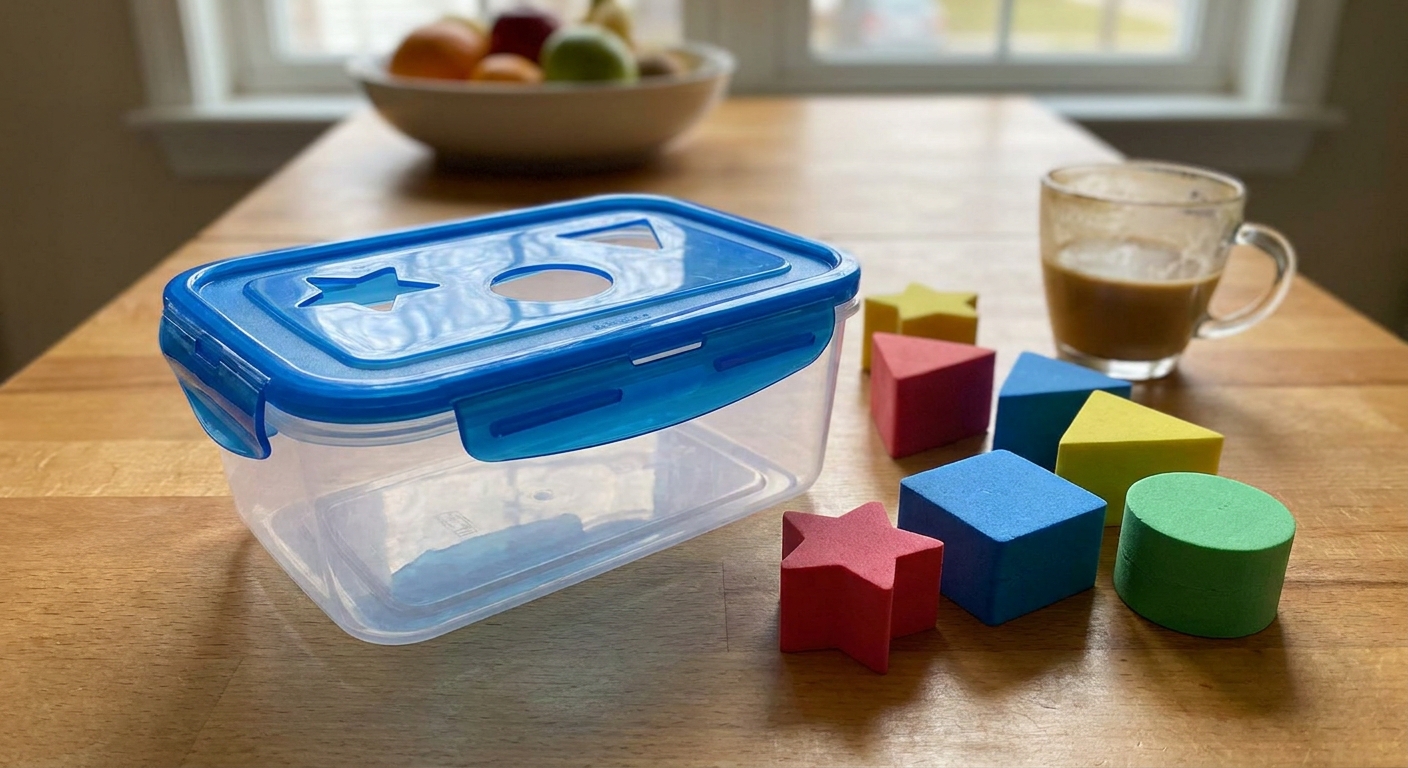
- Plastic food containers with lids (round or rectangle)
- Oatmeal canisters with plastic lids
- Yogurt tubs with a firm snap-on lid
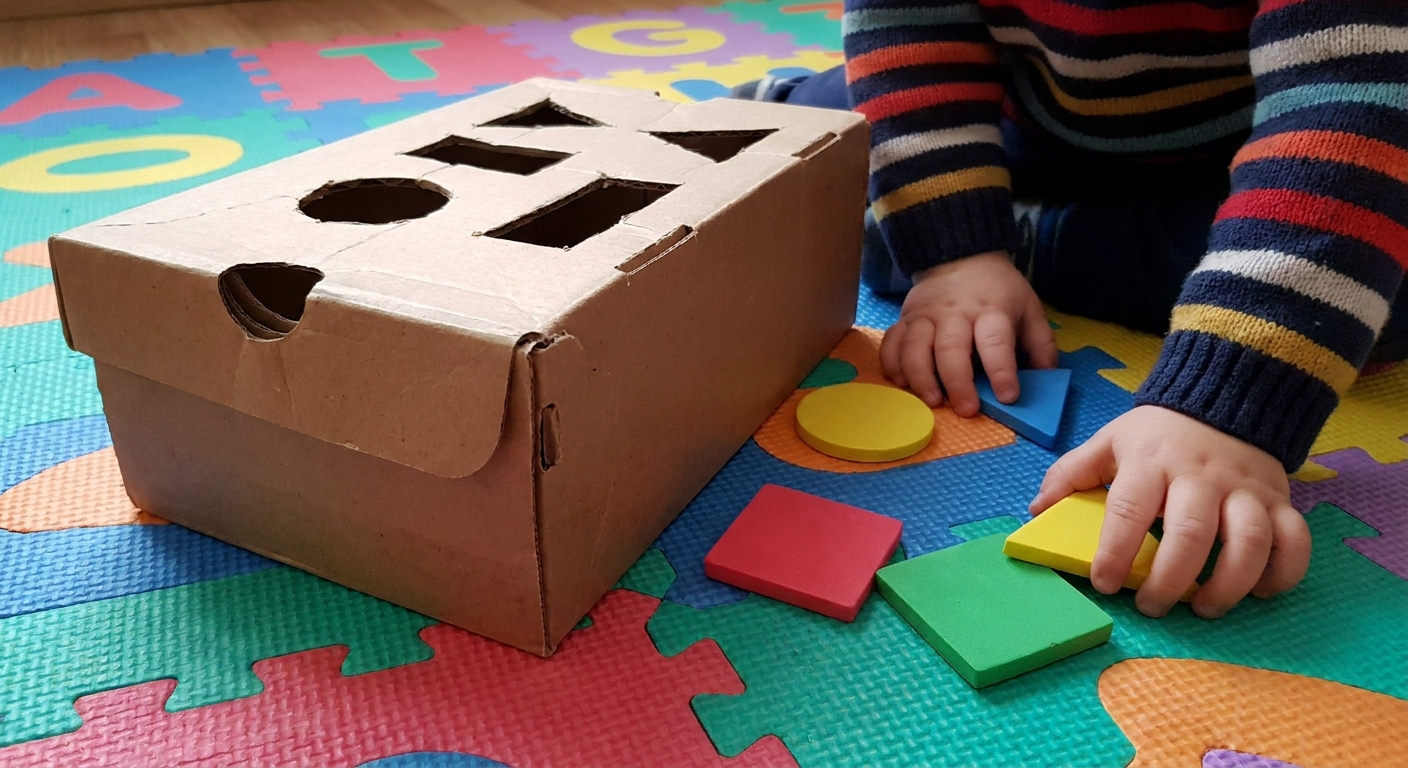
- Shoe boxes or small delivery boxes
- Empty tissue boxes (great for beginner “posting”)
Cardboard fans can also peek at Cardboard Box Play: 12 Delivery Box Ideas for Toddlers for more ways to turn a box into learning fun.
What to use for the shapes
The best shapes are chunky, easy to grip, and consistent so toddlers can learn what makes a triangle a triangle.
Easy DIY shape pieces
- Craft foam sheets: cut and double-layer with glue for stiffness
- Cardboard: cut thick pieces from a shipping box and tape the edges
- Felt: best for older toddlers since it bends and can be frustrating at first
- Foam sponges: cut into simple shapes for a soft, easy-to-post option
Upcycled household “shapes”
- Jar rings (circles)
- Large bottle caps (circles)
- Paint stir sticks cut into short lengths (rectangles, grown-up prep)
Keep the first set small: 2 to 4 shapes total is plenty for beginners.
Tools for clean slots
You do not need fancy tools, but the right tool for the material helps you get smoother edges.
- Permanent marker (to trace shapes)
- Scissors (best for cardboard)
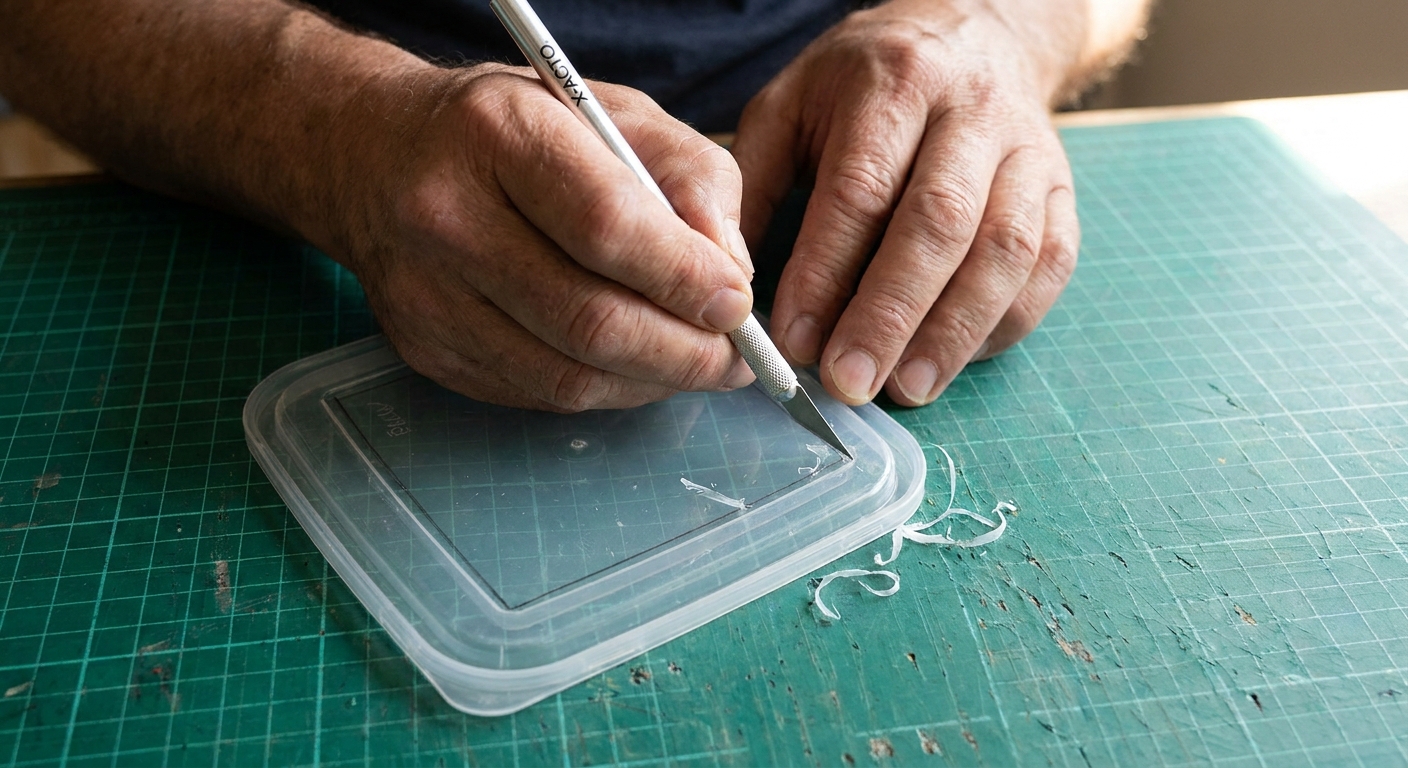
- Craft knife or box cutter (grown-up only, best for thick plastic lids)
- Cutting mat or a thick piece of cardboard under your work
- Sandpaper or an emery board (grown-up use only, keep out of reach)
- Strong tape (packing tape or duct tape to cover slot edges)
If you want the sorter to last, tape is your best friend. It also makes the opening smoother for little hands pushing pieces through.
How to cut custom slots
This method works for plastic lids and box tops, and it creates slots that actually match your pieces.
- Pick your shapes first. Cut your foam or cardboard shapes and make sure they are big enough to hold comfortably.
- Trace the shapes. Place each shape on the lid or box top and trace around it with a marker.
- Adjust the outline for your toddler. For beginners, cut on the traced line (or even a hair outside it) for easy success. For older toddlers who like a challenge, you can draw a second line slightly inside the tracing for a snug fit.
- Start a pilot hole. For plastic lids, carefully puncture a small starter hole away from fingers.
- Cut slowly. Keep turns smooth, especially on circles and triangles.
- Reinforce edges. Cover the cut edge with tape. Press firmly and trim excess tape.
- Test with the shapes. The shape should go through with gentle pressure. If it needs force, widen the slot a tiny bit.
3 easy builds
1) The classic plastic-lid sorter
Best for: sturdy, reusable sorting that is easy to open and empty.
- Container: plastic food container with snap lid
- Slots: 3 to 5 shapes on the lid
- Pieces: craft foam shapes, double-layered
Helpful tip: Make the lid the “work side” so dumping out the shapes feels like a fun reset.
2) The shoebox sorter for big shapes
Best for: beginners and toddlers who need larger openings.
- Container: shoebox with lid
- Slots: 2 to 4 large shapes
- Pieces: thick cardboard shapes with taped edges
Helpful tip: Reinforce the slot area with an extra layer of cardboard under the lid before cutting.
3) The tissue-box posting station
Best for: younger toddlers learning the idea of posting objects into a hole.
- Container: empty tissue box
- Slot: keep the original opening or cut one wide rectangle
- Pieces: big sponge chunks, jumbo felt squares, or thick foam shapes (choose pieces that cannot fit in your child’s mouth)
Helpful tip: Start without matching. This one is about “in” and “out” first, then you can add shape matching later.
Make it a learning game
Toddlers learn best when play stays playful. Try these simple tweaks:
Use just-right words
- “Turn it.”
- “Try a different side.”
- “You found the corners.”
- “That one has three sides. Triangle!”
Add a movement twist
- Place the sorter across the room and do a little “waddle walk” with one shape at a time.
- Hide the shapes and do a mini scavenger hunt, then post them when found.
For more whole-body indoor play, take a peek at 9 Indoor Gross Motor Activities for Rainy Day Toddler Energy.
Level up by stage
Every toddler is different, so think in stages instead of strict ages.
Stage 1: Posting only
- One big opening
- Soft, easy-to-grab pieces
- Goal: explore “in” and practice releasing objects
Stage 2: Two shapes
- Circle and square are friendly starters
- Keep openings forgiving
- Goal: first matching wins
Stage 3: Add tricky shapes
- Triangle, rectangle, oval
- Goal: rotate and problem-solve
Stage 4: Sort by attribute
- Same shape in different colors
- Same color in different shapes
- Goal: flexible thinking and attention to detail
Make it sturdier
- Reinforce cardboard lids with an extra layer of cardboard taped underneath.
- Double-layer foam shapes so they do not bend when pushed.
- Widen slots a little if a toddler needs to force it. The learning is in the matching and turning, not the struggle.
- Use fewer slots if your toddler tries the same shape in every hole. Start with two openings, then add more.
If you are working in a small space, keeping activities contained is key. The tips in Containing Sensory Bin Mess in a Small House also work wonderfully for craft and DIY play setups.
Fun variations
Color-matching sorter
Make all the slots circles, but color-code each opening with tape and match colored circles. This is great for kids who love quick wins. For more color learning play, see 5 Simple Sensory Bins for Color Recognition and Sorting.
Texture sorter
Cover shapes with different textures: felt, aluminum foil, bumpy shelf liner, smooth paper. Use words like “smooth” and “bumpy” while sorting.
Number of sides challenge
For older toddlers, sort shapes by how many sides they have. Keep it light and playful: “Let’s count the sides together.”
Troubleshooting
My toddler just dumps the shapes out
That is still learning. Dumping is cause and effect, and it is satisfying. Try giving a simple rhythm: post three pieces, then dump and start again.
The shapes get stuck
Enlarge the slot slightly and add more tape around the opening. Also check if the pieces are bending. Thicker shapes slide through more easily.
My toddler mouths the pieces
Use only large, one-piece items, supervise closely, and choose a different activity if you cannot make it safe for your child. Sensory bags can be a good swap when toddlers want to explore safely with their hands. Try 7 No-Mess Sensory Bags With Household Items.
Cleanup and storage
- Store shapes inside the sorter so everything stays together.
- If pieces end up everywhere, try keeping only 2 to 4 shapes out at a time and rotate the rest later.
- Wipe the lid and pieces occasionally, especially if they land on the floor a lot.
Little learning moments
When shape sorting clicks, you might hear or see:
- More patience with trying again
- Turning and rotating the piece instead of giving up
- New words like “circle”, “corner”, “fit”, or “in”
- Sorting that continues into other play, like blocks or puzzles
That is the heart of early learning. One recycled lid, a few homemade shapes, and a toddler brain doing big work through play.