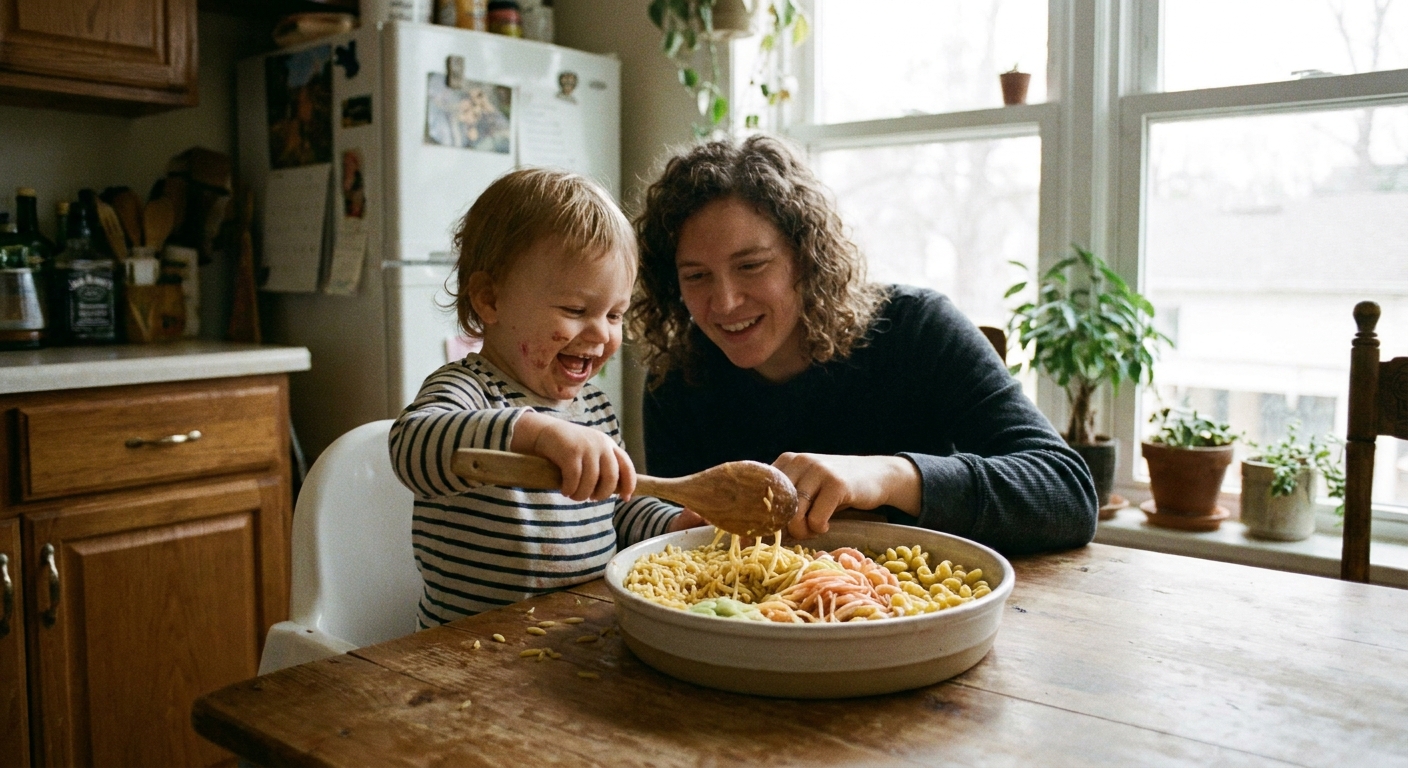
Let’s dive in and make a wonderful, happy mess together! When toddlers can touch a letter, not just see it, the alphabet becomes something their whole body can explore. Tactile letter play is all about short, playful moments: tracing, patting, pressing, and building letter shapes with interesting textures.
This kind of play is especially lovely for many kids ages 18 months to 3 years, with close supervision and simple materials sized for little hands. (And if your child is in a big mouthing stage, you can still do this. You will just choose your textures more carefully.)
Why tactile letters work
Toddlers tend to learn through movement, repetition, and sensory input. Textured letter play can help early learning by:
- Building letter recognition through repeated, playful exposure
- Strengthening fine motor skills as little fingers trace, pinch, and press
- Supporting recall by linking a letter’s shape to a physical feeling
- Reducing pressure because it feels like play, not a “lesson”
The goal at this age is not perfect recitation or writing. It is comfort and familiarity: “Oh, that shape is A!” If frustration shows up, pause and come back later. A calm, happy brain learns more than a pushed one.
Best materials for tactile play
You can introduce textured letters with store-bought options or easy DIY versions. Pick what feels manageable, then keep it simple and repeatable.
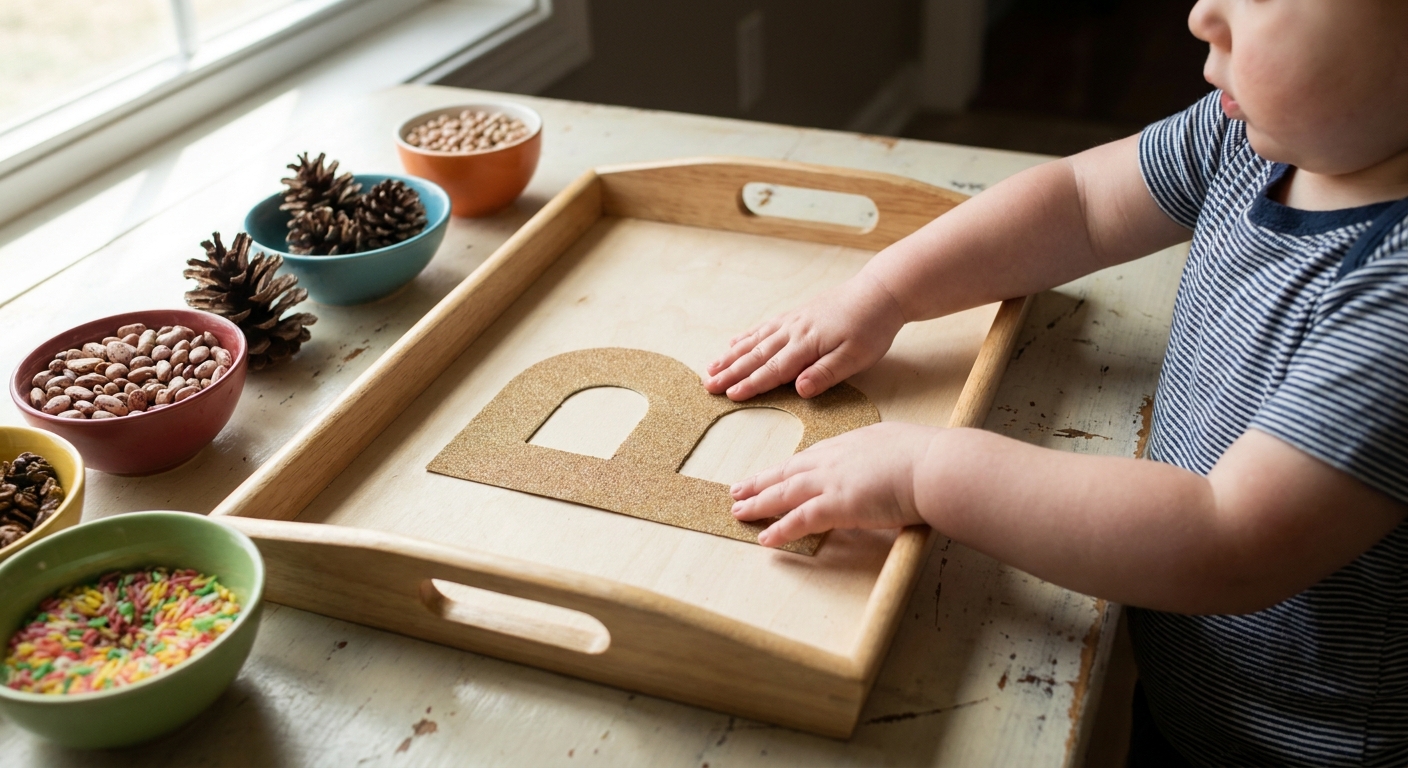
Sandpaper letters
Sandpaper letters are a classic because the texture is strong and clear. Use medium grit for a noticeable feel, but avoid anything overly scratchy.
- DIY: Cut letter shapes from sandpaper and stick them onto sturdy cardstock or thin cardboard.
- Try it: Invite your toddler to trace with one finger, then with two fingers, then with the whole hand.
Foam letters
Foam letters are soft, grippy, and easy for little hands to hold. They are also great for water play and bath time, with close supervision.
- Try it: Hide 3 to 5 foam letters in a small bin and go on a letter hunt.
Playdough letters
Playdough is perfect for “building” letter shapes and strengthening hand muscles.
- Try it: Roll dough into snakes and form one big letter together.
- Quick dough help: Use a soft, toddler-friendly recipe like the one in 5-Minute No-Cook Playdough for Rainy Afternoons.
Textured sensory tray letters
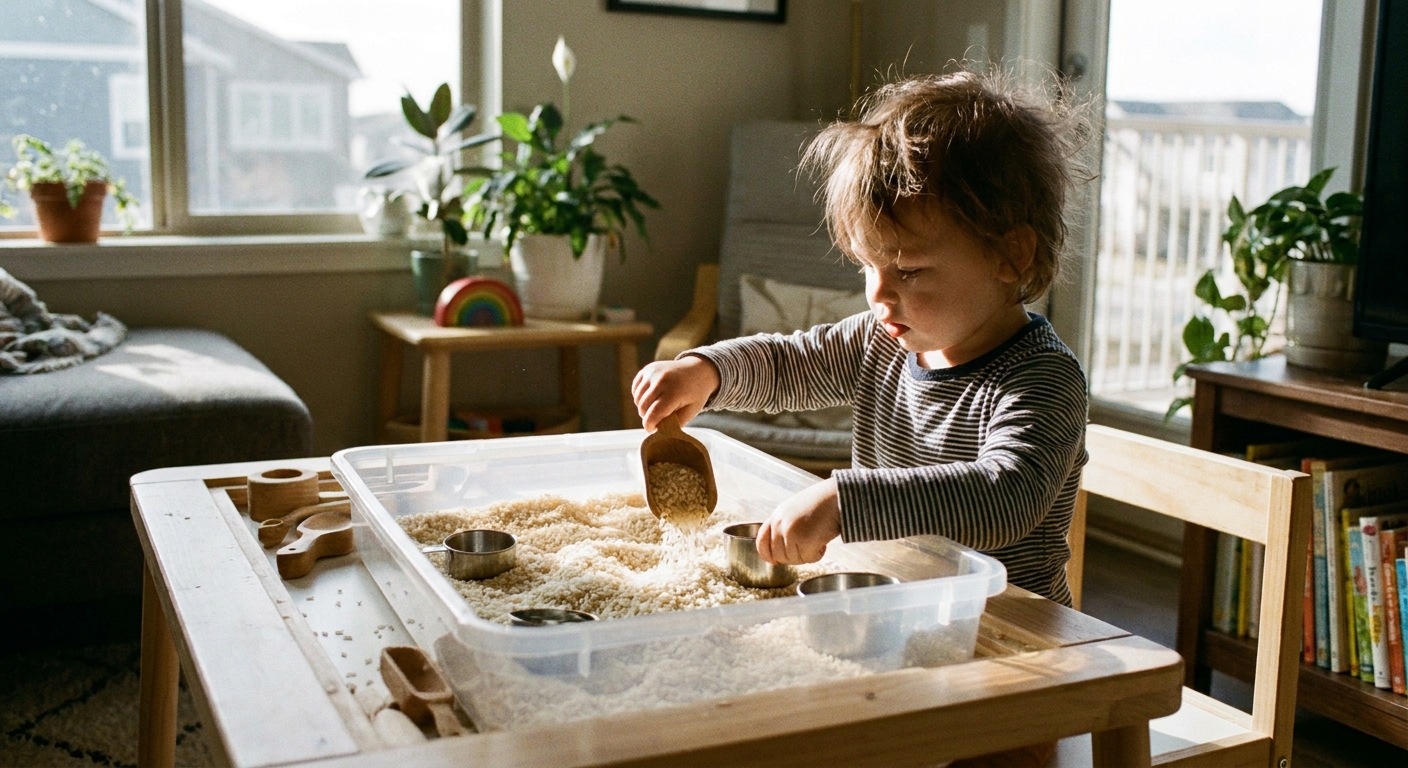
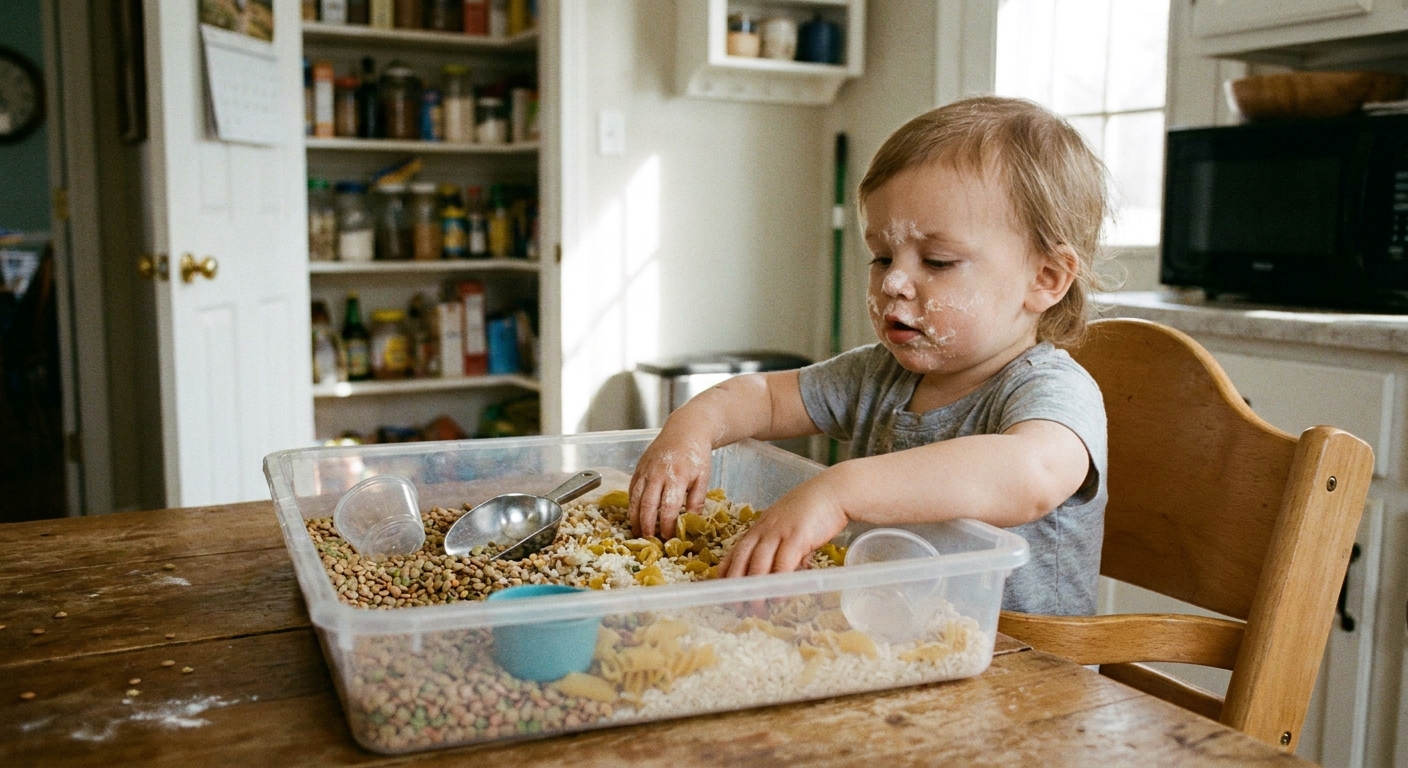
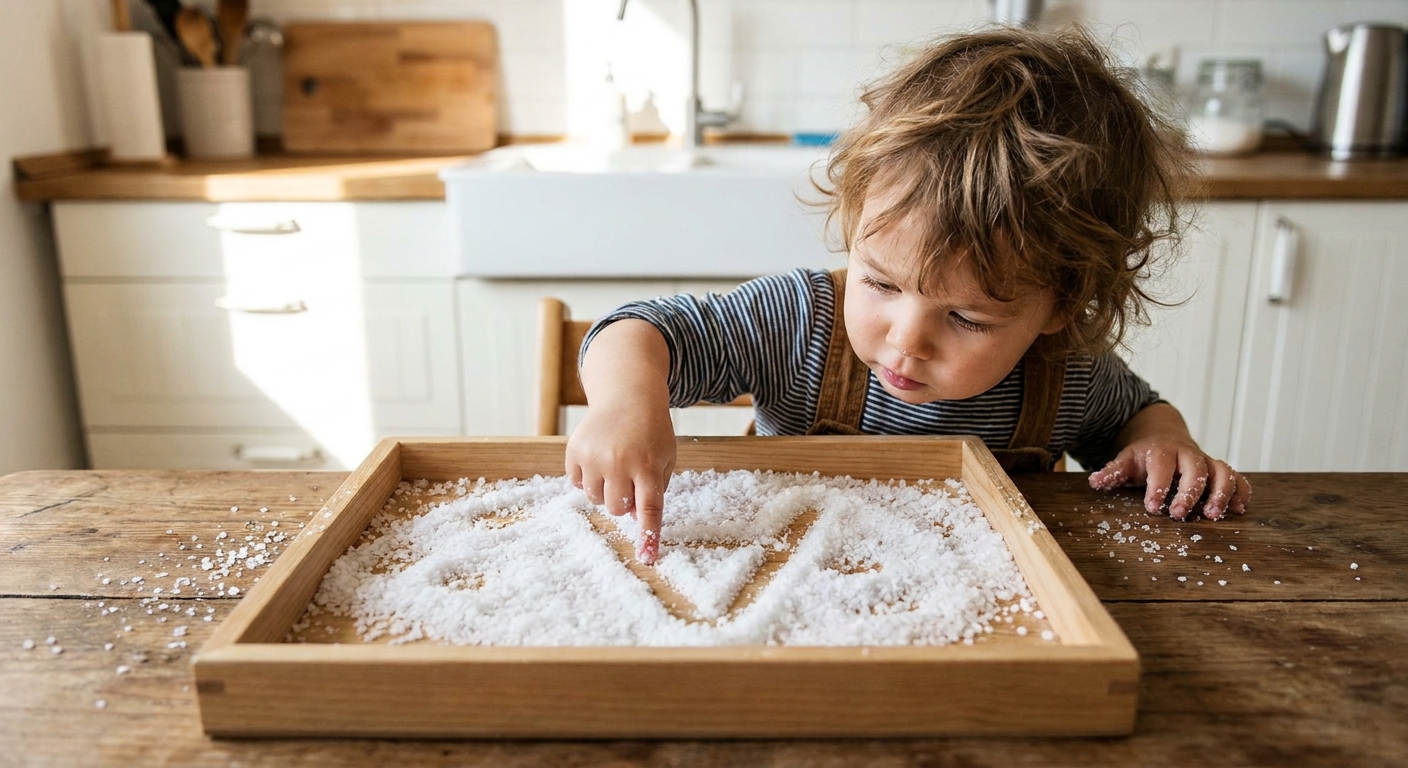
A shallow tray with a tactile filler lets toddlers draw letters with fingers and palms.
- Options: salt, sugar, sand, oats, flour, dyed rice (supervised)
- Helpful how-to: If you want colorful rice, see How to Dye Rice With Vinegar and Food Coloring.
Note: Kinetic sand is fun, but it is not taste-safe and can be very tempting to mouth. Save it for kids who are past that stage, and supervise closely.
How to start without overwhelm
The secret ingredient is going slow. Toddlers do better with a few letters that show up again and again.
Start with meaningful letters
- First letter of your child’s name
- Letters in siblings’ names
- A few easy shapes like O, L, T, A
Use tiny “letter moments”
One to three minutes is plenty. End while it is still fun.
- Trace one letter after breakfast
- Make one playdough letter before bath
- Do a quick “find the letter” game while you tidy
Pair the letter with a sound
You can say the letter name and its sound in a simple way, without drilling.
- “This is B. B says buh.”
- “A is for /a/ like apple.”
If your toddler repeats it, hooray. If not, no problem. Keep it light.
5 tactile letter activities
Each activity can be done with just a few letters at a time. That keeps the focus on exploration instead of sorting through the whole alphabet.
1) Trace and tap
Put out one textured letter. Invite your toddler to trace it, then tap along the edges like a little “letter drum.”
- Make it easier: Hold the letter steady so it does not slide.
- Make it harder: Close your eyes and guess the letter by touch.
2) Sensory tray reveal
Place a foam letter under a thin layer of salt, rice, or oats. Help your toddler brush the filler away to “discover” the letter.
- Tip: Use a small paintbrush or a soft makeup brush for gentle sweeping.
3) Playdough letter roads
Form a large letter with playdough. Then drive a small toy car along the “letter road.”
- Learning boost: Say the letter name once at the start and once at the end.
4) Sticker outline letters
Draw a big simple letter on paper. Let your toddler place stickers along the line to “build” the letter shape.
- Fine motor win: Peeling and pressing stickers is fantastic finger work.
5) Mystery bag letters
Put 2 to 4 foam letters in a small cloth bag. Your toddler reaches in, feels one, and pulls it out.
- Keep it playful: Celebrate the surprise, not the correctness.
Connect to real-life print
This is the easiest “no extra prep” way to help letters feel meaningful: casually point out the same letter out in the world.
- “Look, there’s an M on your cup.”
- “That sign has a big O.”
- “Your book starts with B, like your letter!”
No quiz, no pressure. Just quick noticing.
Keep mess manageable
Tactile play can be wonderfully messy, but it does not have to take over your whole home.
- Use a tray: A baking sheet with raised edges is great for salt, rice, and sand.
- Use a mat: A wipeable tablecloth or towel makes cleanup faster.
- Offer small amounts: Start with a thin layer of filler instead of filling a big bin.
- Store letters in a small box: Rotate a few letters each week.
If sensory materials tend to travel, you may like the practical tips in Containing Sensory Bin Mess in a Small House.
Safety notes
Many toddlers explore with their mouths. That is normal, but it changes which materials work best.
- Choose larger letters that are not choking hazards.
- Watch loose fillers closely like rice, oats, sand, and salt. These can be choking risks for young toddlers and can irritate eyes if rubbed.
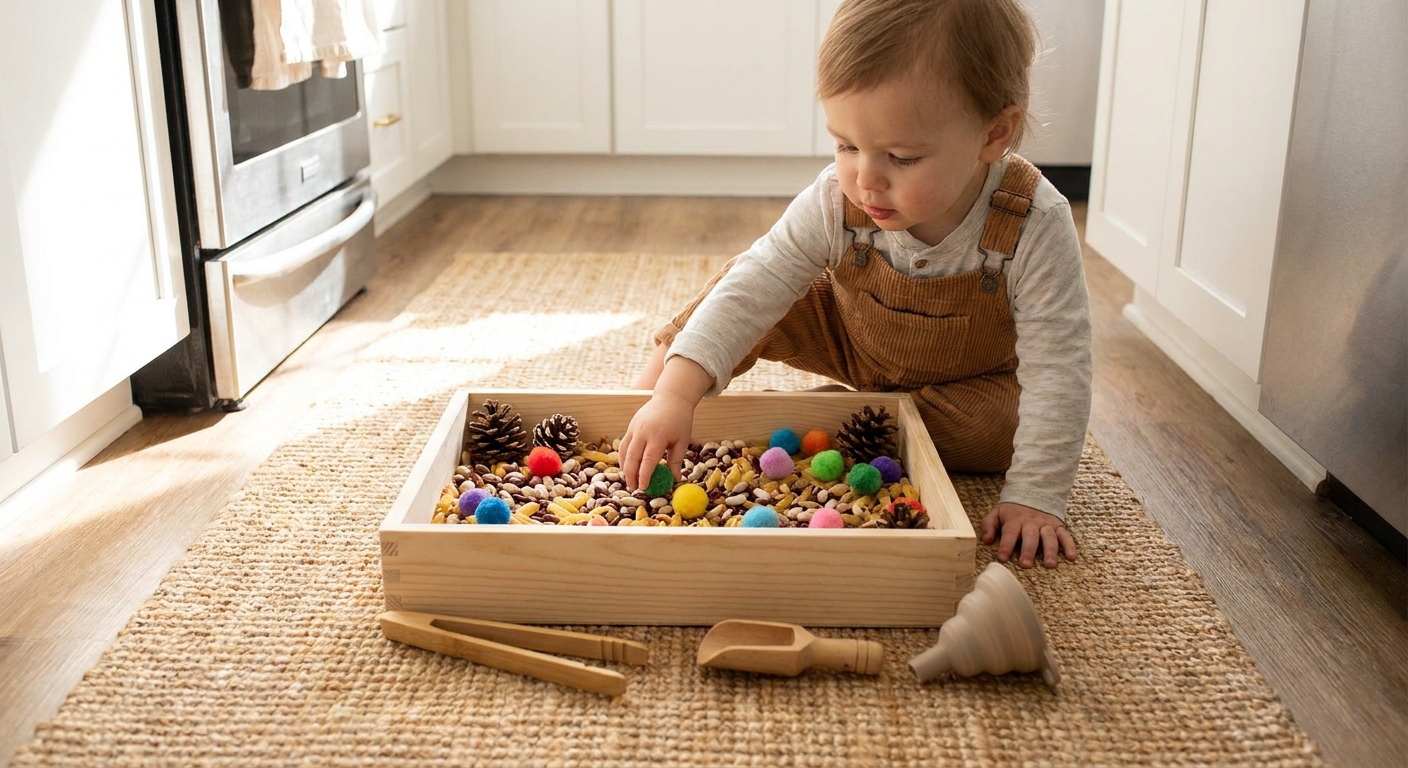
- Skip tiny loose parts (beads, mini buttons, small pom poms) during letter play.
- Use taste-safe fillers when you need extra peace of mind.
- Supervise closely and stop if your toddler starts intentionally mouthing or tossing.
For toddler-friendly options, explore 10 Taste-Safe Sensory Bin Fillers for Toddlers Who Mouth Everything.
Next step signs
You do not need to rush, but if you notice these signs, you can gently add a little challenge:
- Your toddler recognizes a letter in a book or on a sign
- They request a favorite letter again and again
- They start matching two of the same letter
- They try to draw lines and curves that look “letter-like”
Next steps can be as simple as matching foam letters to a drawn outline, or finding a letter during a color hunt style game.
What not to worry about
- Letter reversals: Sometimes toddlers flip letters or make them backward. That is common during early exploration.
- Wobbly lines: Tracing is about practice, not perfection.
- Short attention spans: A few happy seconds still counts.
If your toddler is enjoying the texture and coming back for more, you are on the right track.
Common questions
How many letters at once?
For most toddlers, 2 to 5 letters is plenty. Rotate slowly and repeat favorites.
Uppercase or lowercase first?
Uppercase letters are often easier to start with because many have straight lines and look more distinct from each other. Some lowercase letters are very simple too, so either choice is fine. Start with what your child sees most (names, books, puzzles), then mix in the other naturally over time.
What if my toddler is not interested?
That is okay. Switch the texture or switch the moment of the day. Try foam letters in water play, playdough letters during pretend cooking, or a quick sensory tray reveal. Follow curiosity, and stop before it turns into a power struggle.
A simple rhythm to try
If you want a gentle plan that does not feel like a big project, try this:
- Day 1: Introduce one textured letter and trace it together.
- Day 2: Make the same letter from playdough.
- Day 3: Find the same letter hidden in a tray or bag.
- Day 4: Add one new letter and repeat.
Little hands learn through little moments. Keep it wiggly, keep it tactile, and let the alphabet feel like play.