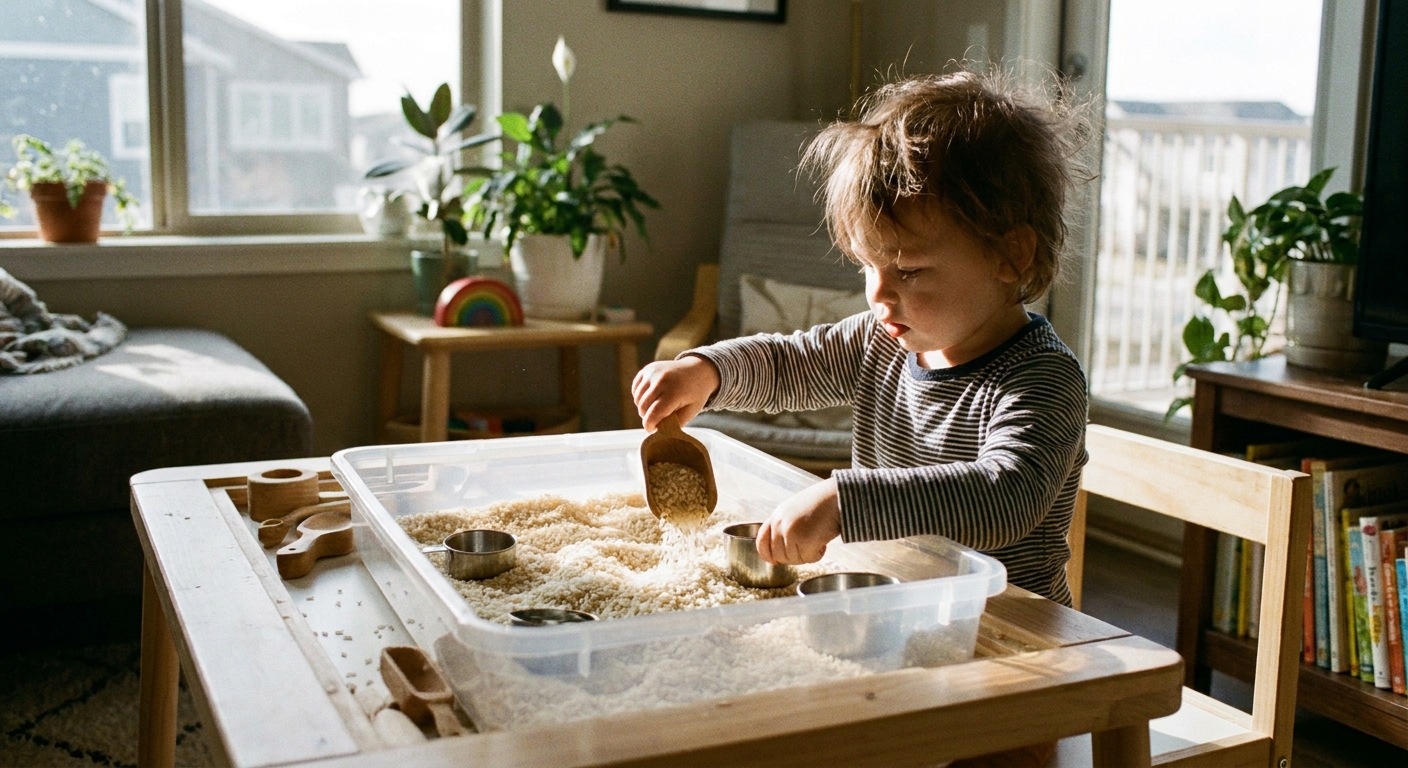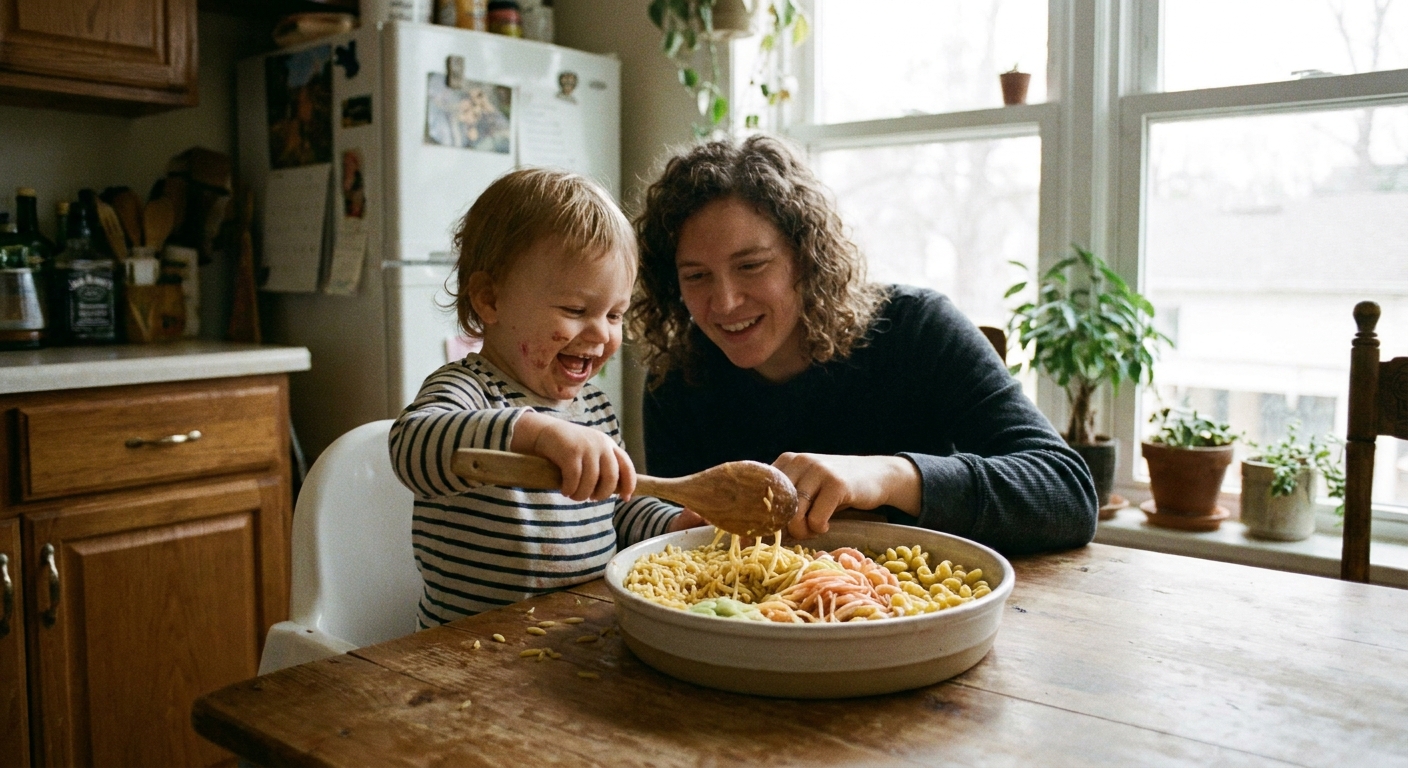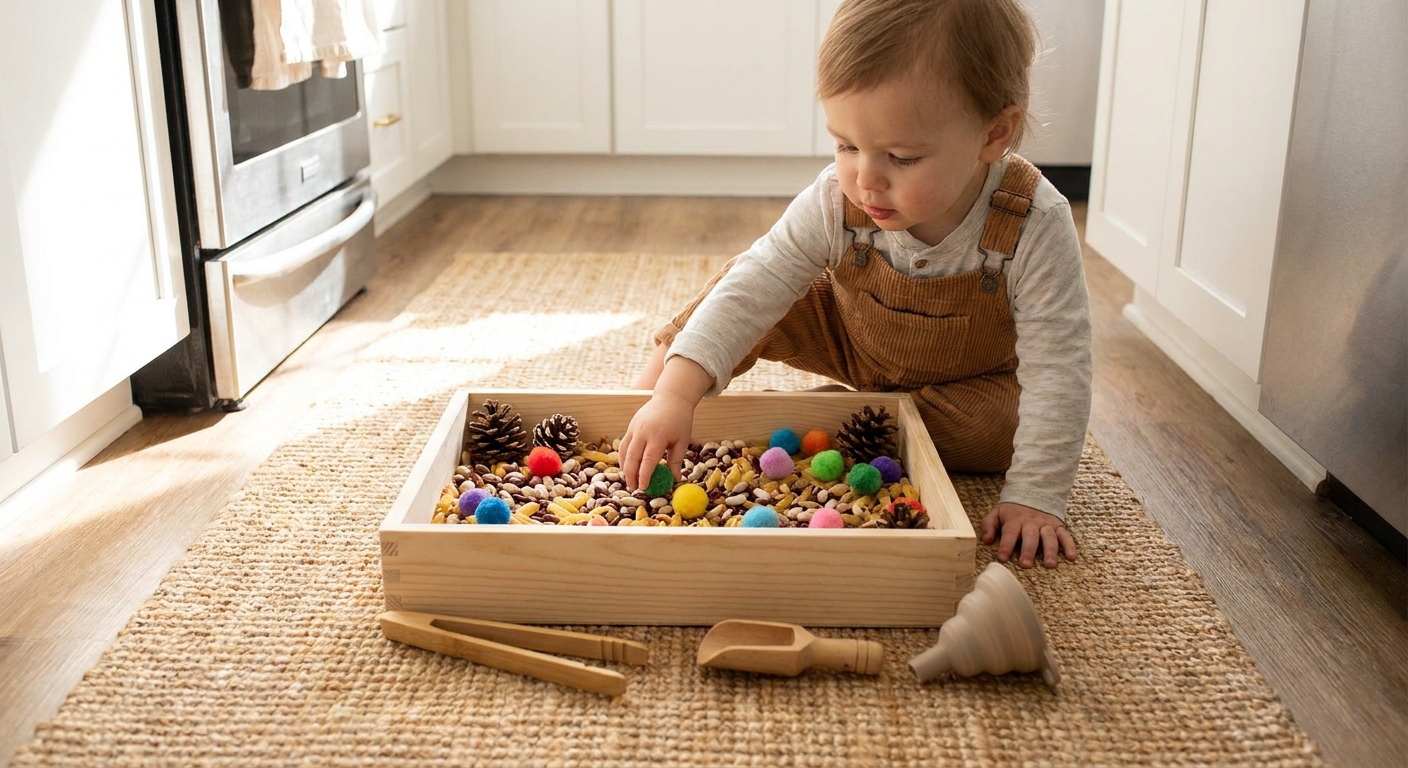
Let’s dive in and make a wonderful, happy mess together! When the day calls for something hands-on and calming, a sensory bin can appear like magic using only what’s already hiding in the kitchen pantry. These ideas are quick to set up, cozy for little hands, and easy to tweak for your toddler’s age and stage. They also sneak in fine-motor practice, early math words (full, empty, more), and that soothing scoop-and-pour rhythm that can reset a wiggly afternoon.
Before you start: quick safety and setup
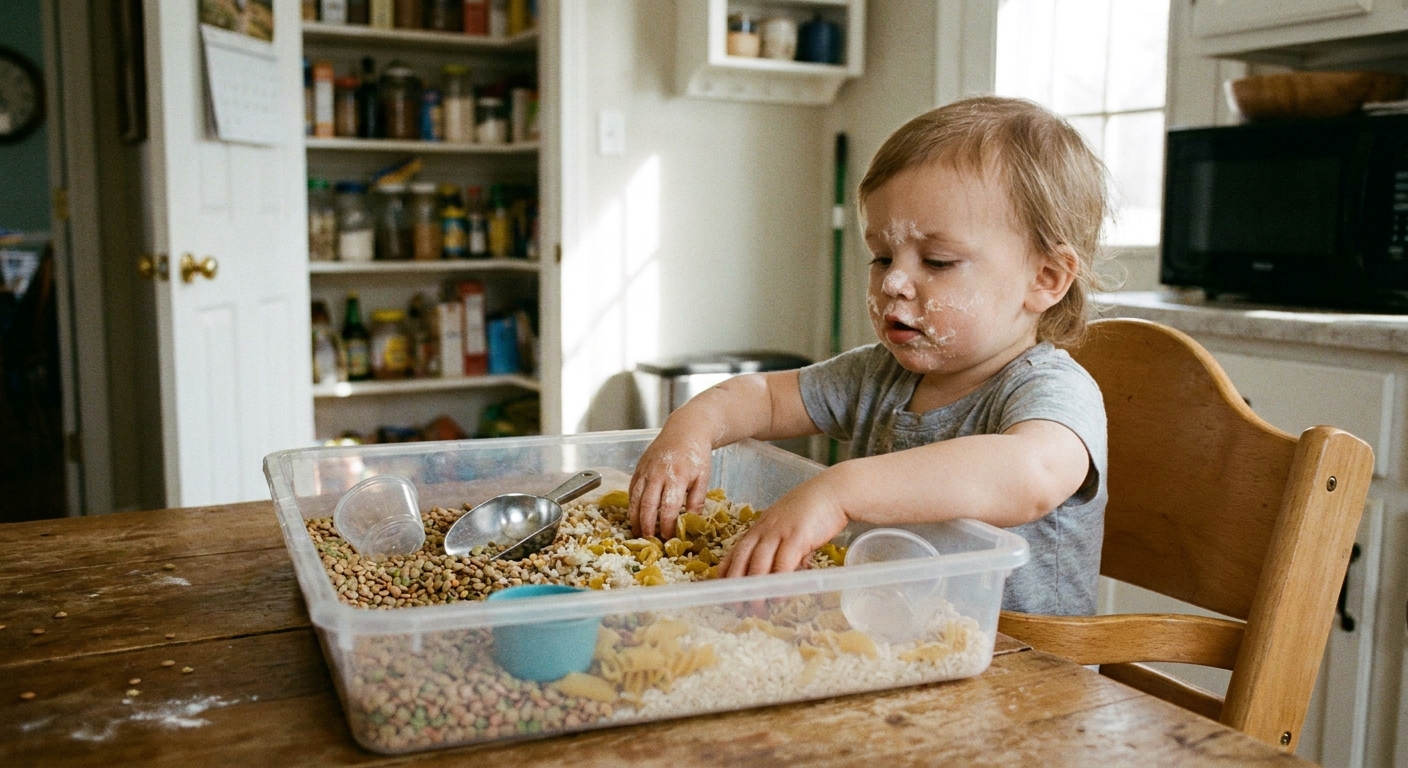
- Supervision always: Many pantry fillers are choking hazards. Stay close and choose larger items (big pasta, big scoops) for younger toddlers.
- Hard, round foods: Items like dry beans, chickpeas, lentils, rice, and small crackers can be choking hazards for young children. Use only if your child is past the mouthing stage, and only with close, 1:1 supervision.
- Raw flour note: Flour is common for sensory play, but it is not meant for eating. If your child is likely to taste, choose a different filler or use heat-treated flour and still discourage snacking from the bin.
- Powders and salt: Baking soda, cornstarch, and salt are fun textures, but they are not good choices for kids who mouth materials. Keep play brief, supervise closely, and wash hands after.
- Allergies and sensitivities: Watch for gluten (flour, pasta), oats, and spices. Try a tiny amount first if your child has sensitive skin, eczema, or asthma.
- Pick the right bin: A shallow under-bed tote, roasting pan, or large baking dish works great.
- Keep tools simple: Measuring cups, spoons, a whisk, a small strainer, a muffin tin, and silicone baking cups are perfect.
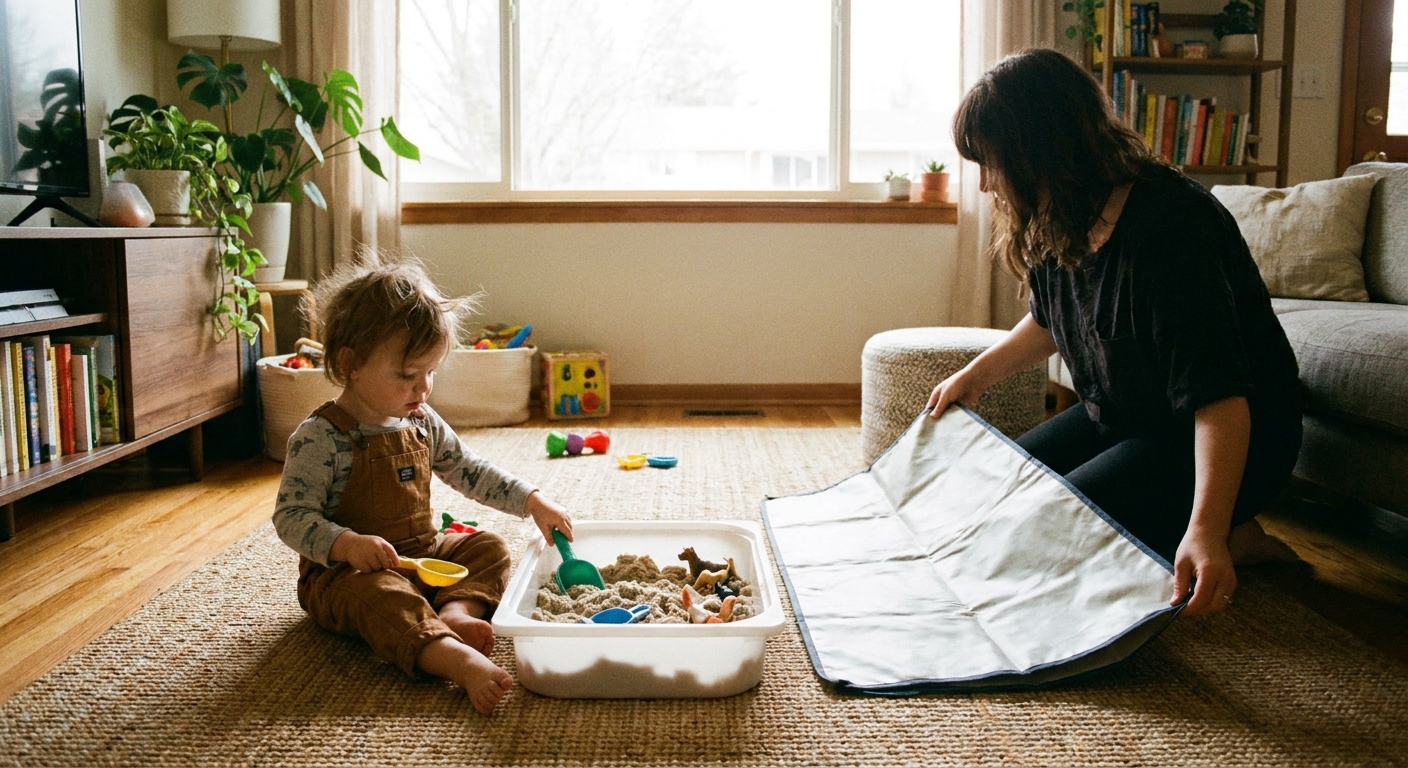
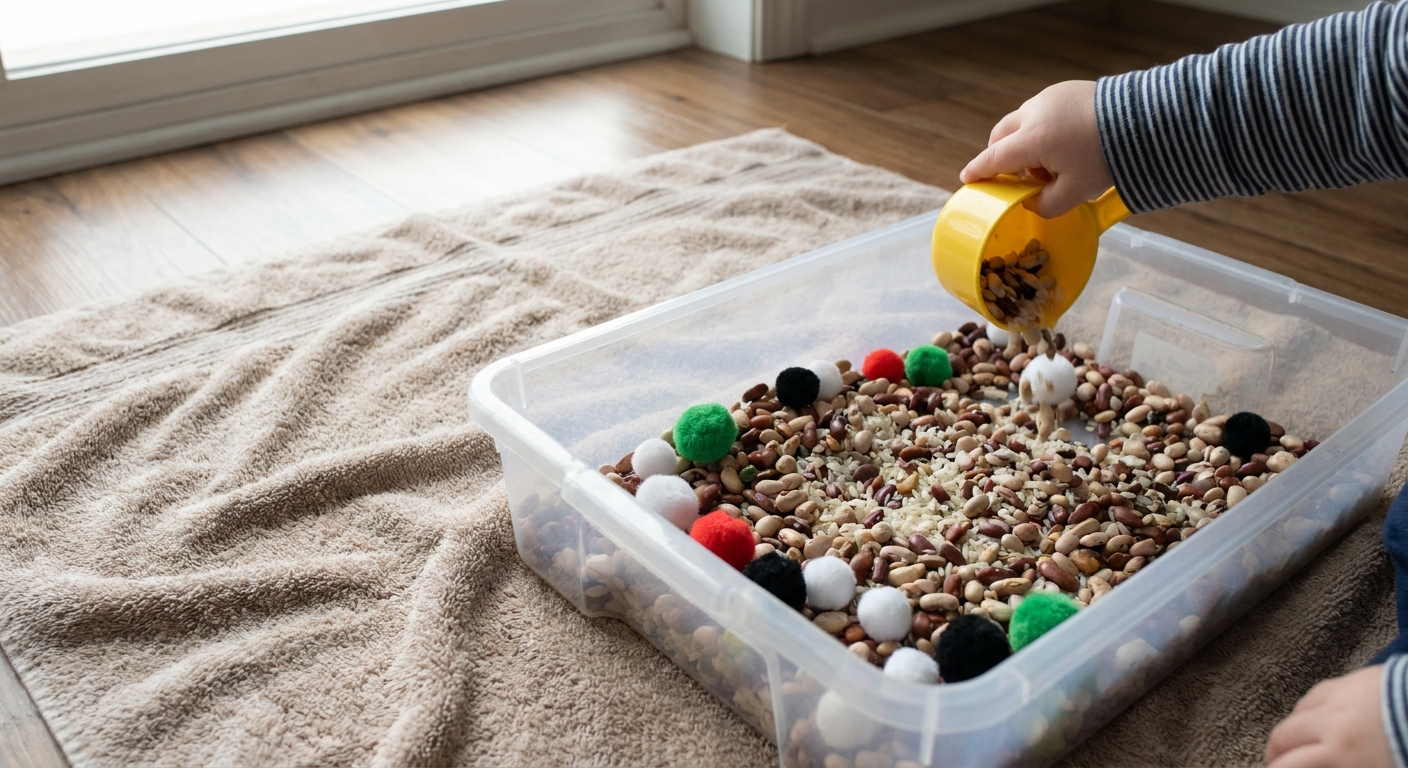
- Set boundaries fast: Place the bin on a towel or sheet pan. A “bin stays on the towel” rule helps a lot.
- For toddlers who mouth everything: Stick with taste-safe options and skip hard, tiny items. This guide on taste-safe sensory bin fillers can help you choose.
If you need a simple plan for your very first setup, waddle over to Your First Toddler Sensory Bin.
15 last-minute sensory bins using pantry staples
Each idea includes: what to pour in, what to add from the utensil drawer, and a few toddler-friendly ways to play.
1) Flour “cloud” scoop and pour
- Filler: all-purpose flour (see raw flour note above)
- Add: measuring cups, a whisk, small bowl
- Play: whisk to make “cloud puffs,” scoop and level, draw lines with a spoon.
2) Oatmeal bakery bin
- Filler: rolled oats
- Add: muffin tin, measuring spoons, silicone spatula
- Play: “fill the cupcakes,” sprinkle, pour between cups, count scoops.
3) Rice and cinnamon “warm spice” tray (older toddlers)
- Filler: uncooked rice with a tiny pinch of cinnamon mixed in
- Add: small cups, funnel (or a paper funnel), spoon
- Play: pour lines, hide and find big objects, compare smells (gentle sniff only).
Note: Skip cinnamon if your child has asthma, fragrance sensitivities, or gets irritated by spices.
4) Dry beans construction site (older toddlers)
- Filler: dry beans (choose larger ones like lima beans if you use this at all)
- Add: scoops, toy dump truck, small bowl
- Play: load and dump, “deliver beans,” compare heavy and light with full versus empty cups.
5) Pasta shapes sort-and-scoop
- Filler: dry pasta (penne, rigatoni, shells)
- Add: muffin tin, tongs, cups
- Play: sort by shape, move pasta with tongs, fill each muffin cup to the top.
6) Cereal crunch bin (big pieces only)
- Filler: chunky cereal (like oat rings or squares)
- Add: measuring cups, a small container with lid
- Play: pour and shake, “feed the container,” count pieces into cups.
7) Baking soda “snow” bin (not for mouthing stages)
- Filler: baking soda
- Add: spoon, small cups, toy animals
- Play: scoop “snowdrifts,” make footprints with toys, bury and rescue animals.
8) Cornstarch silky scoop (dry, not for mouthing stages)
- Filler: cornstarch
- Add: whisk, spoon, small bowl
- Play: feel the silky texture, whisk to fluff, explore gentle scooping.
9) Salt tray for pre-writing swirls (not for mouthing stages)
- Filler: table salt
- Add: a dark baking sheet or shallow tray, paintbrush
- Play: draw lines and circles with a finger or brush, “erase” by shaking the tray gently.
10) Lentil “tiny treasure” dig (best for older toddlers)
- Filler: lentils
- Add: a strainer, spoon, a few large safe objects to hide
- Play: dig and find, pour through the strainer, listen to the rain-like sound.
Safety tip: Hide only items that are clearly larger than your child’s mouth (a simple check is that it should not fit inside a cardboard toilet-paper tube).
11) Dried chickpeas and scoops (older toddlers)
- Filler: dried chickpeas
- Add: measuring cups, small bowl, spoon
- Play: try steady pouring, compare sounds, make simple patterns (cup, cup, bowl).
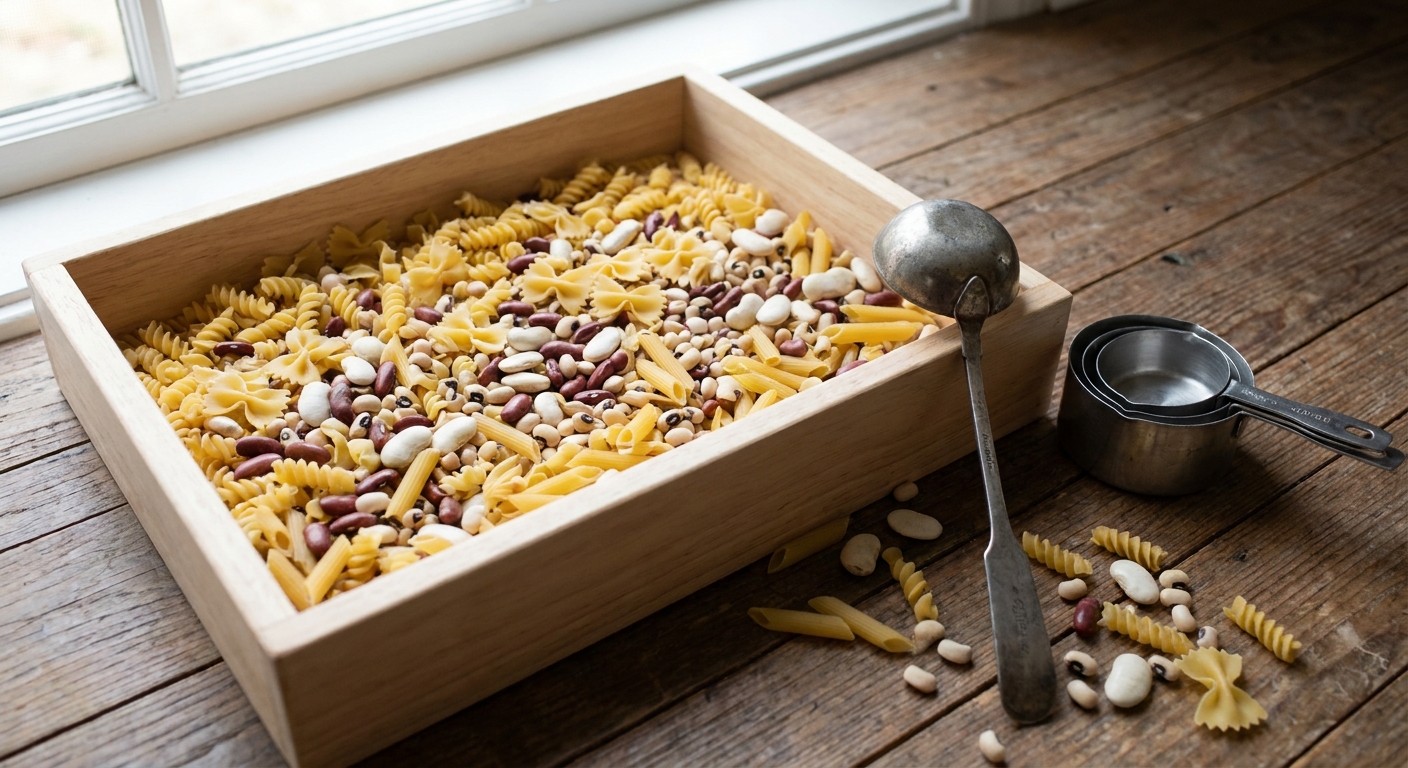
12) Pantry “soup mix” pretend play
- Filler: mix of dry beans, pasta, and rice (use only what feels safe for your child)
- Add: ladle, bowl, large spoon, pot
- Play: pretend to make soup, transfer ingredients, talk about colors and shapes.
13) Graham cracker crumbs “sand” bin
- Filler: crushed graham crackers or crushed plain cereal
- Add: spoons, small cups, toy dinosaurs or ocean animals
- Play: make tracks, bury and discover, sprinkle and pat to build little mounds.
14) Raisin and oat “trail mix” pick-and-sort (older toddlers)
- Filler: rolled oats with raisins (or other larger dried fruit pieces)
- Add: muffin tin, toddler tongs
- Play: sort raisins and oats, work on pincer grasp, count raisins into cups.
Note: Raisins can be a choking risk for young toddlers. If your child still mouths or is under 4, swap raisins for larger soft pieces (or skip dried fruit and use just oats).
15) Crackers and cups “stack and dump” bin (only if safe for your child)
- Filler: larger crackers (avoid small hard pieces for young toddlers)
- Add: plastic cups, a clean yogurt container, spoon
- Play: fill and dump, make “cracker towers” in cups, take turns dumping together.
Make it extra engaging with zero extra supplies
- Add a muffin tin: instantly turns any bin into sorting, counting, and filling fun.
- Add a strainer: pour dry fillers through for a soothing sound and hand coordination.
- Add a whisk: makes fluffy, busy-hands play in flour, cornstarch, oats, or baking soda.
- Add a lidded container: toddlers love filling a jar, closing it, shaking it, then starting again.
Contain the mess in a small space
If you are playing in a cozy living room or a tiny kitchen corner, a little setup goes a long way.
- Place the bin inside a rimmed sheet pan to catch flyaway pieces.
- Use a towel under the bin and fold the corners up when you are done.
- Offer only two tools at first. Too many tools often equals too much scattering.
- If you want standing play, use a sturdy learning tower or stable step stool, keep both feet planted, and stay within arm’s reach. Table-height standing works well too.
For more practical ideas, see Containing Sensory Bin Mess in a Small House.
Cleanup and storage tips
- Dry grains and pasta: sweep first, then vacuum. A handheld vacuum is a parent’s best friend here.
- Powders (flour, baking soda, cornstarch, salt): wipe with a slightly damp cloth after sweeping, so you do not kick up a cloud.
- Food fillers: if they get damp, sticky, or mixed with wet food, toss them.
- Store to reuse: pour the filler back into a dry bin with a lid. Keep it labeled and out of reach between play sessions.
When you want sensory bin vibes with less cleanup
Some days call for contained squishing without loose bits. Sensory bags are a lovely backup plan.
Try these no-mess sensory bags with household items when you want the sensory fun but your floor wants a quiet day.
Quick FAQ
Which pantry fillers are best for toddlers who still mouth everything?
Stick with taste-safe choices like oats and crushed cereal, and keep tools big. Skip hard, round items like rice, lentils, beans, and chickpeas for mouthing stages. This list of taste-safe sensory bin fillers is a helpful starting point.
How much filler do you need?
For a small under-bed tote, 4 to 8 cups of filler is plenty. For a baking dish, start with 2 to 4 cups. You can always add more.
How long can a dry sensory bin be reused?
If it stays dry and clean, many families reuse a bin for several play sessions. Store it with a lid and toss it if it gets wet, sticky, or mixed with food that could spoil.