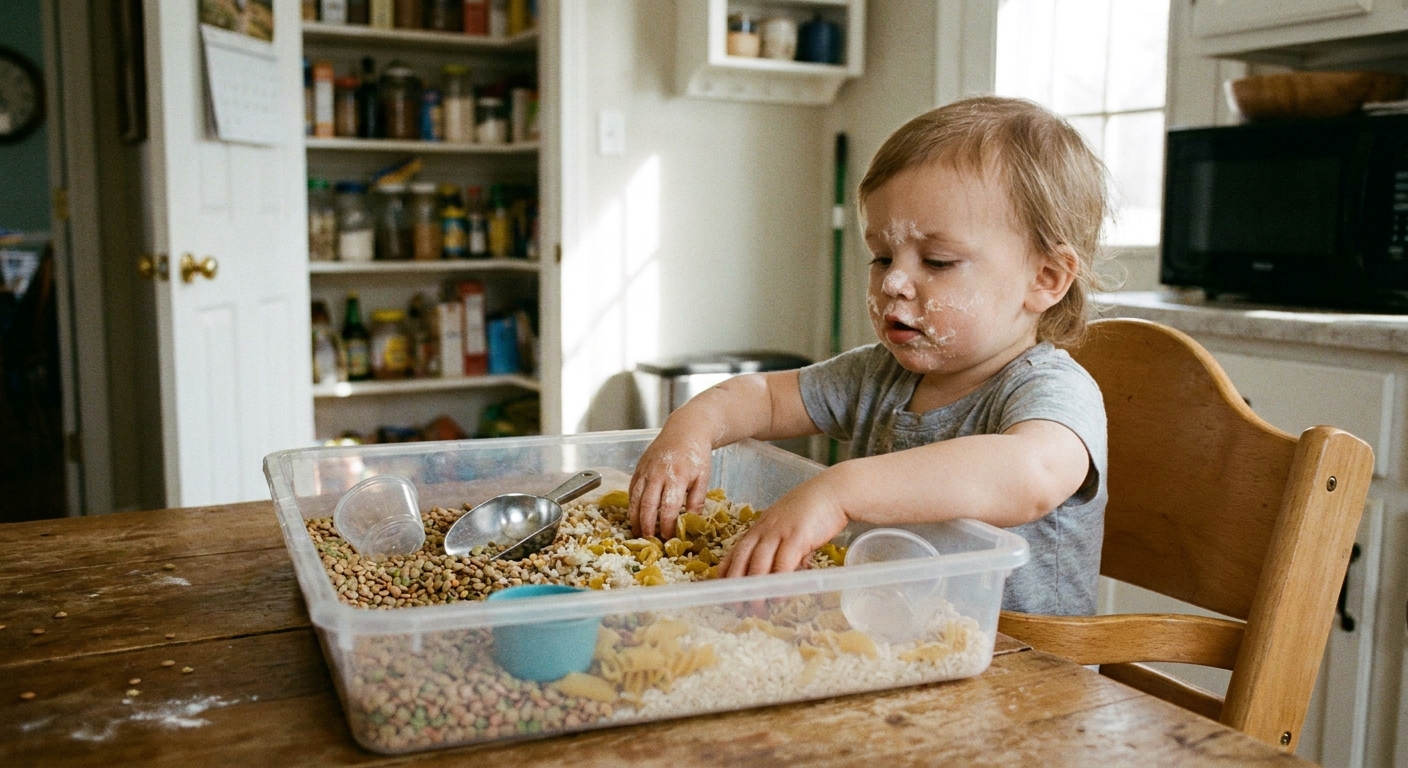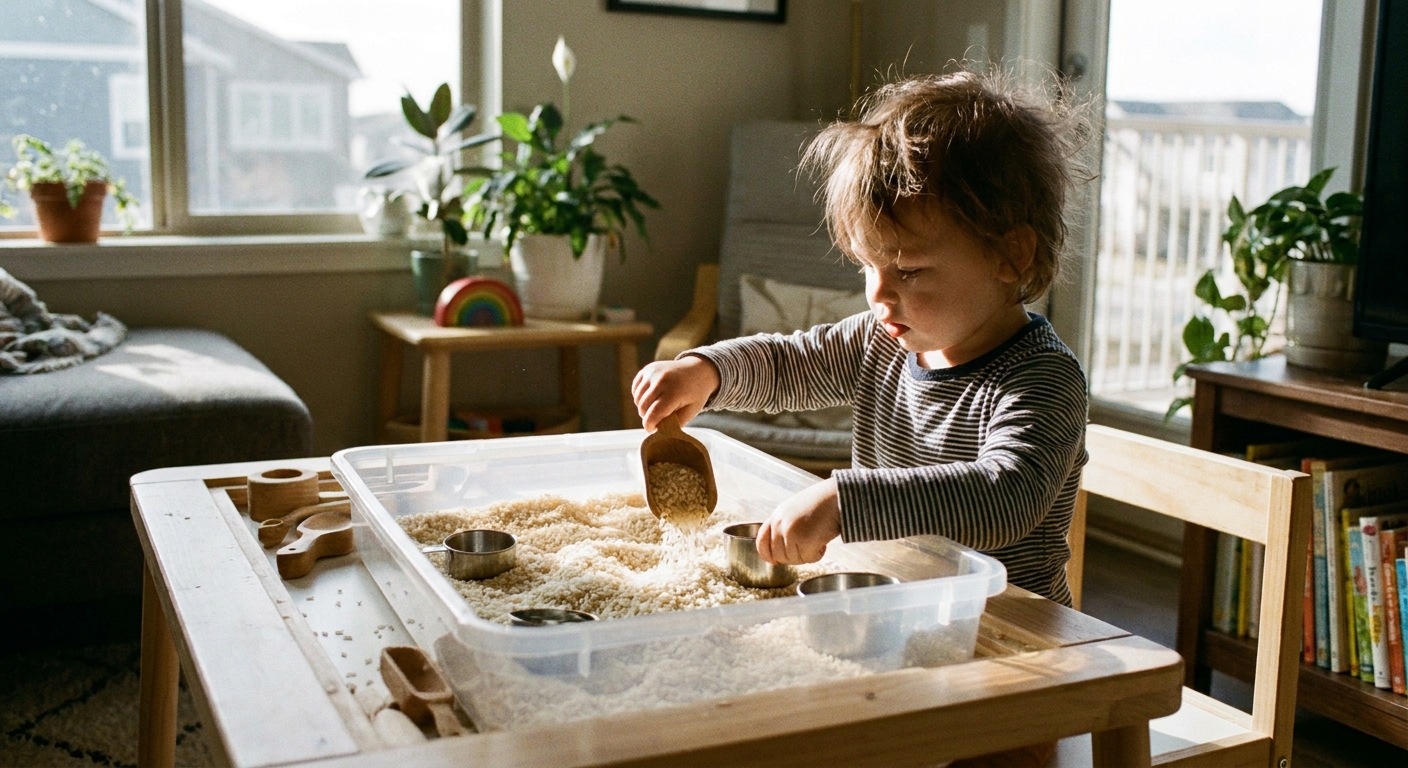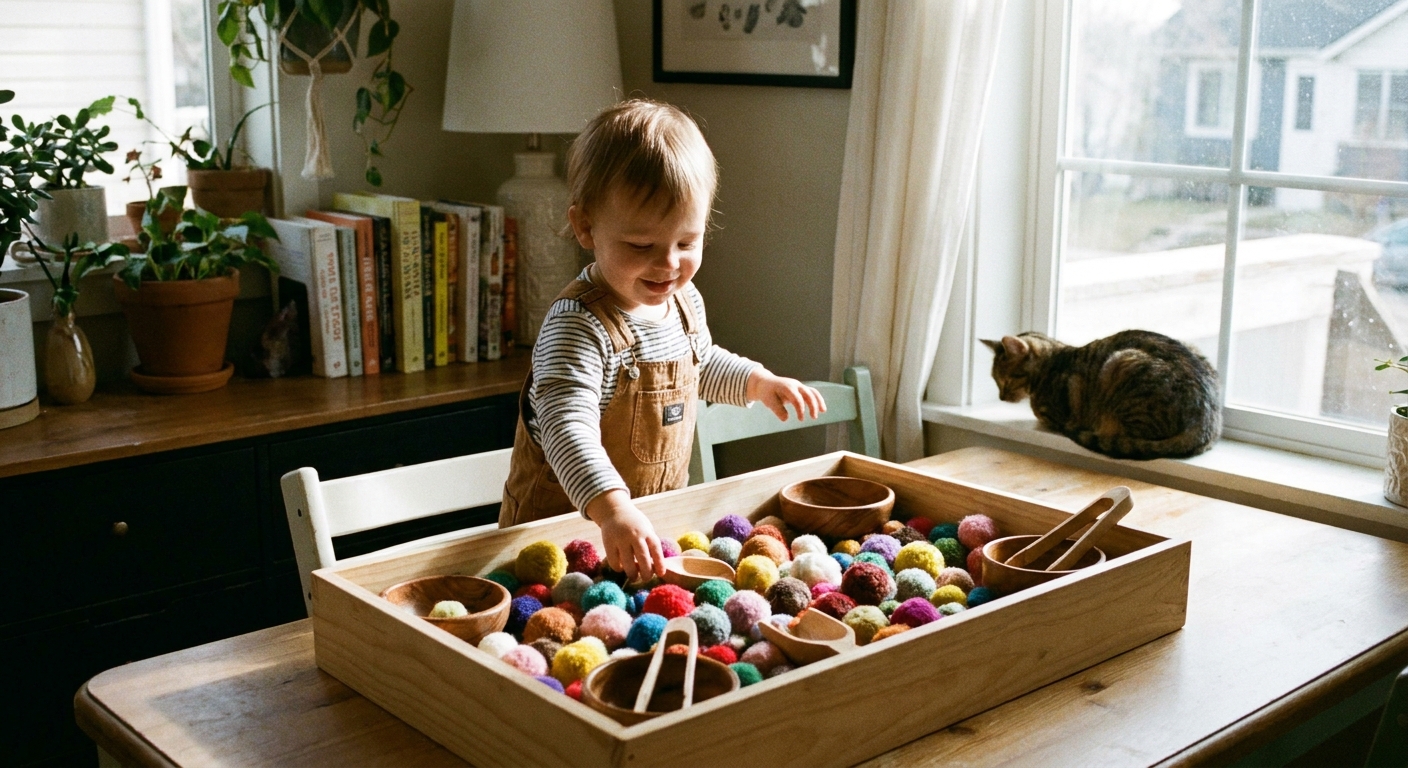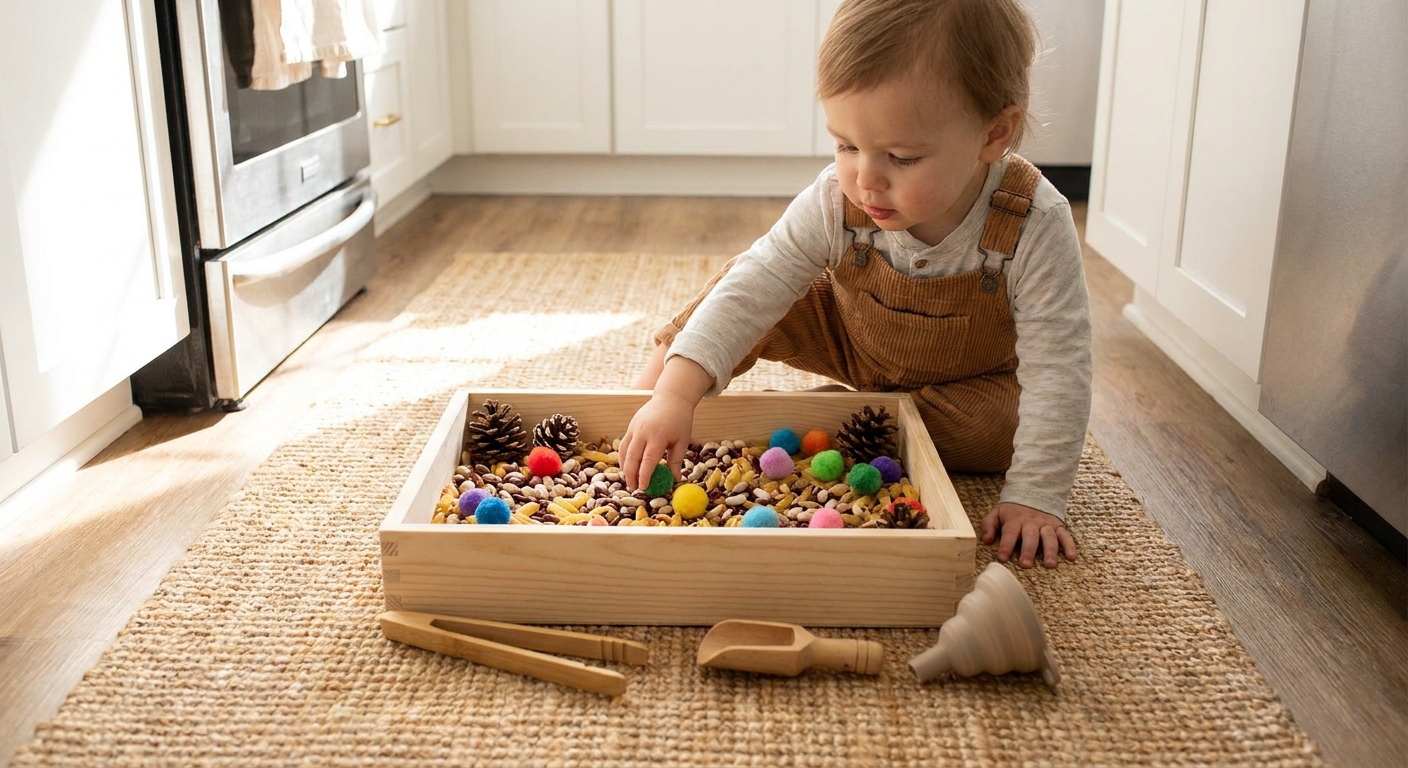
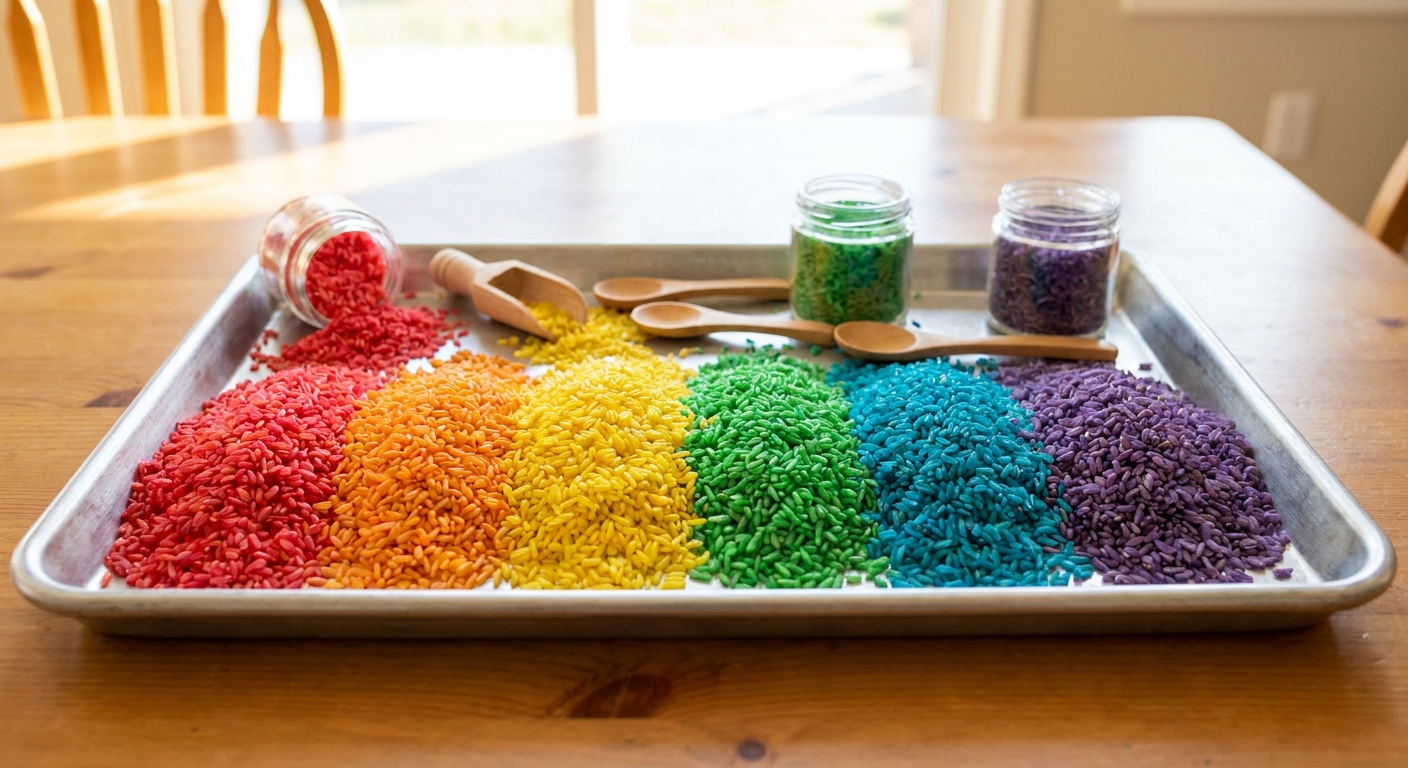
Let’s dive in and make a wonderful, happy mess together! Rainbow rice is one of those sensory bin staples that looks dazzling, feels swishy, and lasts for ages when it’s dried and stored the right way. This method uses vinegar and food coloring, so you can skip rubbing alcohol and still get vibrant color that clings to each little grain.
Why vinegar works
Vinegar helps the food coloring spread and grab onto the rice more evenly. It often helps the color look more consistent as the rice dries, too. The goal is simple: coat the grains, then let them dry fully so your sensory bin stays loose and pourable instead of clumpy.
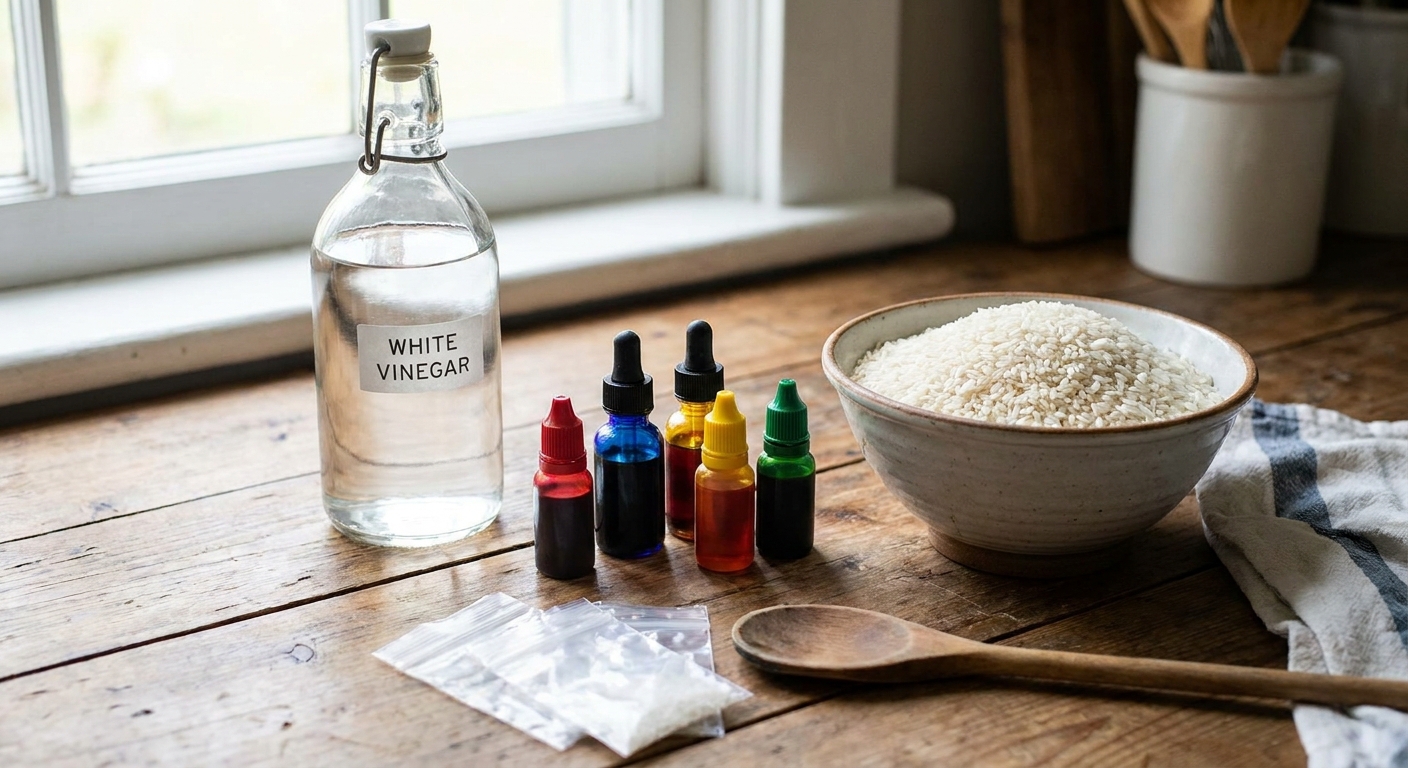
What you’ll need
- Uncooked white rice (any brand is fine)
- White vinegar
- Food coloring (liquid or gel)
- Zip-top bags or lidded containers for shaking
- Baking sheets or trays
- Wax paper, parchment paper, or foil (optional, for easier cleanup)
- Spoon or measuring cup
Helpful add-ons: disposable gloves (for grown-ups), and an old towel or tablecloth under your trays.
Quick surface note: food coloring can tint porous surfaces, so keep the dyeing on a protected counter and wipe up drips right away.
Quick ratios
These amounts are flexible, so do not worry about being perfect. This is a great starting point for strong color without a soggy mess.
- Per 1 cup of uncooked rice: 1 teaspoon vinegar + 6 to 12 drops liquid food coloring
- If using gel coloring: start with a tiny dab (about the size of a grain of rice), then add more if needed
Want pastel rice? Use fewer drops. Want super bold? Add a bit more coloring, shake again, and check before adding extra liquid.
Step-by-step
1) Portion the rice
Decide how many colors you want, then pour rice into separate zip-top bags or containers. One cup per color is a nice, manageable amount.
2) Add vinegar, then food coloring
Add the vinegar first, then drip in the food coloring. Sealing the bag and squishing the coloring into the vinegar for a second can help it spread faster when you shake.
3) Shake until coated
Seal tightly, then shake and massage the bag until the rice looks evenly colored. For most batches, 30 to 60 seconds of enthusiastic shaking does the trick. If you see white patches, keep going a bit longer. If you want richer color, add a few more drops and shake again.
4) Spread to dry
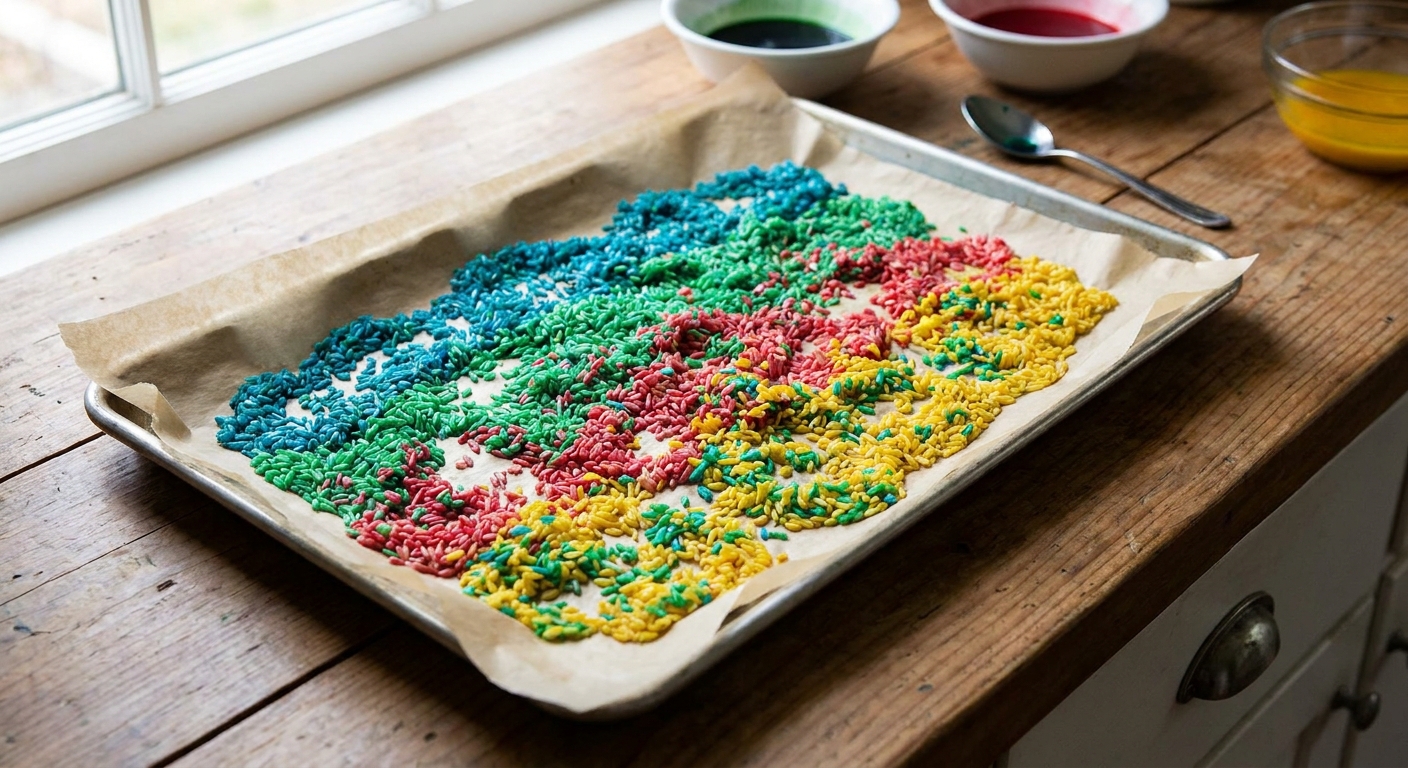
Line a baking sheet if you’d like easier cleanup, then pour the rice out. Spread it into a thin, even layer so it dries faster and stays fluffy.
5) Let it dry fully
Let the rice air-dry until it feels totally dry and flows easily when you run a spoon through it. Stir it every 20 to 30 minutes at first to break up damp spots and speed drying.
Typical drying time: 2 to 6 hours, depending on humidity and how thick the layer is. Overnight drying is great too.
Keep it fluffy
- Use less liquid, not more. Vinegar is there to help the dye spread, but you do not need much.
- Spread thin. A thick pile dries slowly and tends to clump.
- Stir while drying. A quick stir keeps grains separate.
- Store only when fully dry. Even slightly damp rice can clump in the container.
Toddler safety
Rainbow rice is for supervised sensory play. It is not a taste-safe material, and rice can be a choking hazard for young children who still mouth toys or sensory materials.
- Best for: toddlers and preschoolers who can follow “rice stays in the bin” rules with close supervision.
- Always: keep play in a contained area, and do a quick floor sweep after.
- If your child still mouths materials: choose a taste-safe sensory option instead (oats, cooked pasta, or other edible bases).
- Do not cook or eat it after dyeing. Once it’s craft rice, it stays craft rice.
For setup help, see Your First Toddler Sensory Bin.
Does it smell?
The vinegar scent is usually mild and fades as the rice dries. If you notice any lingering smell, spread the rice out again for a bit longer and let it air out.
Skip adding essential oils for scent. For toddler play, it is simplest and safest to keep dyed rice unscented.
Storage and how long it lasts
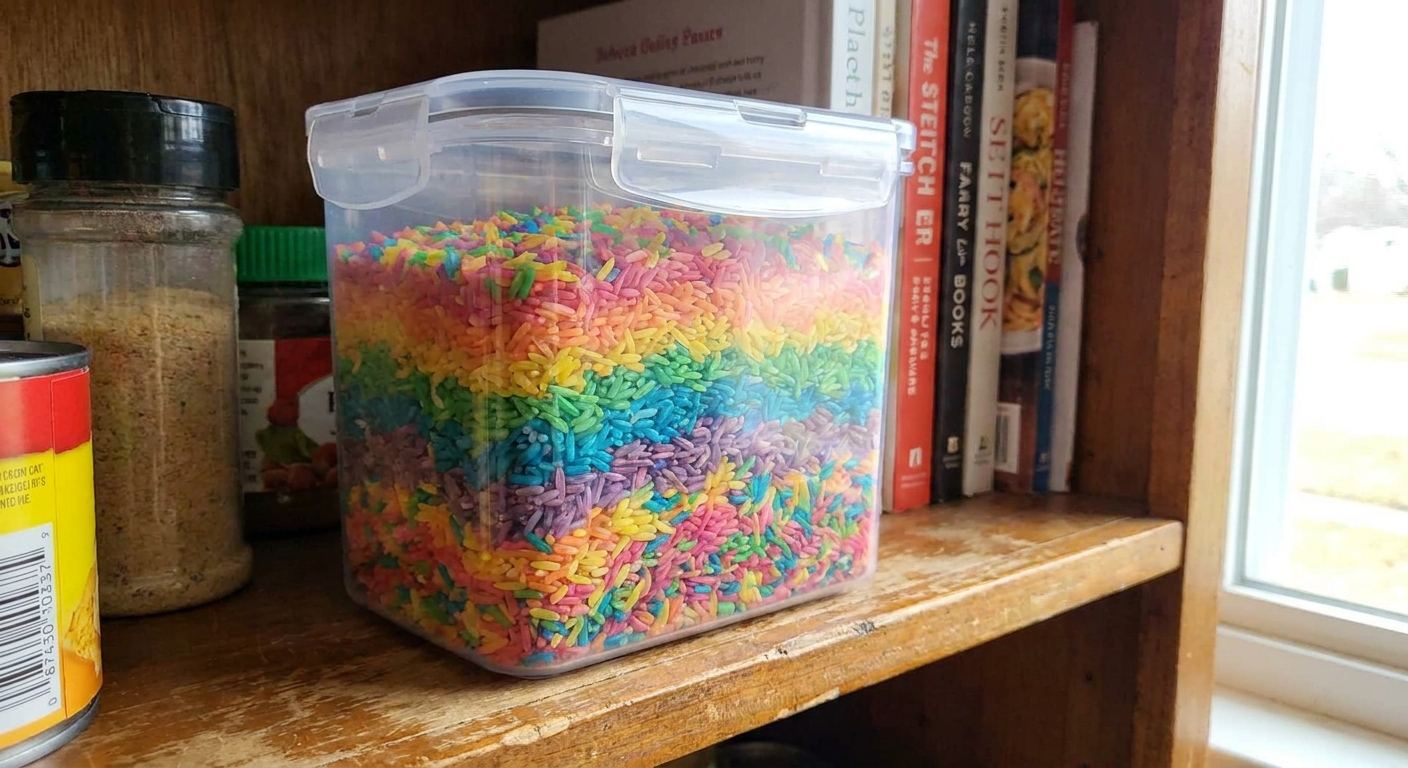
Once fully dry, store your rainbow rice in an airtight container or zip-top bag. Keep it in a cool, dry place.
- Label it: “Sensory Rice, Not for Eating” can be a helpful reminder.
- How long it lasts: often weeks to months, but it depends on humidity, how clean it stays, and whether little pets or outdoor bits sneak into the bin.
- When to toss: discard right away if it gets damp, contaminated (spit happens), smells odd, or has visible mold.
Sensory bin ideas
Once the rice is ready, it can power so many simple setups. A few easy favorites:
- Scoops and pours: cups, measuring spoons, funnels, and a small pitcher
- Rainbow hunt: hide large buttons, chunky beads, or plastic counters by color
- Construction bin: toy trucks and a spoon for “loading”
- Letter play: foam letters to find and name
- Nature add-ins: pinecones, smooth stones, or large shells (supervised)
More beginner-friendly bin tips live here: Sensory Play & Bins.
Troubleshooting
My rice looks dull
Add a few more drops of coloring, shake again, then spread thin to dry. Gel color is often more intense, but liquid can be plenty vibrant with a little extra.
My rice is staining hands
This often means it needs more drying time. Spread it out again and stir occasionally until it feels completely dry. It can also happen if you used a lot of coloring (especially with some gel colors), so next batch try fewer drops and build up slowly.
My rice clumped into chunks
Break it up with a spoon while it dries. Next time, use a thinner drying layer and slightly less liquid.
Can I dye brown rice?
You can, but colors will look more muted because the grains start darker. White rice gives the brightest rainbow.
Ready to play
Once your rainbow rice is dry and swishy, pour it into a bin, add a few scoops, and let the exploring begin. Bright colors, busy hands, and lots of cheerful little discoveries, that’s my favorite kind of waddle-worthy fun.
If you ever want to share feedback or a question for a future activity, you can reach out through Contact.