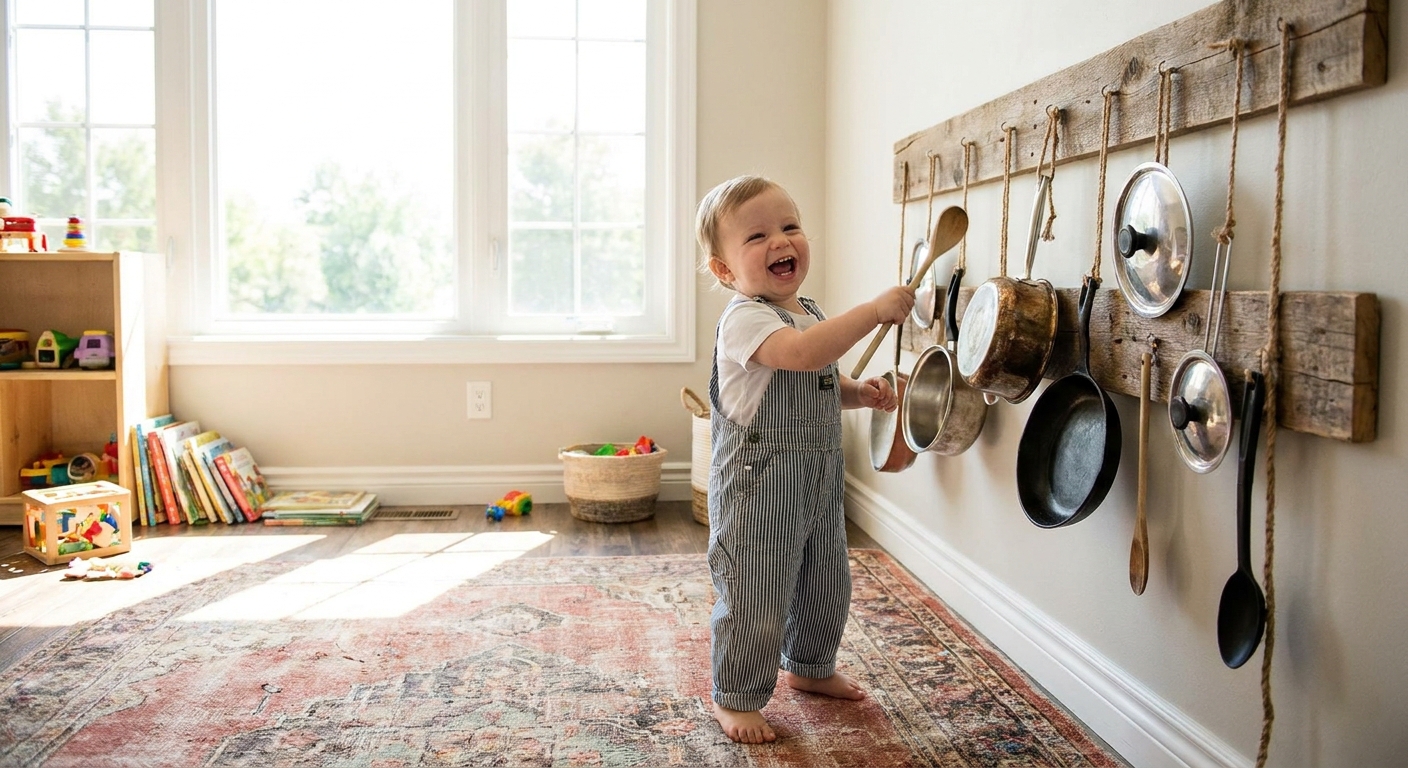
Let’s dive in and make a wonderful, happy mess together, but this time it’s a musical one. A DIY sensory sound wall is a simple indoor music station made from everyday kitchen utensils and bakeware. Toddlers get to tap, clang, scrape, and experiment while they practice rhythm, explore cause and effect, and compare loud vs. soft sounds.
Why a sound wall works
Sound play is sensory play. When a toddler hits a pan and hears a big BOOM, their brain starts connecting action to outcome in a way that often feels like magic.
- Cause and effect: Tap harder, sound changes. Tap faster, rhythm changes.
- Listening skills: Toddlers can practice noticing differences between “ting,” “thud,” and “clang.”
- Motor skills: Gripping mallets, banging, and switching tools can support hand strength and coordination.
- Emotional release: Big sounds can be a playful outlet for big feelings when you set clear boundaries.
If your little one already loves sensory stations, you might also enjoy setting up other rainy-day play from Indoor & Rainy Day Play.
Safety first
This is the part where Puddle waddles in with an important reminder: sound walls are fun only when they are stable, supervised, and set up with toddler-friendly choices.
Quick safety checklist
- Adult setup only. Install hardware yourself, and keep tools out of reach.
- Use lightweight items overall. Skip heavy cast iron and anything with sharp edges, loose rivets, or dents that create a sharp rim.
- Keep hang lengths short. Items should not swing into faces.
- Nothing around the neck. Avoid long cords, long ribbons, or long loops.
- Check before each use. Give hooks and handles a quick wiggle-test so you catch loose hardware early.
- Watch for small parts. Avoid anything with removable bits, loose rings, or tiny attachments that could become a choking hazard.
- Ear comfort matters. If your child looks distressed by the noise, shorten the session, offer a quieter tool (like silicone), or take a listening break. For very noise-sensitive kiddos, child-sized hearing protection can be an optional helper.
If your toddler likes to toss materials, it can help to apply the same calm, consistent boundaries you’d use with other activities. This guide may help: How to Stop Your Toddler From Throwing Sensory Bin Fillers.
Materials and hardware
You can keep this build simple. The goal is a secure place to hang a few lightweight “instruments” within easy reach.
Basic build list
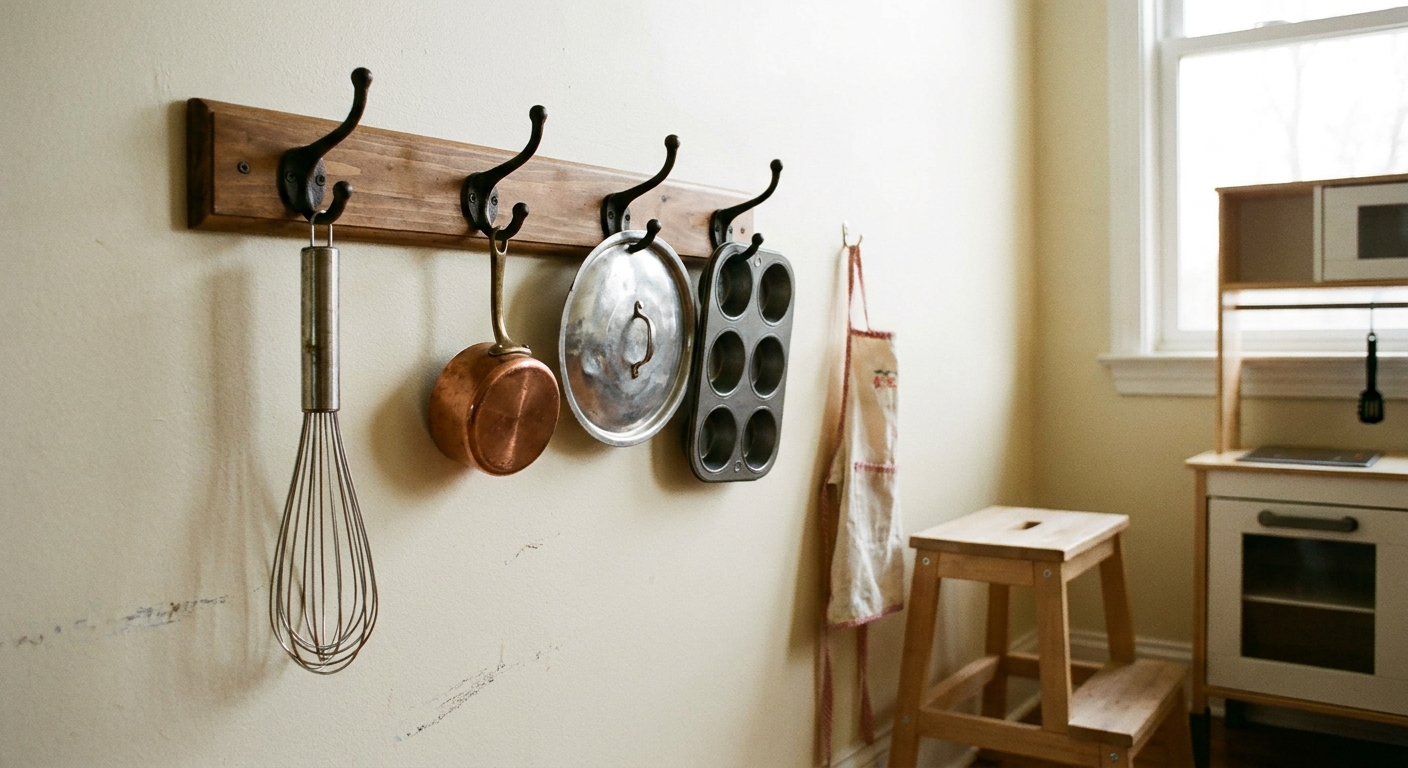
- Base: a smooth wooden board (mounted to studs) or a wall-mounted rail that can be secured into studs
- Fasteners: screws sized for your board and wall studs (use hardware appropriate to your wall type)
- Hooks: sturdy hooks with a deep curve or closed/locking style to reduce accidental drops
- Optional: felt pads or a rug underneath to soften sound and protect floors
Note: If you cannot hit studs, use the correct anchors for your wall type and keep the setup extra light. When in doubt, choose a different location or a different base.
What to use
Choose a mix of “clangy” and “thuddy” so everything is not max-volume.
Great sound wall items
- Small to medium metal pots and lids
- Metal mixing bowls
- Muffin tins or small cookie sheets
- Whisks, ladles, slotted spoons
- Measuring cups (metal or sturdy plastic, with no loose rings)
- Colander (lightweight)
- Wooden spoons and spatulas (for softer sound)
- Silicone spatulas (often one of the quietest options)
Beaters to offer
- Wooden spoon (classic)
- Silicone spatula (quieter)
- Plastic measuring spoon (light taps)
- A clean dish brush (great scraping sound)
Where to put it
The best location is somewhere easy to supervise and easy to clean.
- Sturdy wall section in a playroom, hallway, or kitchen corner
- Garage or covered patio can work too, but this guide focuses on indoor rainy-day play
- Clear floor space so toddlers can step back, sway, and dance safely
Noise-friendly tips
- Add a rug under the station to soften sound and protect floors.
- Keep the loudest items (metal lids, thin pans) slightly farther apart so they do not crash together.
- Offer a “quiet basket” of softer tools (silicone, wood) as an option.
How to build it
This setup can be as simple as a low row of hooks with lightweight items. The goal is secure hanging and easy toddler access, not a fancy installation.
Step 1: Pick a base
- Option A: Mounted board anchored to wall studs, then hooks screwed into the board.
- Option B: Wall-mounted rail installed into studs.
- Option C: Freestanding panel only if it is truly stable and cannot tip when pulled. If it wobbles, it is a no.
Tip: Anchoring into studs is usually the most reliable way to keep everything stable.
Step 2: Install hooks at toddler height
A good target is around chest to shoulder height for your toddler so they can lift tools on and off without stretching.
- Space hooks so items do not overlap.
- Use deep-curve hooks or closed/locking hooks when possible to reduce accidental drops.
- Keep everything light. If something feels heavy in your hand, it is probably too heavy for the wall.
Step 3: Prep the utensils
- Wash and dry everything.
- Check for sharp edges, loose parts, cracked plastic, or removable pieces.
- If an item has a long hanging loop, shorten it or swap it for a smaller loop so it cannot reach neck height.
Step 4: Hang the instruments
Hang a mix of:
- 1 to 2 “big boom” items (a lightweight bowl, a small pot)
- 2 to 3 “clinky” items (lids, measuring cups)
- 2 to 3 “scrape and swish” items (whisk, colander, muffin tin)
Step 5: Add a tool bin and simple rules
Place a small bin nearby with beaters. Then introduce two toddler-friendly rules:
- Instruments stay on the wall.
- We tap the instruments, not friends or walls.
Need more low-prep indoor ideas for energetic days? Try Indoor Gross Motor Activities for Rainy Day Toddler Energy after a music session.
Rhythm games
No need for formal “lessons.” A sound wall becomes learning the moment you slow down and notice sounds together.
1) Loud and soft taps
- Tap very softly: “Tiny sound.”
- Tap louder: “Big sound.”
- Let your toddler choose loud or soft.
2) Copycat beats
- You tap: tap tap pause tap.
- Toddler tries to copy.
- Keep patterns short and silly.
3) Fast and slow
- Tap slowly like a turtle.
- Tap quickly like a bunny.
- Switch speeds when you say “freeze.”
4) Which one sounds like...?
- “Which one sounds like rain?” (try a whisk on a muffin tin)
- “Which one sounds like a drum?” (pot or bowl)
- “Which one sounds like bells?” (measuring cups)
5) One tool, many sounds
Hand your toddler one beater and help them explore:
- Tap the center of a pan.
- Tap the edge of a pan.
- Scrape across a textured surface.
Make it age-friendly
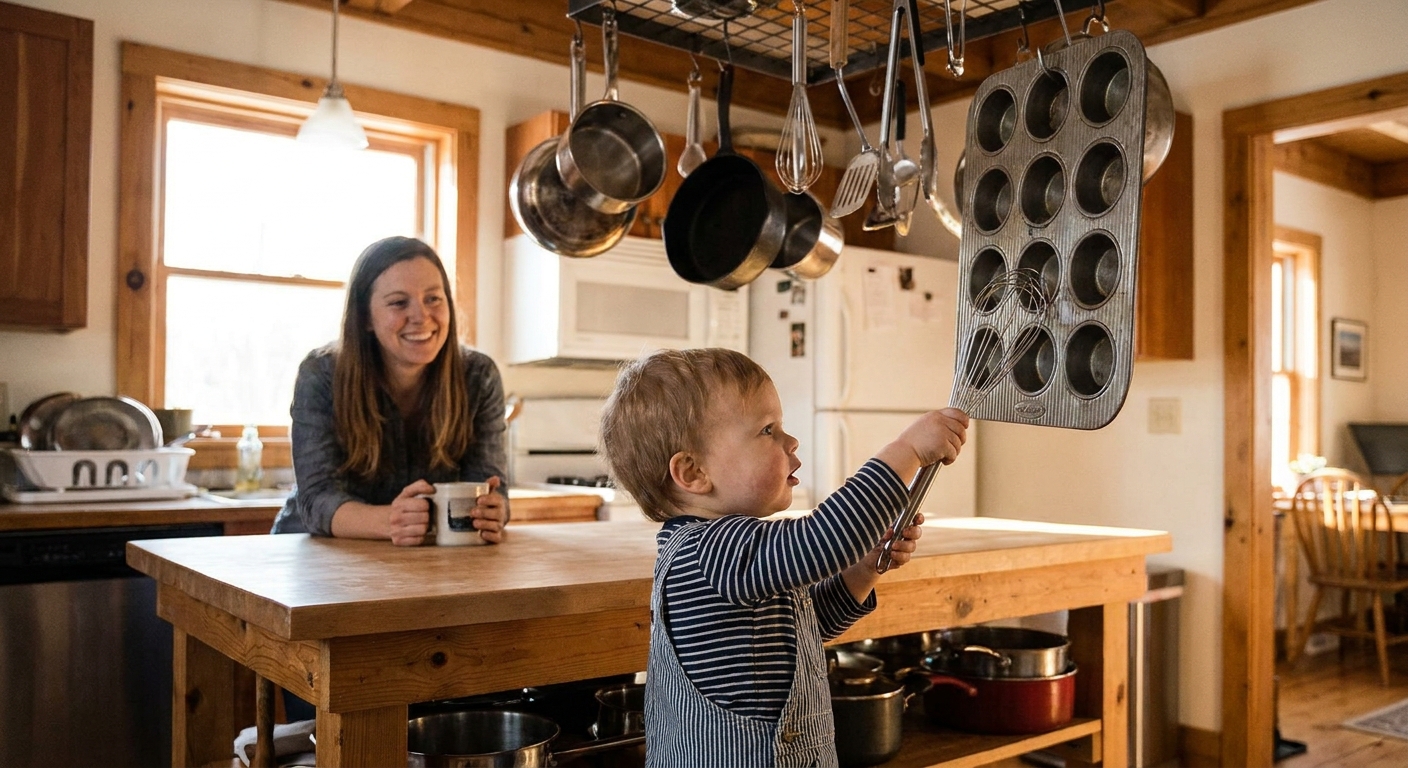
Younger toddlers (around 1)
- Offer 2 to 4 items only.
- Use more silicone and wood tools for gentler sound.
- Keep pieces large enough to avoid mouthing hazards, and skip anything with small removable parts.
Older toddlers (2 to 3)
- Add more variety and introduce simple patterns.
- Rotate instruments every week to keep interest high.
- Invite pretend play, like “restaurant band” or “rainstorm concert.”
If your toddler still mouths items often, keep the tool set extra simple and consider taste-safe sensory play options on the side, like ideas from Taste-Safe Sensory Bin Fillers for Toddlers Who Mouth Everything.
Troubleshooting
“It’s too loud!”
- Swap in silicone spatulas and wooden spoons.
- Add a rug, foam play mat, or folded blanket under the station.
- Remove lids or thin pans first, since they tend to be the loudest.
- Keep sessions short if your child seems overwhelmed.
“My toddler pulls everything off at once.”
- Start with fewer instruments.
- Use a simple routine: choose one tool, play for a minute, hang it back.
- Try a short timer and offer a transition, like water play next.
For a splashy follow-up that keeps floors happier, explore Indoor Water Play Activities That Won’t Ruin Your Floors.
“Things keep clanging into each other.”
- Space hooks farther apart.
- Shorten hanging loops.
- Reduce the number of items so each one has room to move without colliding.
Extend the learning
- Color sorting: Hang a red utensil near a red cup, blue near blue, and name colors as you play.
- Counting: Count taps up to 3, then 5 as skills grow.
- Vocabulary: Use sound words like “clang,” “tap,” “scrape,” “ring,” and “boom.”
- Turn-taking: “My turn, your turn” with a single tool.
Sound play pairs nicely with other simple learning stations. If you want more classic sensory setup help, waddle over to Your First Toddler Sensory Bin for an easy starting point.
Cleanup and storage
The happy news: a sensory sound wall is one of the easiest stations to tidy.
- Keep a small bin for beaters and return them after play.
- Wipe utensils with a damp cloth if sticky hands appear.
- Rotate instruments instead of adding more, so the wall stays uncluttered.
FAQ
How long should a session be?
For many toddlers, 5 to 15 minutes is plenty. Short, joyful sessions often work better than trying to stretch it, especially if your child is noise-sensitive.
Can I do this without drilling?
If drilling is not an option, consider a sturdy freestanding panel that cannot tip, with hooks attached at toddler height. Avoid light doors, unstable shelves, or anything that can shift when pulled.
What’s the best quiet option for apartments?
Lean into silicone tools, wooden spoons, and plastic bowls. Scraping and tapping can still build great sound exploration without big clangs.
With a few secure hooks and a handful of kitchen instruments, rainy-day energy can turn into a cheerful little concert. Keep it simple, keep it light, and let your toddler explore sounds one joyful tap at a time.