Let’s dive in and make a wonderful, happy mess together! Macaroni necklaces are a classic toddler craft for a reason: they are colorful, hands-on, and full of tiny moments of learning. This guide walks you through dyeing dry pasta with vinegar and food coloring, then turning it into easy, wearable “jewelry” while your toddler practices early threading skills.
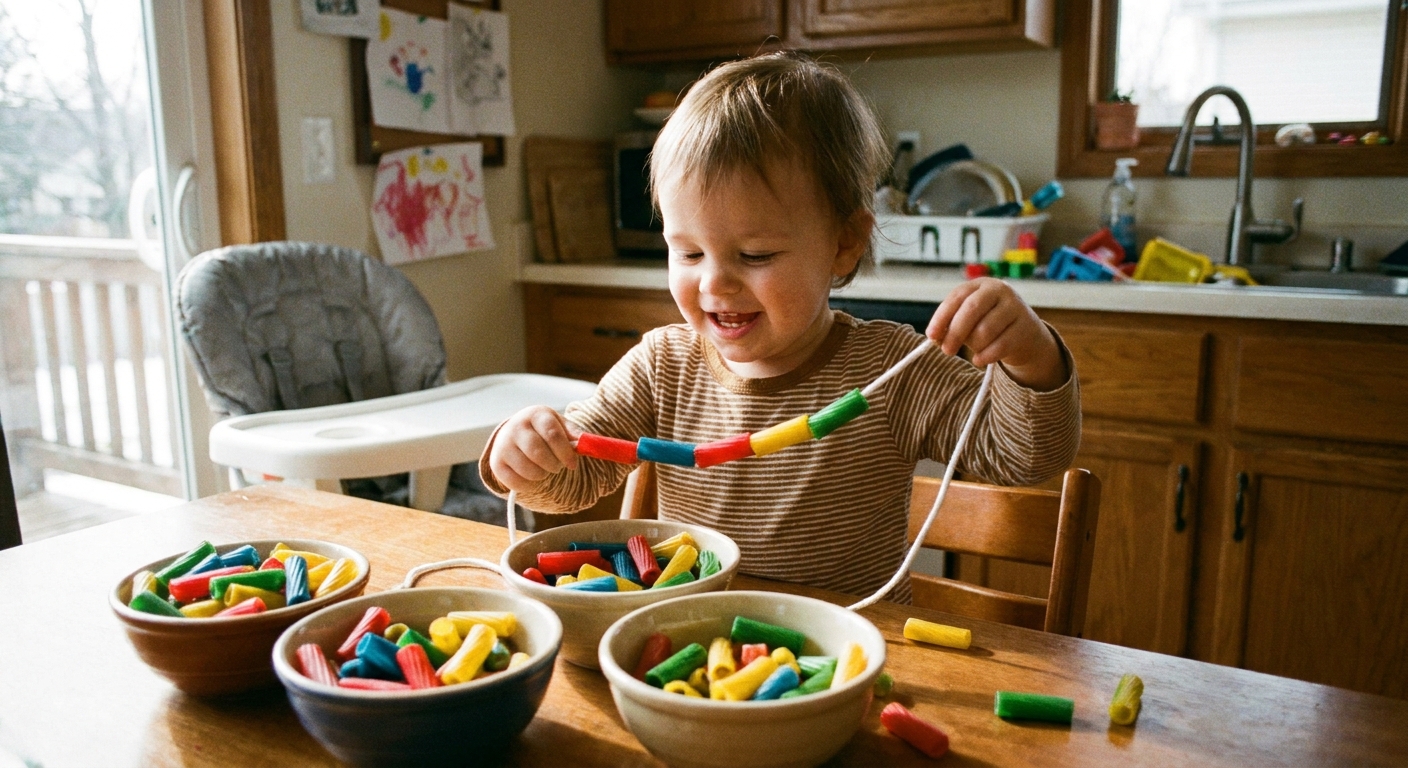
Quick safety notes first
- Choking risk: Dry pasta and small, bead-sized pieces are a choking hazard. This activity needs close, active adult supervision.
- Mouthing: If your toddler still mouths everything, skip necklaces for now and use the dyed pasta for scooping, sorting, or posting instead. Taste-safe does not mean chew-safe.
- Allergies: Pasta usually contains wheat. If wheat is an issue, choose an alternative large, hole-punched threading item instead.
- Neck safety: Toddlers should not wear necklaces unattended. If you choose to wear one, keep it very short, keep it supervised, and remove it right after. When in doubt, make a bracelet, a garland, or a “table necklace” that stays on the tray.
If you need more ideas for toddlers who put materials in their mouths, these taste-safe sensory bin fillers are a better match for that stage.
What you’ll need
For dyeing the pasta
- Dry tube pasta with big holes (macaroni, penne, rigatoni)
- Food coloring (gel or liquid both work)
- White vinegar
- Resealable bags or small containers with lids
- Paper towels, parchment paper, or a baking sheet for drying
Helpful note: Food coloring can stain hands and counters. If that stresses you out (same), lay down a towel or parchment and consider an apron or gloves for the adult.
For the necklace
- Yarn, thick string, or a shoelace
- Scissors (adult-only)
- Tape (to make a stiff “needle” tip)
- Optional: a tray or rimmed baking sheet to contain runaway noodles
How to dye pasta with vinegar
Vinegar helps the color grab onto the pasta. The goal is “just enough liquid to coat,” not a bath. Different pasta shapes and different bag sizes change how much liquid you need, so start small and adjust.
1) Prep your drying spot
Line a baking sheet or tray with paper towels or parchment. Spread-out drying is the secret to less sticking and brighter color.
2) Portion the pasta
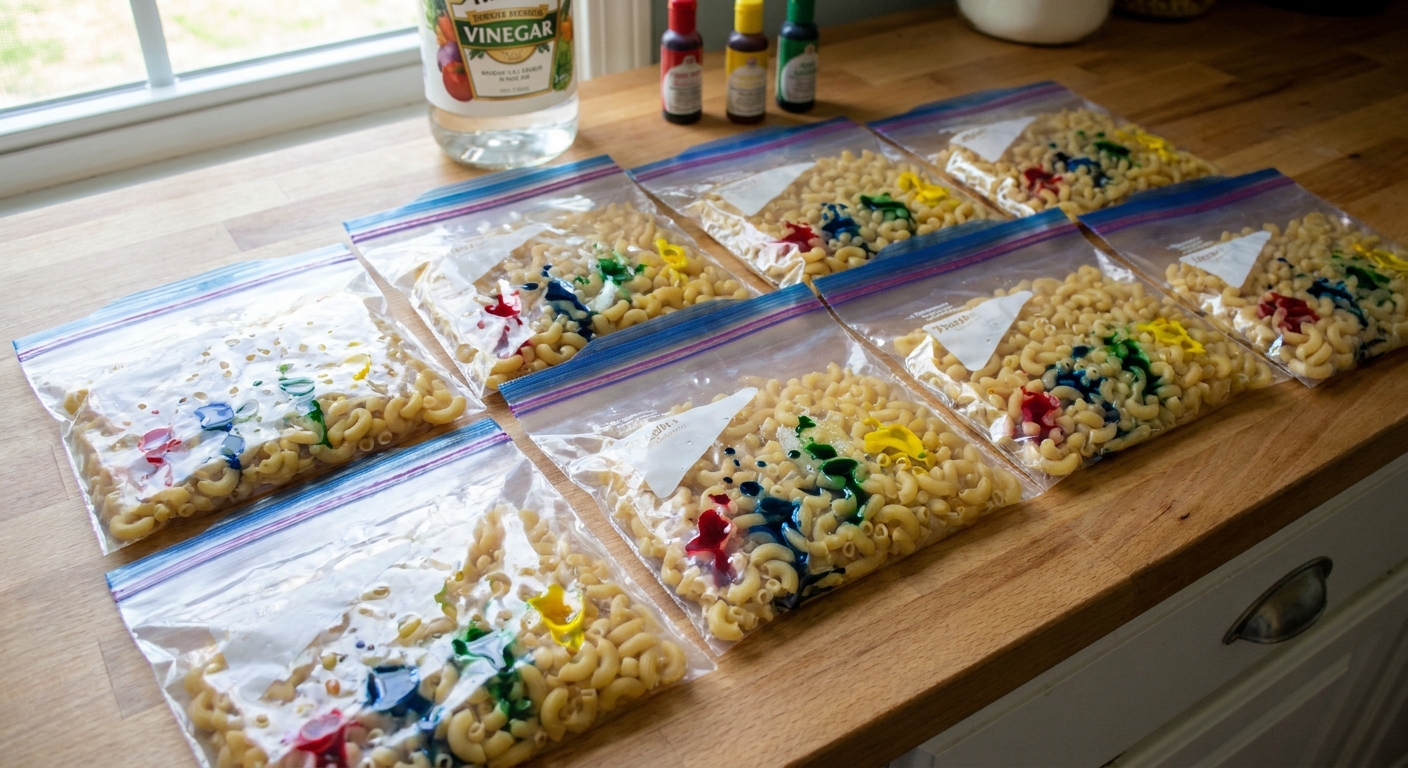
Add about 1 cup of dry pasta to each resealable bag or lidded container. Smaller batches shake and coat more evenly.
3) Add vinegar and food coloring
- Start with 1 to 2 teaspoons vinegar per 1 cup pasta.
- Start with 6 to 10 drops of food coloring for bright shades. Use fewer drops for softer, pastel noodles.
If the pasta is not coating well after shaking, add a few more drops of coloring and another tiny splash of vinegar.
Want rainbow pasta? Do one color per bag. Want “mixed confetti” pasta? Add two colors to one bag and shake gently.
4) Seal and shake
Seal the bag and shake until the pasta looks evenly coated. If you see pooled liquid in the corner, you have more liquid than you need. Pour off any excess (adult-only), then shake again.
5) Spread and dry
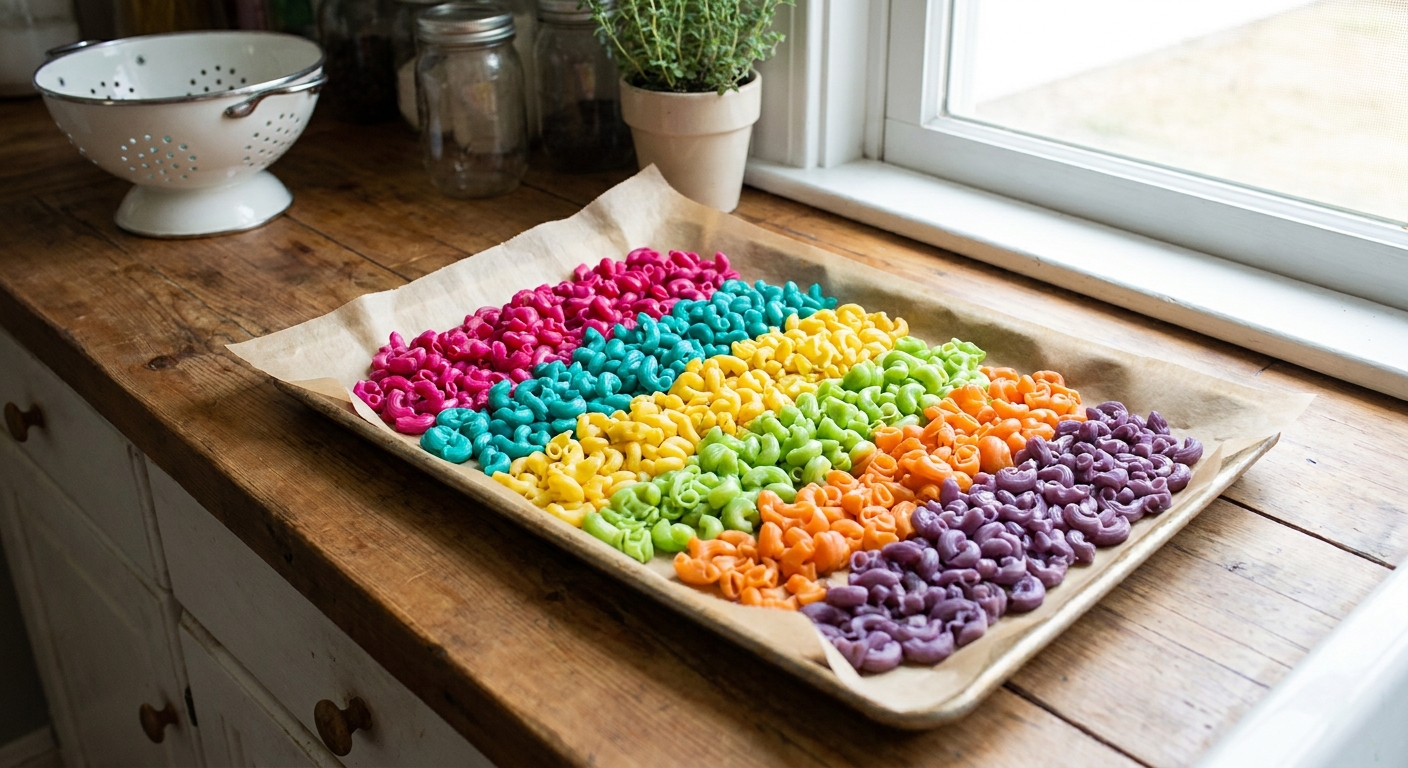
Pour the pasta onto your lined tray. Spread it into a single layer. Let it dry until it no longer feels cool or tacky.
- Drying time: Often a few hours, sometimes overnight depending on humidity and how wet the pasta was.
- Sticking fix: Stir and re-spread once or twice while drying.
6) Store for later
Once fully dry, store in a sealed container in a cool, dry spot. If it ever gets damp (or ends up in a mouth), toss it. You can typically store fully dried pasta for weeks or longer, but the rule is simple: keep it dry, and discard at the first sign of moisture or musty smell.
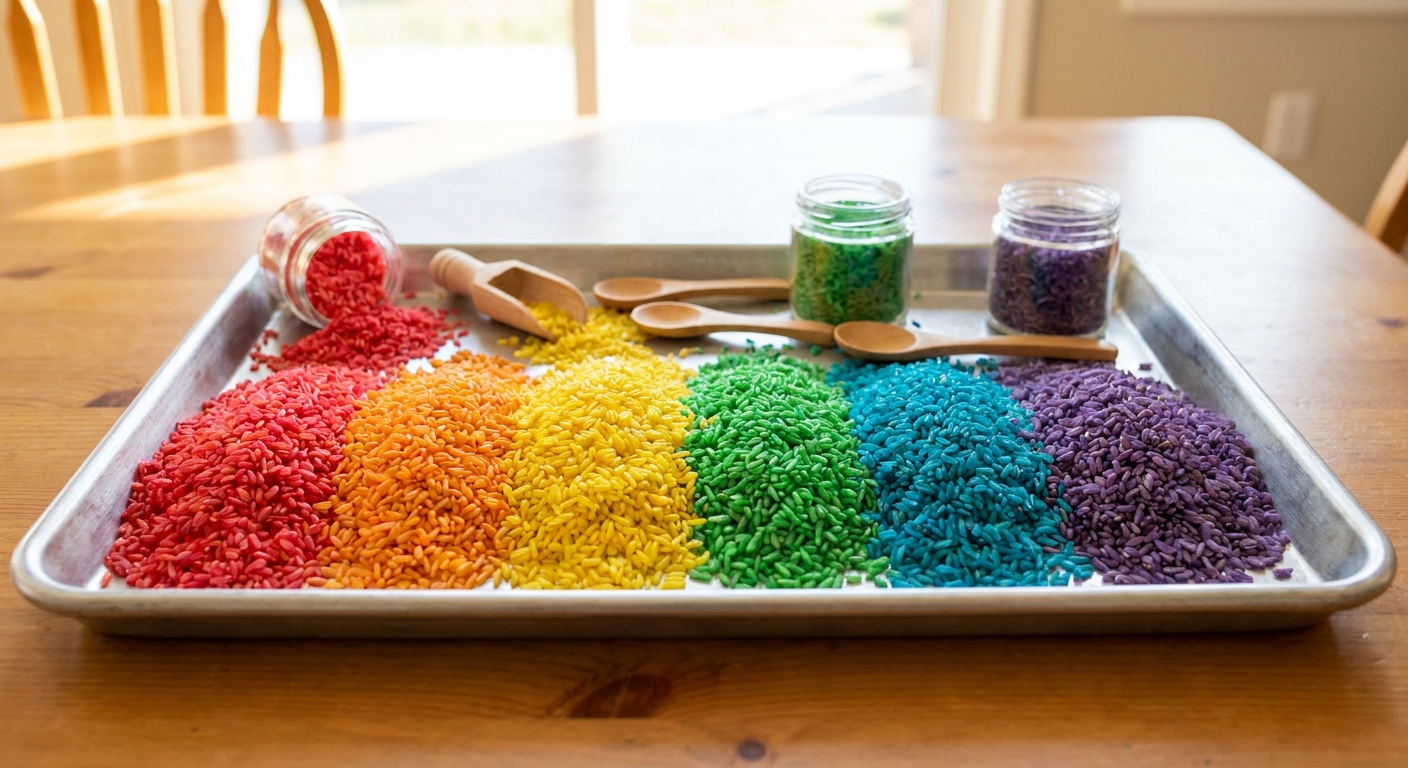
If your family loves this dyeing method, it’s also used for other sensory staples. This guide to dyeing rice with vinegar and food coloring uses a very similar idea.
How to set up threading
Choose toddler-friendly string
- Best beginner choice: a shoelace or thick yarn. Stiffer is easier to control.
- Length tip: Start with 18 to 24 inches. Too long gets tangly fast.
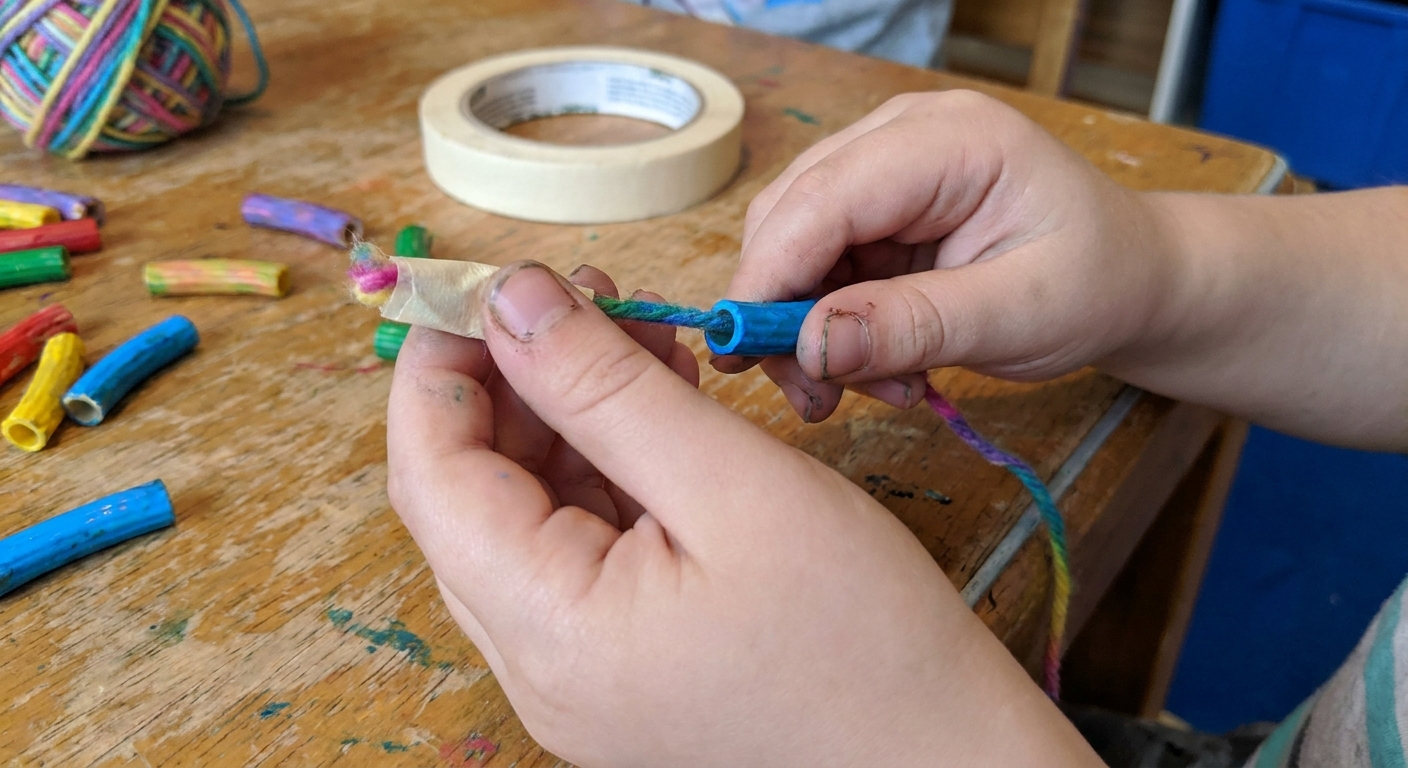
Make an easy “needle” tip
Wrap a small piece of tape tightly around one end of the yarn, making a firm point. This acts like a toddler-safe needle for threading.
Contain the pasta
Pour a small handful of pasta into a shallow bowl or onto a tray. Keeping the amount small helps the whole activity stay calm and manageable.
Teaching threading skills
Threading is tricky. It asks a toddler to coordinate both hands, line up a tiny hole, and keep going. Here are playful ways to support the skill without turning it into a test.
Start with “pick up and drop”
Before threading, practice picking up one noodle and dropping it into a bowl. That simple motion builds control and confidence.
Use the words your toddler can copy
- “Hold the string.”
- “Find the hole.”
- “Push through.”
- “Pull, pull, pull.”
Short, repeatable phrases help toddlers stay focused.
Try hand-over-hand, then fade out
Guide their hands for the first one or two noodles, then let them try. The goal is practice, not perfection.
Offer a choice to keep interest high
- “Do you want red noodles or blue noodles next?”
- “Stripes pattern or mixed-up rainbow?”
Make it a pattern game
If your toddler is ready, suggest a simple pattern like red, blue, red, blue. Sorting and patterns are early math skills hiding inside a necklace.
Finishing the necklace
Tie it off
When the string is full enough, tie the ends together with a secure double knot.
Consider non-wear options
If you are unsure about wearing, you are not alone. A “table necklace” or garland gives the same threading practice without anything going around the neck. You can also drape the strand over a paper towel tube “jewelry stand,” hang it out of reach, or wrap it around a stuffed animal for pretend play.
Troubleshooting
The pasta color rubs off
- Let it dry longer. Color transfer usually means it is not fully dry yet.
- Use less total liquid next time (aim for coating, not pooling). If you see a puddle in the bag, pour off the excess before drying.
- After drying, gently roll or shake the pasta in a dry paper towel to remove any loose pigment.
The pasta sticks together while drying
- Spread it thinner.
- Stir and re-spread halfway through drying.
- Use parchment paper for easier separation.
Threading is too frustrating
- Switch to bigger pasta (rigatoni is a threading superstar).
- Use a stiffer string (shoelace).
- Try “posting” first: drop noodles into a bottle with a wide mouth.
Learning in this craft
- Fine motor: pincer grasp, hand strength, coordination
- Visual motor: lining up holes and string
- Language: simple action words like push, pull, through
- Early math: counting noodles, making patterns, sorting colors
- Independence: finishing a beginning-to-end project
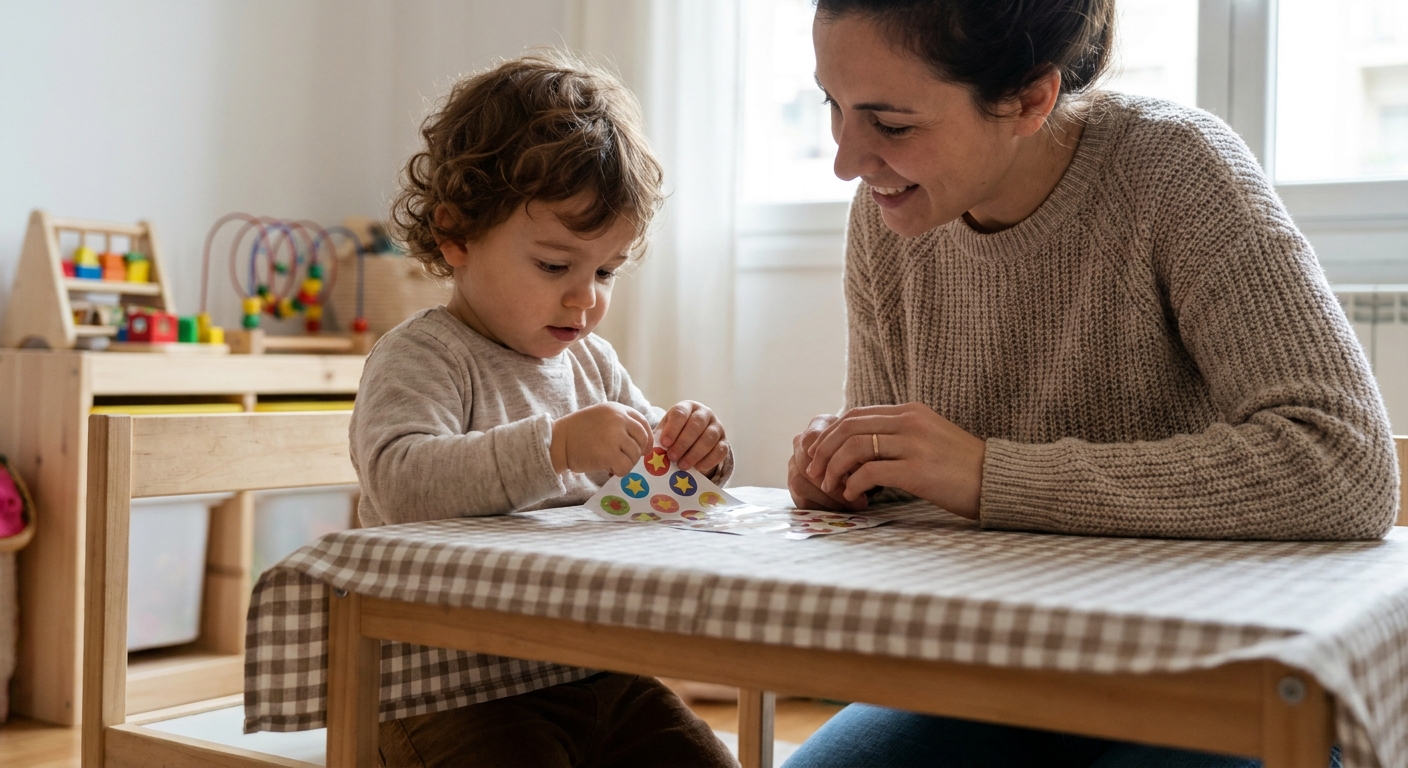
If you’d like more playful fine motor practice ideas, this guide to sticker activities for a stronger pincer grasp pairs nicely with threading days.
Easy variations
- Name necklace: Alternate pasta with large letter beads (only if age-appropriate and fully supervised).
- Rainbow sorting bowls: Place dyed pasta in small bowls by color, then thread one bowl at a time.
- Bracelets: Shorter string, faster success.
- Table garland: Make a long strand for decorating a pretend play shop or a play kitchen.
Reuse dyed pasta
Dyed pasta can keep the play going long after the necklace comes off.
- Pour it into a small sensory bin with scoops and cups.
- Sort by color using muffin tins.
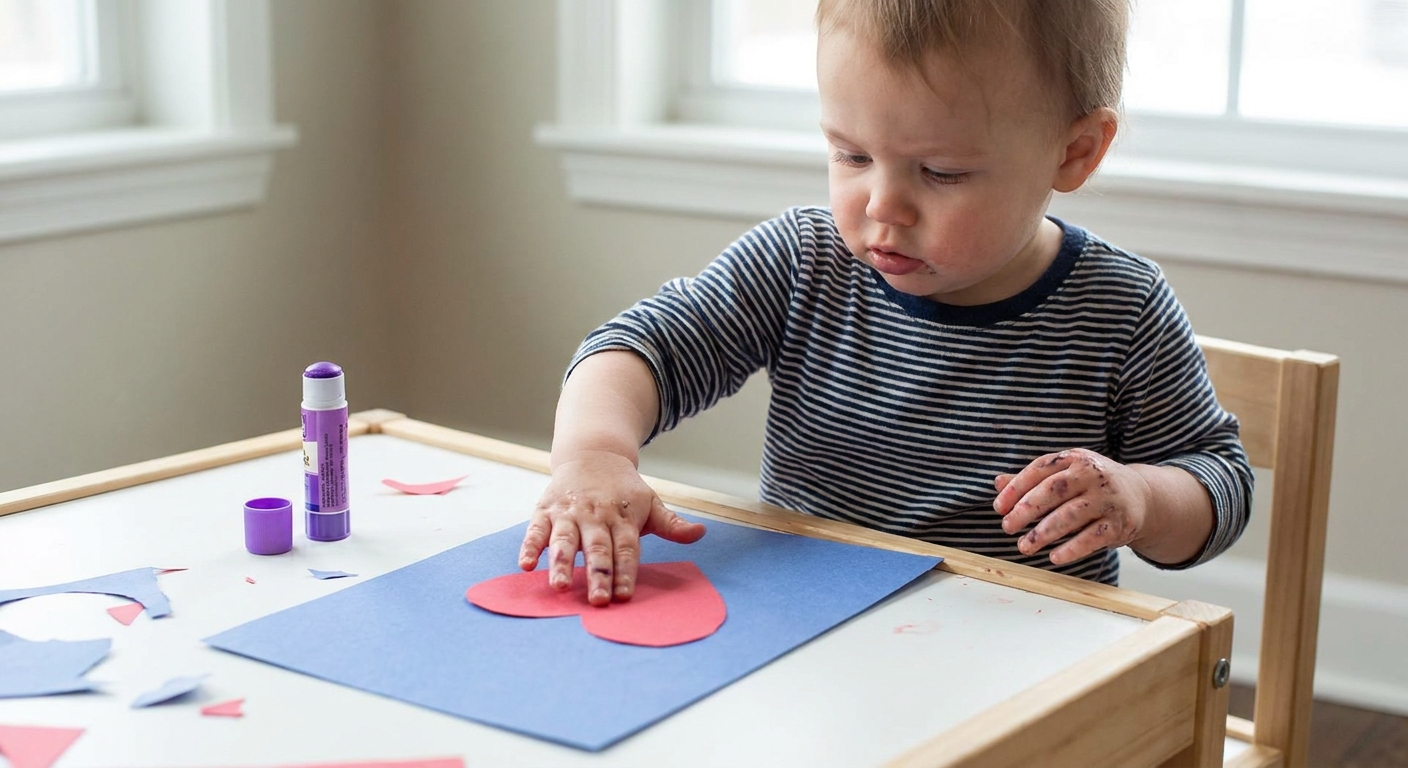
- Use it as a craft material for collages with glue, using tips from glue and paste for toddlers.
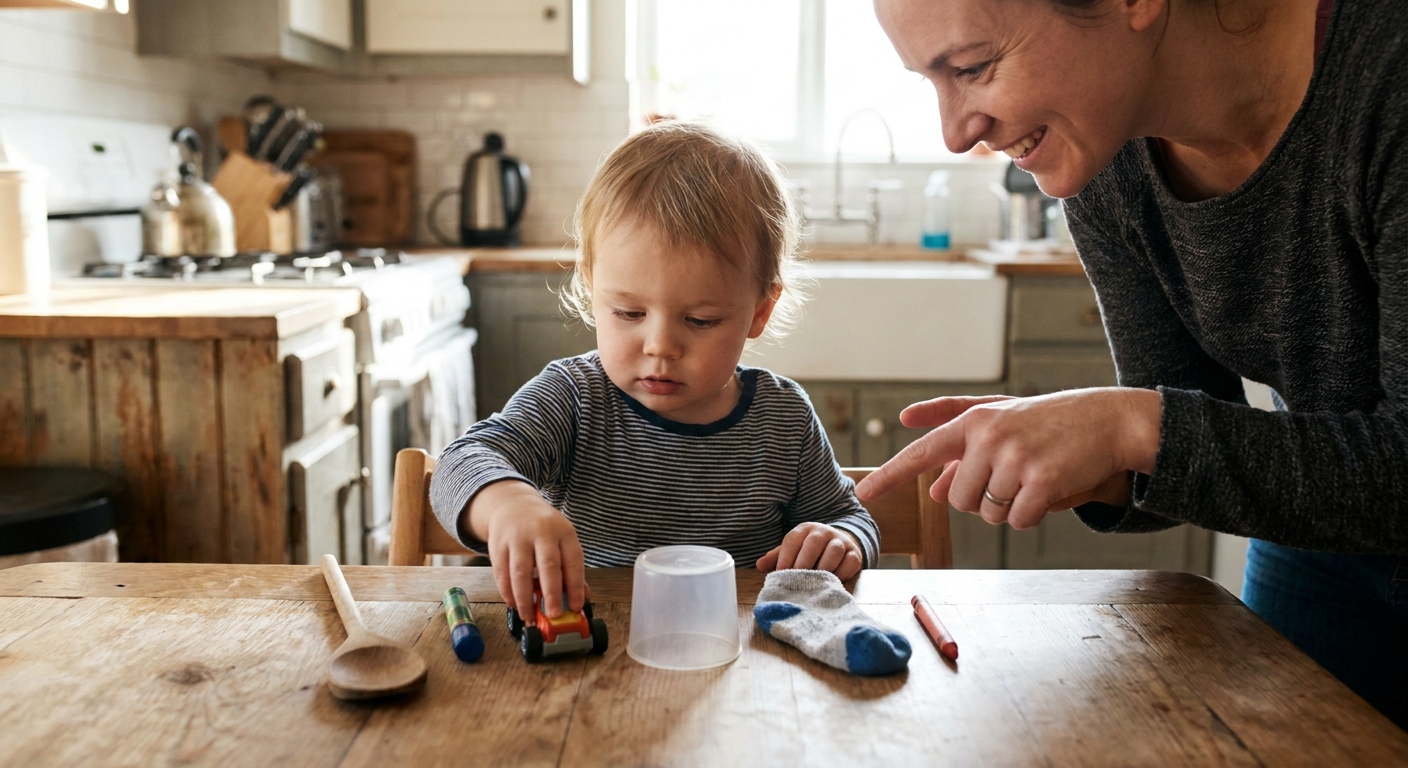
- Make a quick “count and scoop” math game using household items, inspired by everyday household items for toddler counting.
With a cheerful waddle and a little bowl of rainbow noodles, classic macaroni necklaces turn into a craft, a fine-motor workout, and a tiny celebration all in one.