Let’s dive in and make a wonderful, happy mess together! Glue and paste are such a sweet first step into more “tool” crafting because toddlers get to do something that feels like magic: stick one thing to another on purpose. With the right supplies and a simple setup, it can be calm, quick, and confidence-building.
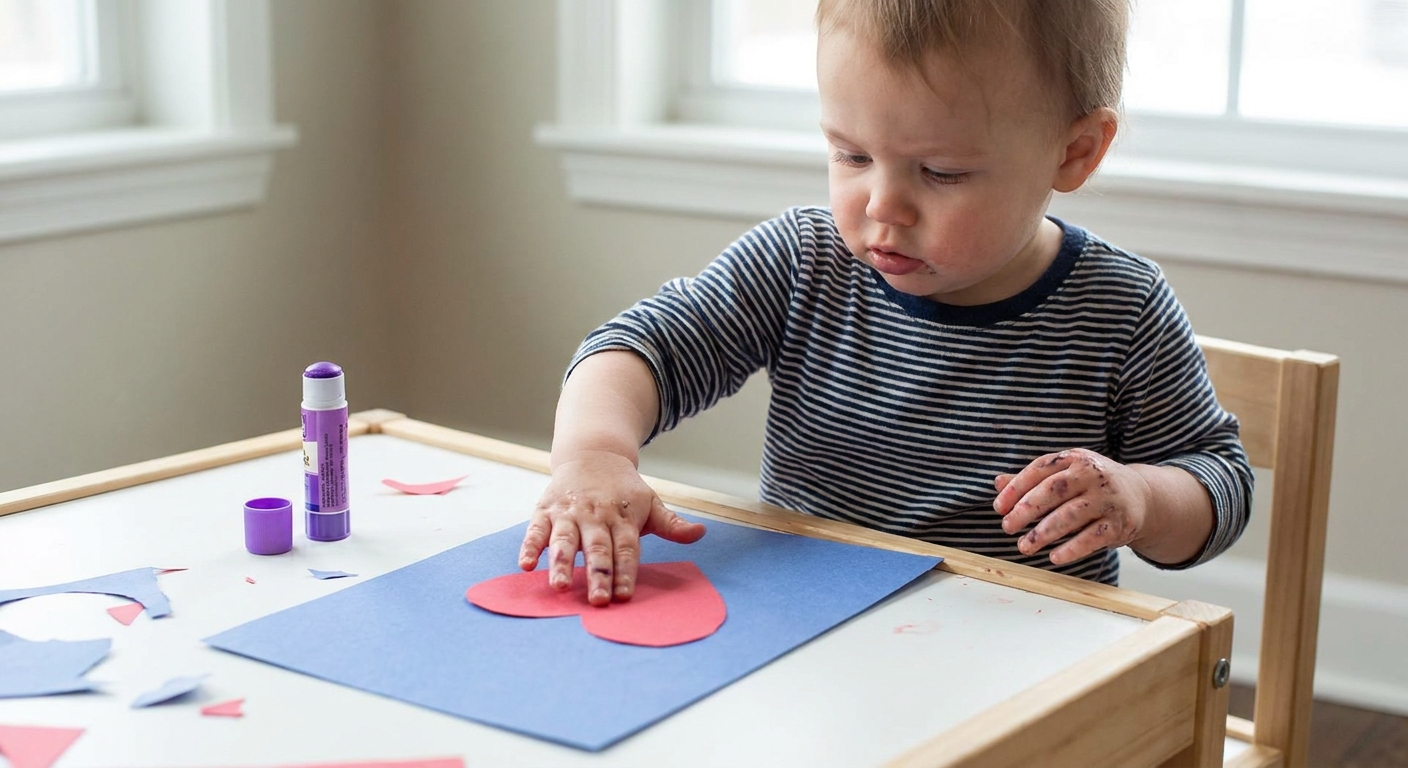
When to start
Many toddlers are ready to try glue often around 2 to 3 years, but the best “readiness sign” is simpler than age. Some 18 to 24 month olds can join in too with extra support and bigger, simpler materials. Start when your child can do at least a couple of these:
- Shows interest in stickers, tape, or putting things onto paper
- Can pinch and release small items (like pom poms or torn paper bits)
- Can follow a one-step direction sometimes (like “put the paper on the glue”)
- Tends not to immediately taste every supply (and if they still mouth a lot, you can still practice sticking with close supervision and larger pieces)
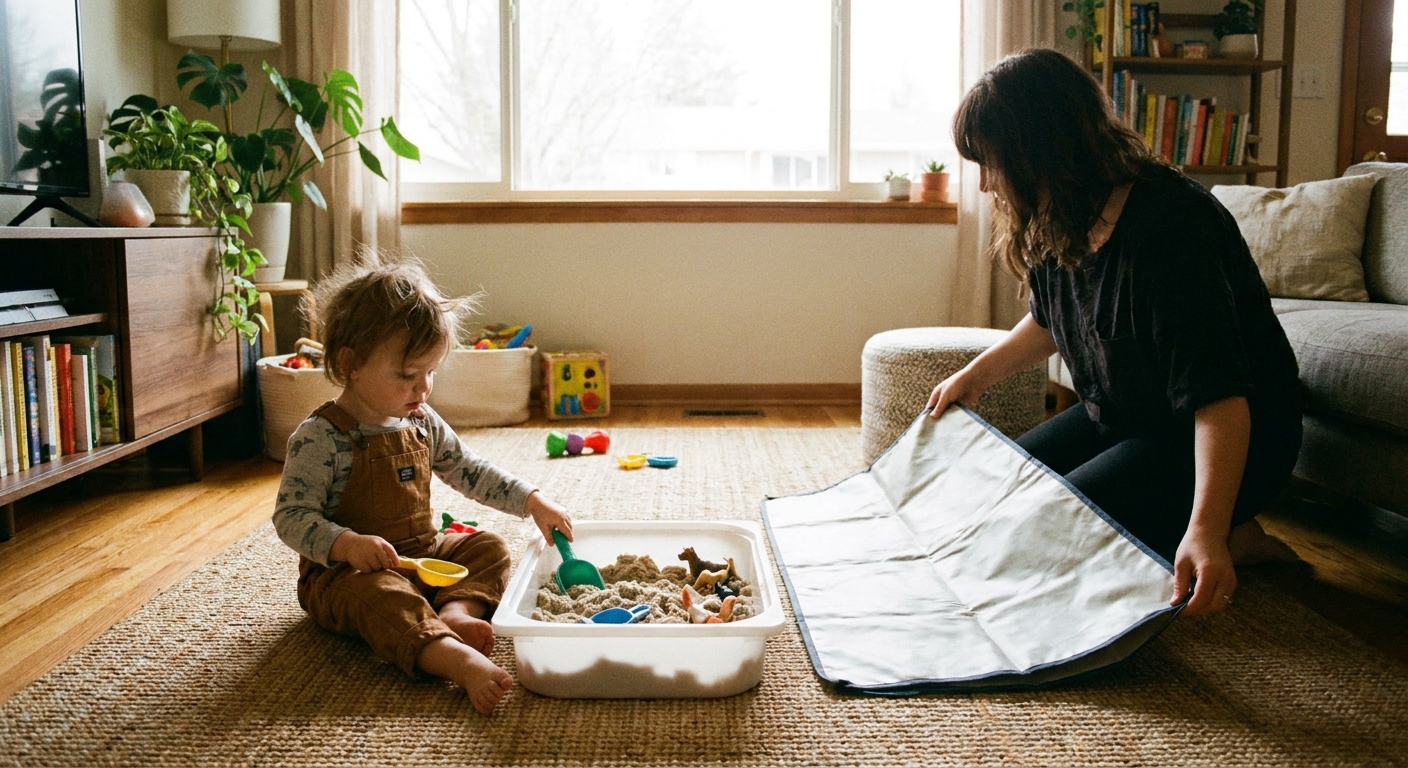
If your toddler is in a “dump everything” stage, that is normal. You can still practice with tiny portions and short sessions. For other containment ideas that keep mess low, peek at Containing Sensory Bin Mess in a Small House. The same calm boundaries work beautifully for glue play.
Toddler-safe adhesive choices
For first-time gluing, pick an adhesive that is washable, non-toxic, and low-drip. (Non-toxic does not mean edible, so you still want to discourage tasting.) Here are the most toddler-friendly options and what they are best for.
Glue sticks
- Best for: paper on paper, quick success, minimal mess
- Why toddlers like it: looks like a crayon and feels easy to control
- Tip: start with one twist up and cap it right away to avoid breakage and floor-glue surprises
White school glue (PVA), used sparingly
- Best for: paper, lightweight cardboard, simple collages
- Mess level: medium unless you portion it
- Tip: pour a tiny puddle and use a cotton swab, craft stick, or toddler paintbrush for dabbing
Paste options (including starch-based school paste)
- Best for: paper projects where you want a slower, thicker feel
- Why it helps: paste often spreads more slowly than runny glue
Tape as a bridge adhesive
- Best for: toddlers who are not ready for wet glue, or who get frustrated waiting for drying
- Try: painter’s tape loops (sticky side out) for instant sticking
If your toddler loves tape already, you might enjoy these movement-friendly ideas: 10 Painter’s Tape Floor Games for Toddlers.
Simple setup
A smooth glue session is mostly about prep. The goal is to make “the right thing” the easiest thing.
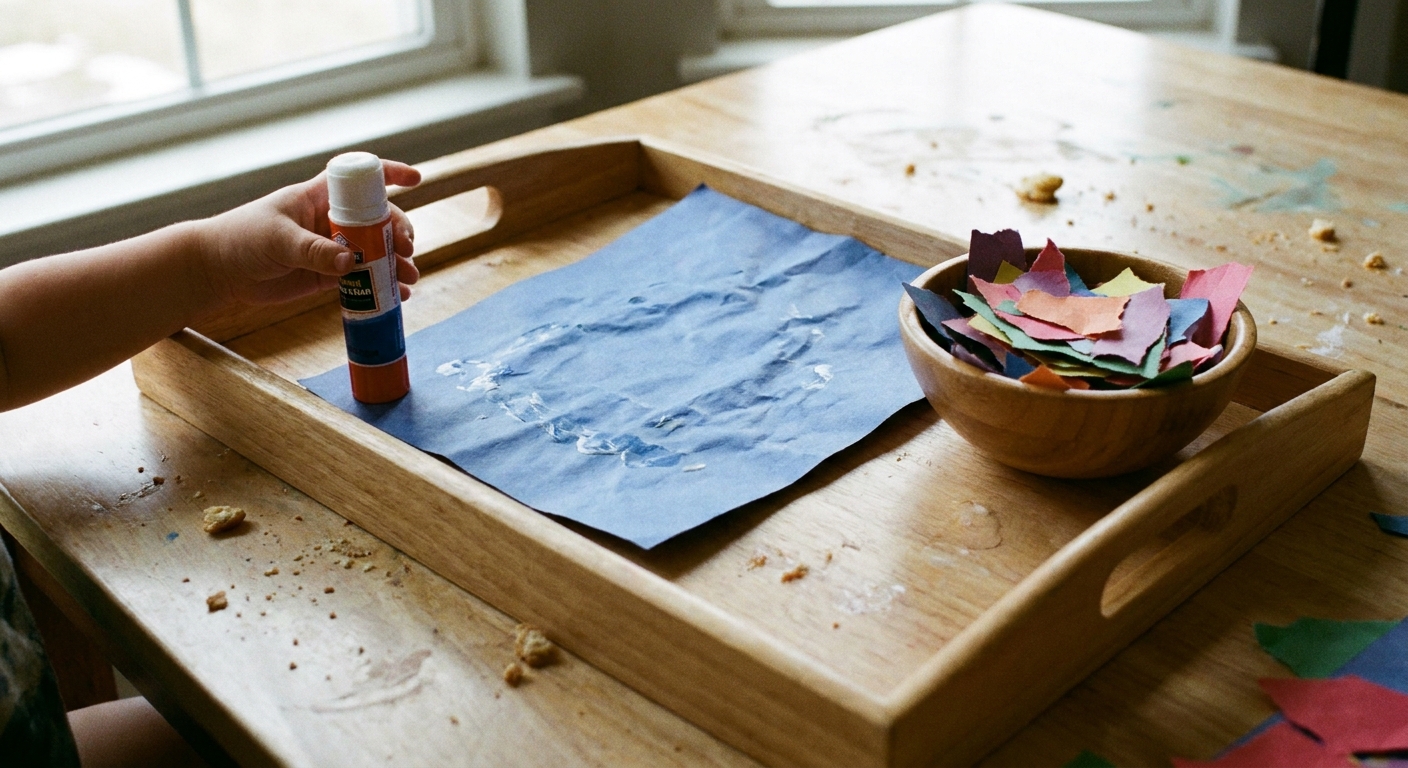
What to put on the table
- One adhesive (start with a glue stick if you have one)
- One base paper (cardstock or construction paper works well)
- A bowl or tray with a small amount of sticking items
- A damp washcloth or baby wipe for quick hands
- A shirt that can handle a little mess, or a smock
What to keep off the table
- The whole craft closet
- Sequins, glitter, and very tiny beads (save for later stages)
- Multiple glues at once (too many choices can turn into experimenting on the table)
Mess-saving surfaces
- A washable placemat, tray, or baking sheet under the paper
- A vinyl tablecloth or a reused cardboard box flap as a craft mat
Teach the routine
Keep directions short and repeatable. Toddlers learn glue routines through tiny scripts.
- For glue sticks: “Swipe, swipe, cap. Now press.”
- For white glue: “Dot, dot, dot. Paper goes on.”
- For paste with a tool: “Dip. Paint a little. Stick and pat.”
Show one step, then hand it over. If your toddler glues the top of the paper piece instead of the base, that still counts as learning. The goal is practice, not perfection.
Beginner projects
These are designed for first-timers: few pieces, satisfying sticking, and not much waiting.
1) Torn paper collage
Great for: hand strength, bilateral coordination, and pinch-and-place practice.
- Give your toddler 1 to 2 sheets of scrap paper to tear.
- Put out one base sheet.
- Use a glue stick and invite them to place torn bits anywhere.
Make it easier: pre-tear a few pieces to get things started.
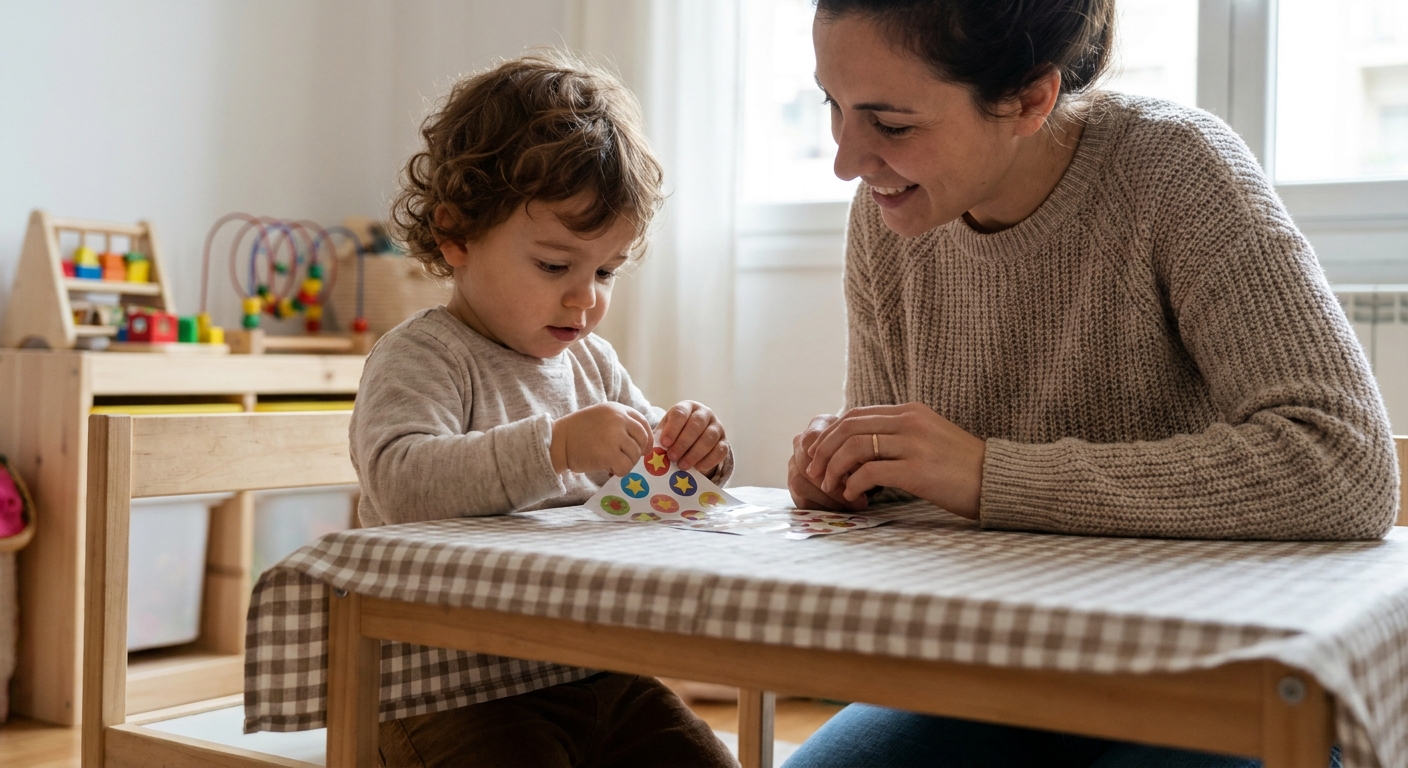
2) Sticker to glue bridge page
Great for: toddlers who love stickers but avoid wet glue.
- Put a few stickers on paper.
- Offer a glue stick and paper shapes to add around the stickers.
- Talk about “sticky tools” and “press, press, press.”
If you want more pincer-grasp practice that feels like play, try Sticker Activities for a Stronger Pincer Grasp.
3) Dot-glue and pom pom sprinkles
Great for: controlled dabbing and finger isolation.
- Add a small puddle of white glue to a tray.
- Offer a cotton swab for “dot dot dot” on paper.
- Let your toddler place pom poms onto each dot.
Safety note: keep small items out of reach when you are not directly supervising.
4) Shapes on outlines
Great for: visual matching, early puzzle skills, and a clear job.
- Draw 3 to 5 simple outlines (circle, square, triangle) on a base paper.
- Provide matching paper shapes.
- Invite your toddler to glue and place each shape on its home.
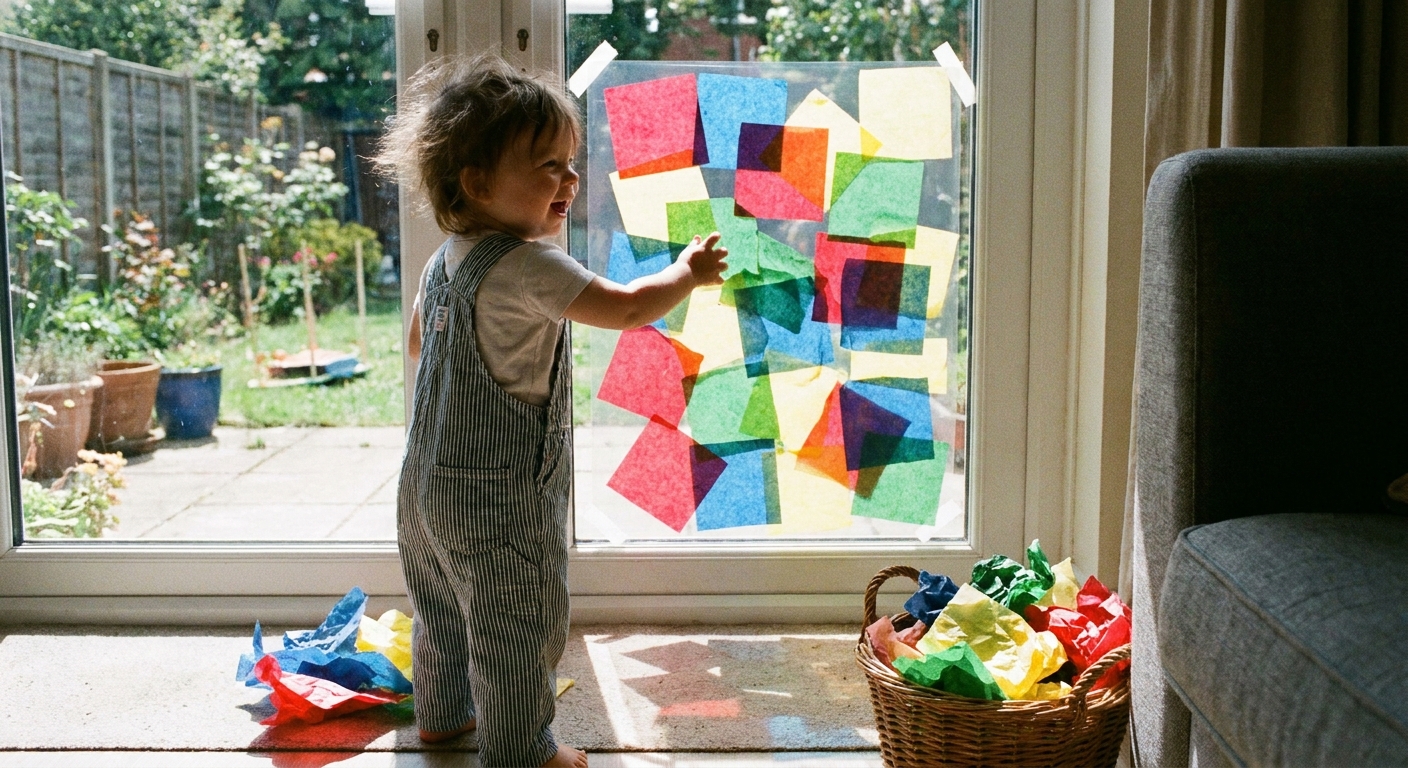
5) Contact paper sticky wall
Great for: toddlers who want the sticking part without handling glue yet.
Set up a sticky surface and offer lightweight items like tissue paper squares, foam shapes, or paper scraps. You can find a full setup here: Contact Paper Sticky Wall for Toddler Art.
Common problems
“They smear glue everywhere.”
- Switch to a glue stick or offer only a pea-sized puddle of white glue.
- Use a tool for glue: cotton swab, paintbrush, or craft stick.
- Give fewer materials at once so the glue has one clear purpose.
“They want to glue their hands.”
- Offer a planned moment: “One glue dot on your finger, then wipe.”
- Keep a damp cloth right there for an easy reset.
- Choose washable glue and keep sessions short.
“They taste supplies.”
- Stay within arm’s reach and use larger items that are harder to mouth (big paper pieces instead of tiny confetti).
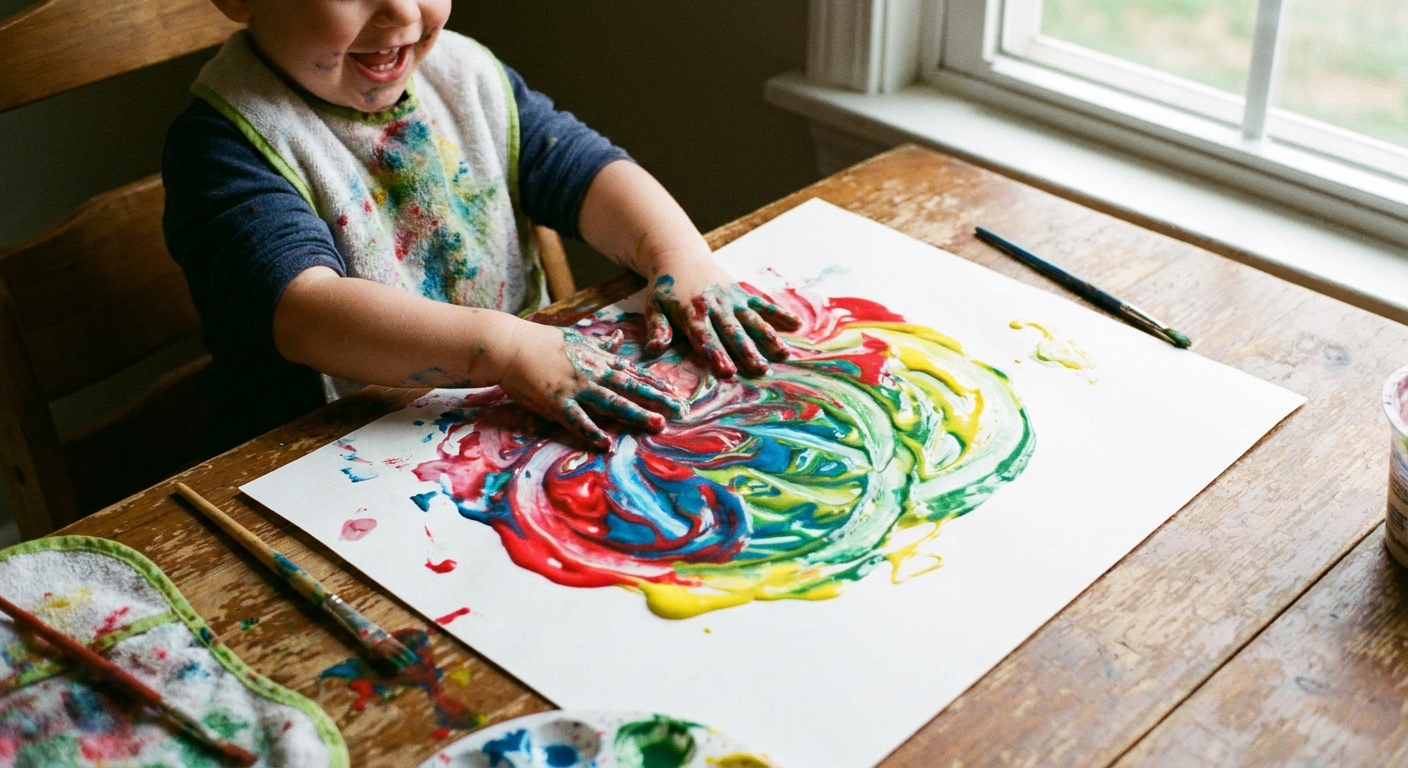
- Some kids mouth less after they have had a different sensory outlet first. If that sounds like your toddler, you could do something taste-safe like Taste-Safe Yogurt Finger Paint before glue time.
- If mouthing is frequent or intense, pause wet glue and try contact paper sticking or large tape loops until they are ready.
“They get upset when pieces won’t stick.”
- Teach “press and count to 3.”
- Use lighter pieces (tissue paper, thin paper) so the glue succeeds quickly.
- Reduce steps: pre-cut shapes so the only job is glue and press.
Safety and cleanup
- Non-toxic and washable: check the label and keep glue away from eyes and mouth.
- Non-toxic is not edible: if a tiny lick happens, calmly wipe mouths and hands and offer water. If your child eats a larger amount or you are worried, contact your local poison help line for guidance.
- Choking hazards: pom poms, buttons, and tiny foam shapes require close supervision and safe storage.
- Skin and sensitivities: some kids get irritated by adhesives. If you notice redness or discomfort, wash with soap and water and stop that product.
- Air and smell: choose low-odor supplies and craft in a comfortable, well-ventilated space if you can.
- Tables and floors: wipe wet glue promptly. Dried school glue often peels off many hard, non-porous surfaces, but porous or delicate finishes can be trickier, so test a small spot when in doubt.
If you want a safe messy play mindset, it can help to remember: toddlers learn by testing. Your job is simply to set friendly boundaries like “glue stays on the paper.”
Drying and display
Wet projects are tempting to touch again, so give them a clear “rest spot.” I like a high counter, the top of the fridge, or a shelf that is out of reach. A baking rack works nicely as a simple drying rack, and it helps papers dry flatter than leaving them on a table.
Progression plan
If glue time feels chaotic, slow the steps down. This gentle order often works well:
- Sticky wall or tape loops for instant success
- Glue stick with large paper pieces
- Glue stick with smaller pieces and simple outlines to fill
- White glue applied with a tool (dotting and dabbing)
- White glue with more open-ended collage materials
Short sessions count. Even 5 minutes of “glue, stick, press” builds real fine motor skills and patience over time.
Quick FAQ
How long should a first glue activity be?
Try 5 to 10 minutes. End while it is still going well, even if the page is not finished.
Should I pre-cut everything?
For beginners, yes. Pre-cutting makes the new skill (gluing) the main focus. You can add toddler scissor practice later.
What if my toddler only wants to cap and uncap the glue stick?
That is still useful hand practice. Offer a tiny goal: “Cap, then one swipe on the paper.” Keep it playful and move on.
More easy craft fun
If your toddler enjoys sticking and pressing, you can branch into other hands-on but simple art days. Visit the Easy Arts & Crafts section for more ideas, or try a gentle painting activity like sponge stamping when your little one is ready for a different kind of messy.