Let’s dive in and make a wonderful, happy mess together, little ducklings. A Montessori-inspired pouring station gives toddlers a safe place to practice a very real life skill: moving liquid from one container to another. With the right setup, spills become part of learning, not a big interruption. This kind of simple practice can help build hand-eye coordination, strengthen fine motor control, and grow confidence for self-feeding and helping around the house.
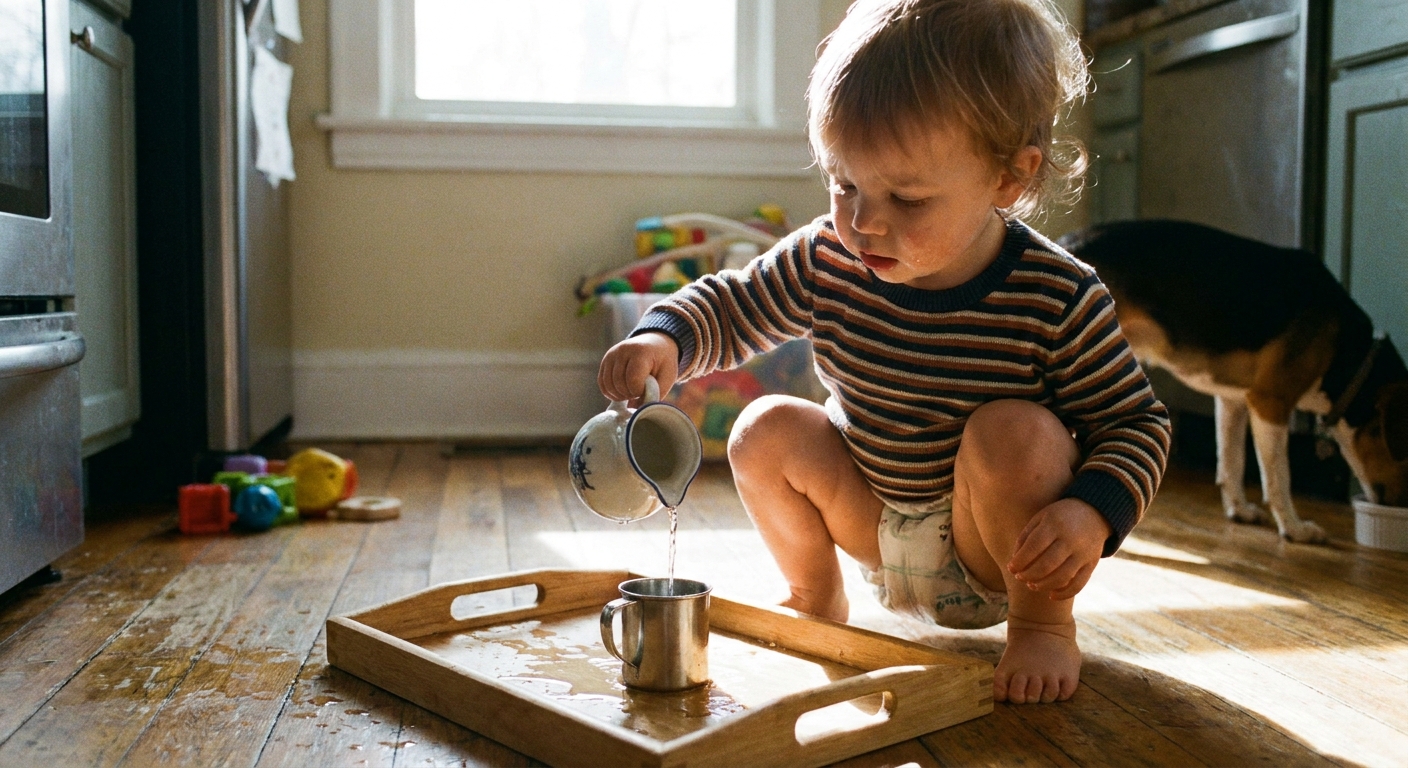
What makes it Montessori-inspired
Montessori-inspired does not mean fancy. It means the activity is real, the tools are child-sized, and the setup supports independence.
- One clear purpose: pour from Container A to Container B.
- Simple, lovely materials: just a few items, arranged neatly.
- Built-in order: everything has a spot so cleanup is straightforward.
- Freedom within limits: the child can repeat the work, but the area is defined and spill-friendly.
Quick setup
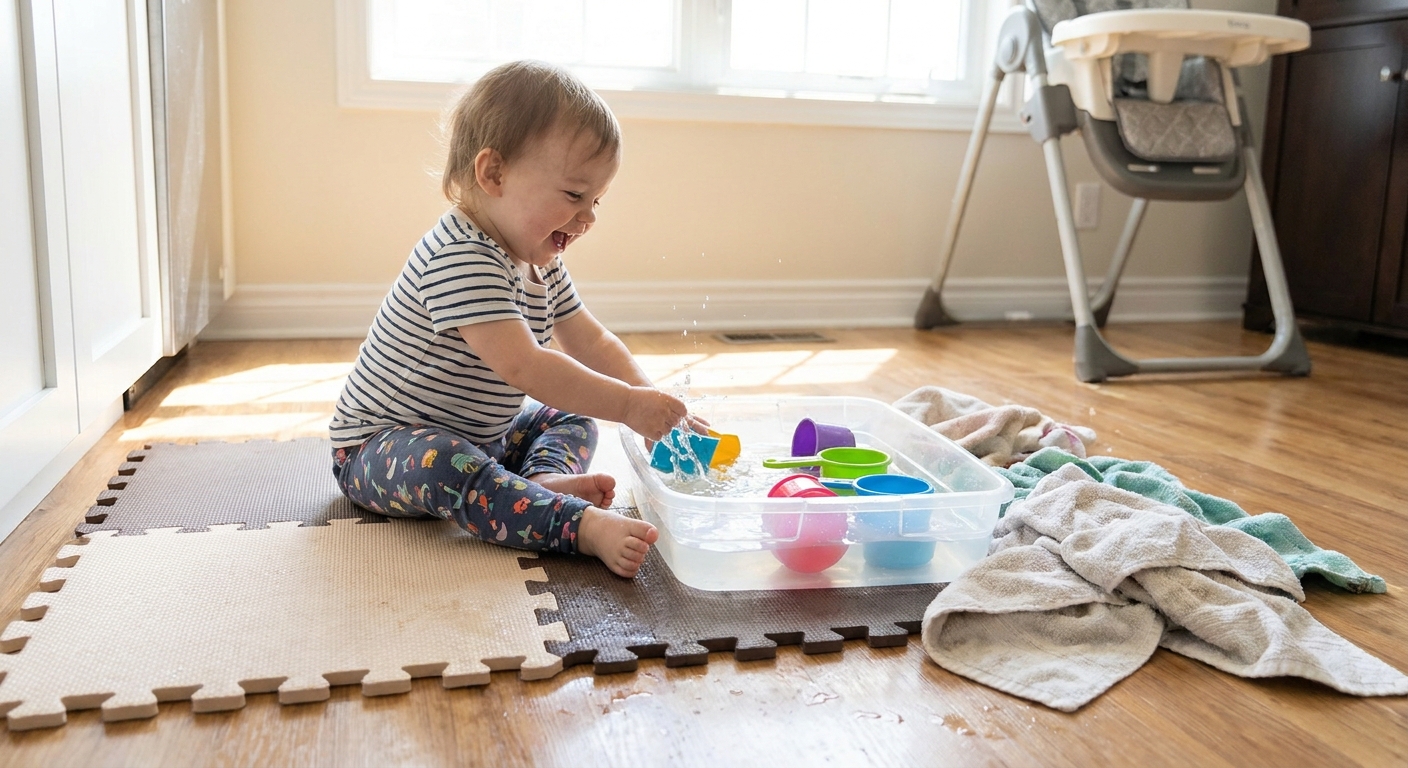
Choose a spot that can handle a little water. The goal is to say “yes” to practice without worrying about every drip.
Best locations
- Kitchen floor with a towel under the tray
- Bathroom floor
- Entryway tile
- Outside on a porch or patio
What to put under the station
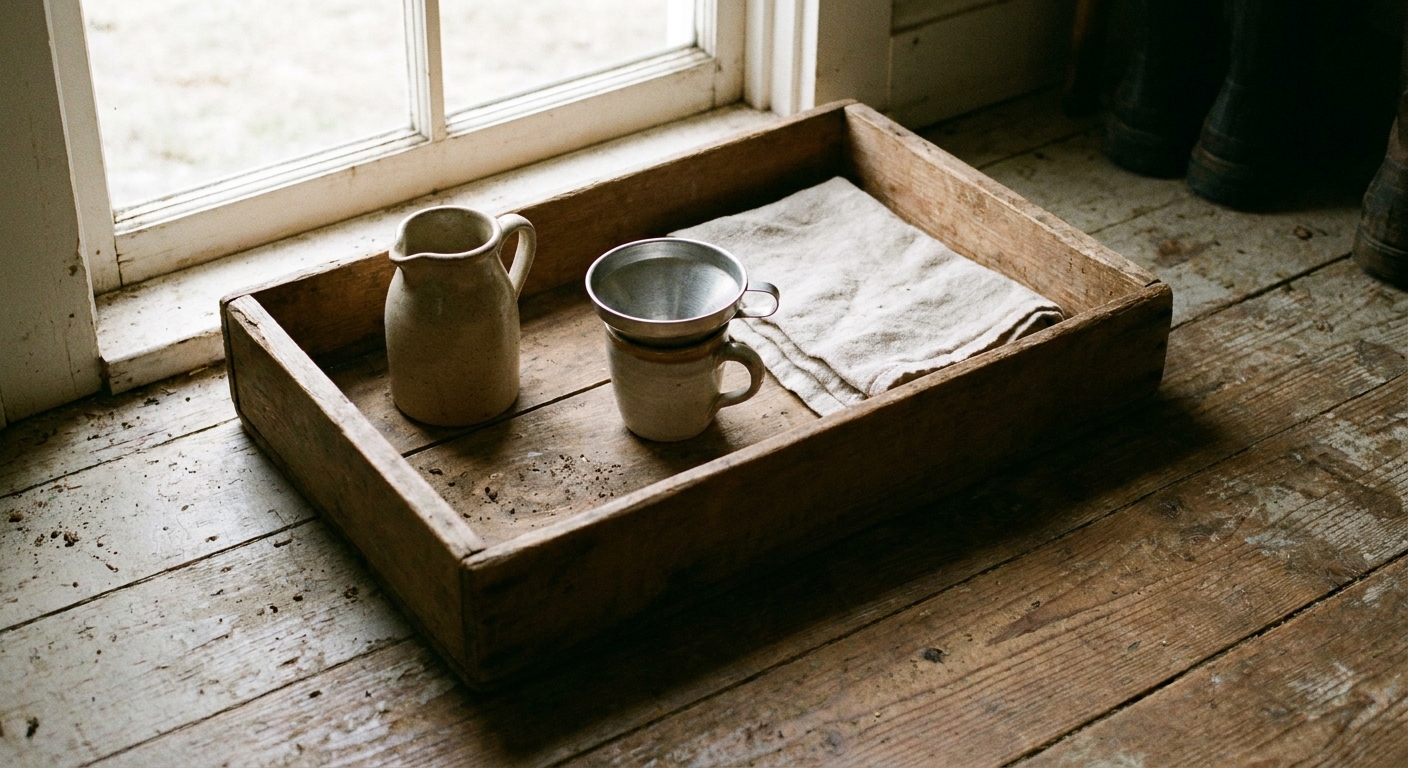
- Shallow tray with a rim (boot tray, cafeteria tray, baking sheet with edges)
- Absorbent towel under the tray for extra insurance
- Non-slip mat if the tray skids on your floor
Extra safety tip: set up away from stairs, and avoid slippery throw rugs or mats that slide underfoot.
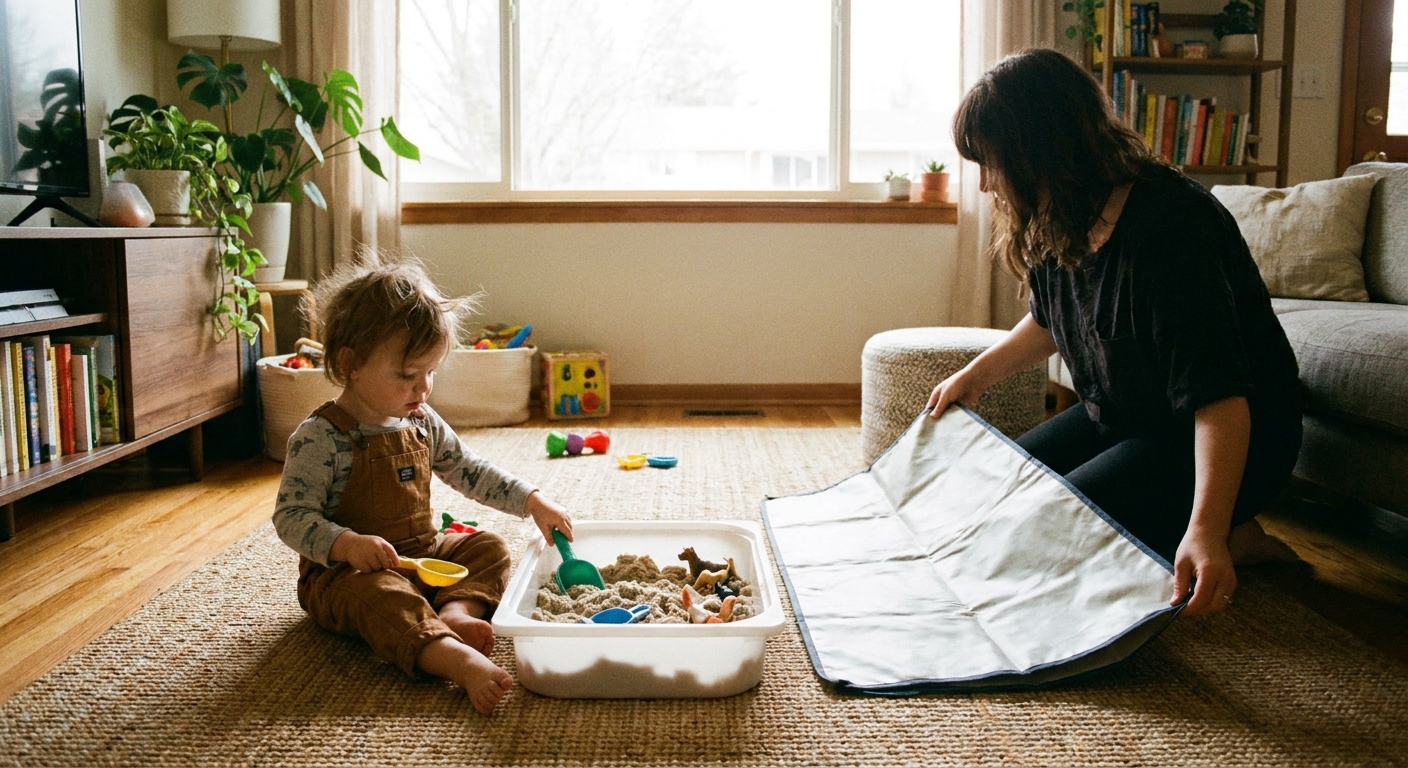
If you are working with a small space, keeping mess contained is the real magic. This guide on containing sensory play mess in a small house has lots of practical tricks that work for pouring stations too.
Materials list
Start with just a few items. Too many cups and gadgets can distract from the main work.
Must-haves
- Two containers: one to pour from, one to pour into
- A tray: to define the workspace and catch drips
- A small sponge or cloth: for independent wiping
Great add-ons
- Funnel (wide-mouthed is easiest)
- Small ladle or scoop (a gentler first step than full pouring)
- Turkey baster or large dropper (excellent for control practice)
- Measuring cups (clear ones help toddlers see levels)
- Small whisk (fun for mixing and hand strength)
Picking the right pitcher
- Size: toddler can lift it with two hands
- Spout: a defined spout helps aim
- Weight: lightweight is easier to control
- Material: plastic, silicone, or metal is fine. Use what feels safe in your home.
For extra fine-motor support, you can borrow tool ideas from sensory bins too. Here are some favorites: sensory bin tools for fine motor skills.
How much liquid to use
Use less liquid than you think at first. A tiny amount still teaches the same pouring motion and makes cleanup feel doable.
- Beginner: 1 to 2 tablespoons
- Getting steadier: 1/4 cup
- Confident pourer: 1/2 cup
- Advanced: up to 1 cup, if the tray is large and the child is ready
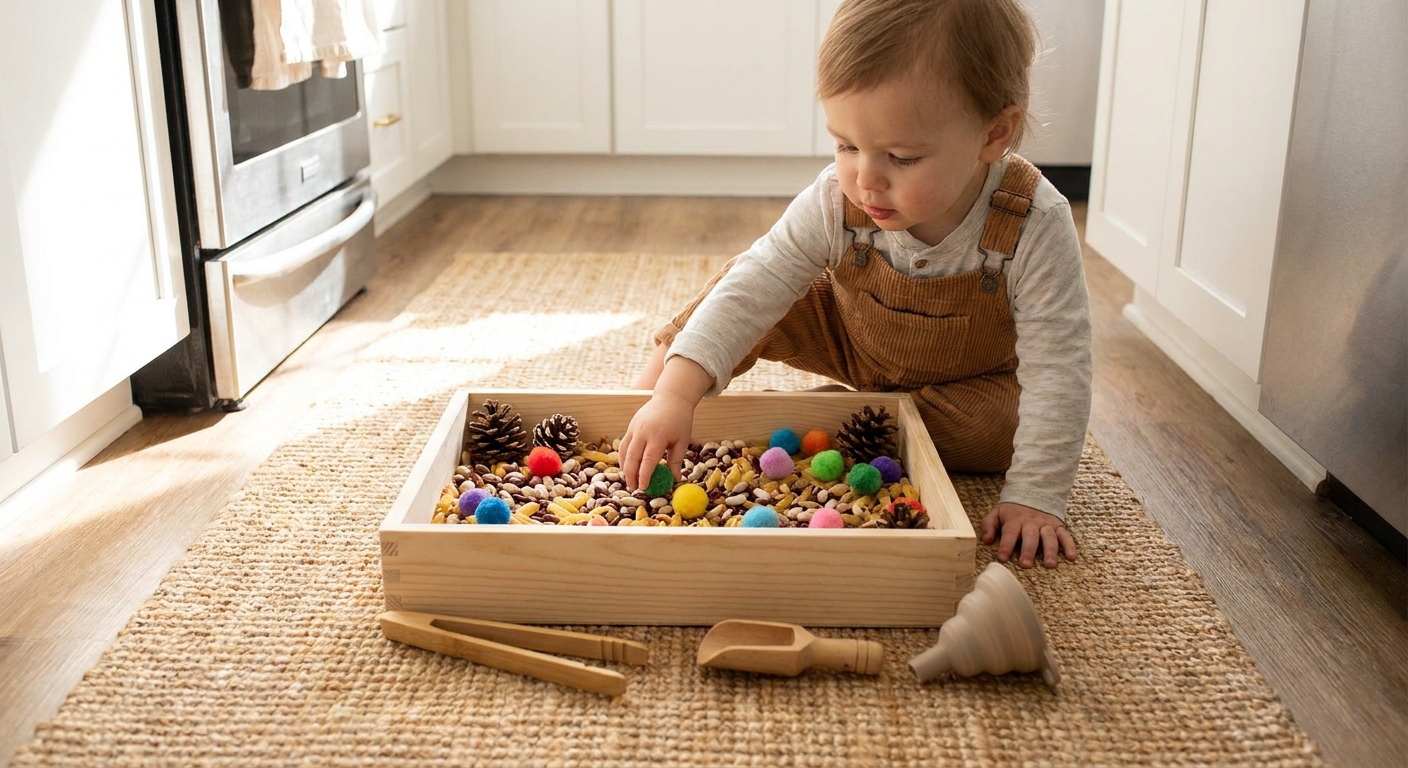
Duckling tip: water is classic, but it is not the only option. You can also pour dry materials like oats or rice once your toddler is ready for the sound and texture.
Water tips
- Temperature: lukewarm water is cozy and less surprising on little hands.
- Add-ins: avoid soap or essential oils unless you truly want residue, extra supervision, and a potentially slipperier cleanup.
- Color: a tiny drop of food coloring is plenty when you want a visual boost.
Set it up step by step
- Place the tray on the floor or a low surface that feels stable.
- Set the tools left to right in a simple order: the full container, then the empty container. (If your toddler strongly prefers one hand, feel free to adjust so it is comfortable.)
- Add a funnel if needed, and place it directly in the target cup.
- Set a sponge or small cloth in a consistent spot on the tray.
- Pre-fill the pitcher with a small amount of liquid, then wipe the outside so it is not slippery.
How to show your toddler
Keep the first demonstration calm and slow. Toddlers learn a lot by watching the motion.
- Use minimal words: “Pour.” “Stop.” “Wipe.”
- Show two hands on the pitcher if that helps control.
- Pause before tipping so your toddler can see the aim.
- Model cleanup as part of the activity, not as a consequence.
If your toddler grabs and dumps right away, that is common. Start with a smaller amount of water, a bigger target cup, and a heavier container that pours more slowly.
What your toddler is practicing
- Hand-eye coordination: lining up spout and cup
- Bilateral coordination: using two hands together
- Wrist control: tipping and returning upright
- Focus and sequencing: pour, stop, reset
- Independence: “I can do it myself” confidence
- Self-feeding readiness: similar control helps with cups, pitchers, and serving tools
This kind of everyday practice fits beautifully alongside other early learning ideas in Early Learning & Development.
Easy variations
1) Dry pouring
Swap water for a dry filler.
- Oats
- Dry beans (only with close supervision, and not for kids who still mouth objects or like to post items into ears or noses)
- Pasta
- Rice (use a tray and keep the amount small)
Want more taste-safe options for toddlers who still mouth tools? Start with the ideas in taste-safe sensory bin fillers for toddlers who mouth everything.
2) Color-mix pouring
Add a drop of food coloring to one cup and pour clear water into it, then pour it back and forth a few times. The goal is watching the color change, not making a huge volume.
3) Sponge transfer
Place two bowls on the tray. Put a sponge in one bowl of water, then squeeze it into the empty bowl. This is a wonderful pre-pouring activity.
4) Funnel challenge
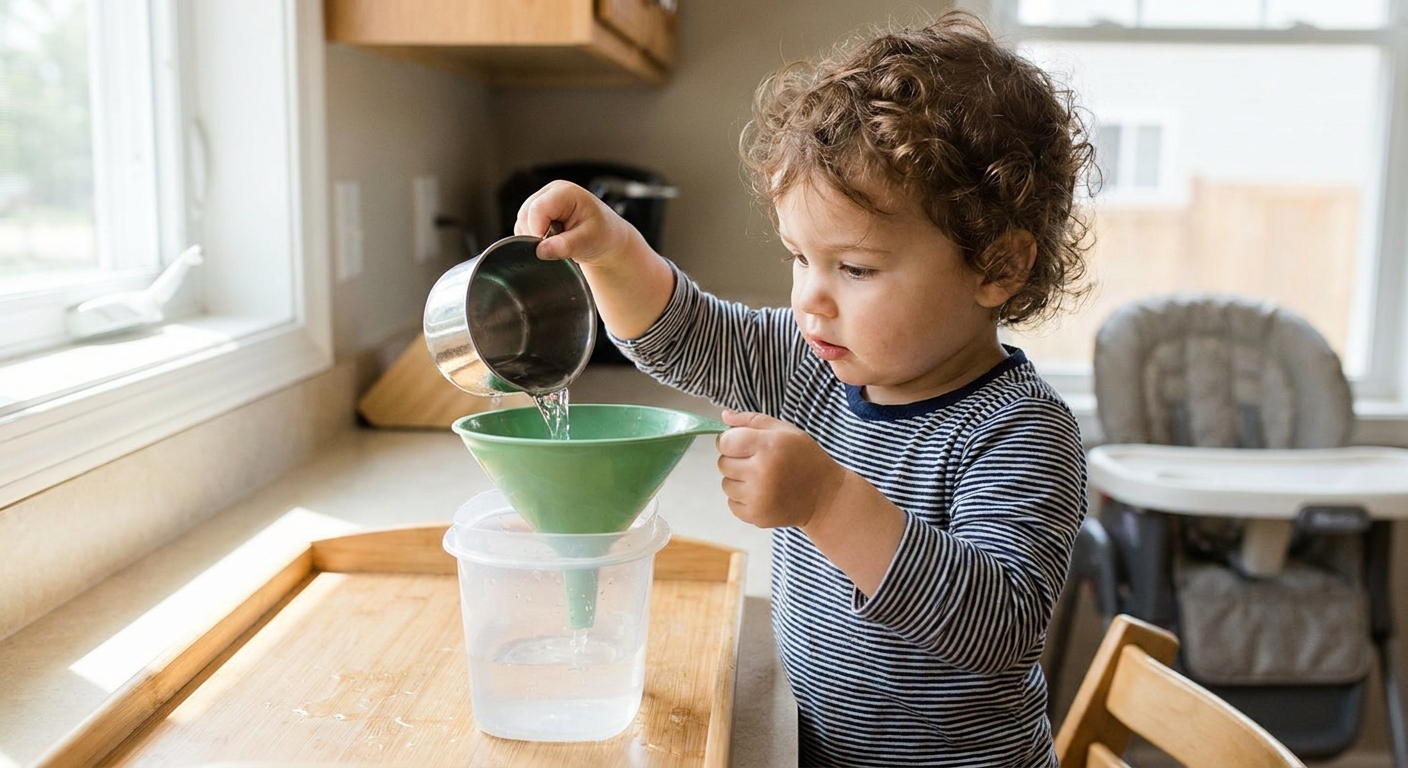
Use a wide funnel first, then a narrower one as skills grow. Funnels add purpose and make aiming easier.
Skill progression
Not sure what to do after day one? Here is a simple way to level it up without making it complicated.
- Start easy: two identical cups, tiny water amount, wide target.
- Add a spout: switch one cup to a small pitcher with a clear spout.
- Increase the challenge: use a slightly smaller target container, or remove the funnel.
- Increase volume slowly: raise the fill line a little at a time.
- Refine control: try stopping at a line (use a clear cup and point to the level).
Safety notes
- Always supervise with liquids, and stay close with any small items like funnels or small cups.
- Watch for slipping: keep the towel under the tray and wipe puddles right away.
- Avoid breakables until your toddler reliably pours without throwing or sweeping items off the tray.
- Skip choking hazards (like small beans) for younger toddlers or any child who still mouths lots of objects.
Troubleshooting
“My toddler just dumps it.”
- Use tiny amounts of liquid.
- Offer two small cups instead of a big pitcher.
- Try sponge transfer first.
- End the activity calmly if dumping becomes the main game, then try again another time.
“Everything gets thrown.”
That can be a sign the tools are too exciting, the child is seeking big movement, or the activity is happening at a tricky time of day. This guide can help you reset expectations while keeping sensory play positive: how to stop your toddler from throwing sensory bin fillers.
“They miss the cup every time.”
- Use a wider target container like a small bowl.
- Add a funnel.
- Choose a pitcher with a clear spout and encourage two hands.
“They want me to do it.”
- Do one slow demonstration.
- Then offer one phrase: “Your turn.”
- Let repetition do the teaching, even if it is not perfect.
Make it part of the day
A pouring station is wonderful as a standalone activity, but it also supports real family routines.
- Snack helper: pour water into a cup at snack time with a child-sized pitcher
- Plant care: pour water into a small watering can, then to a plant
- Bath time prep: pour cups of water into a tub or basin
- Cleanup practice: wipe the tray and return items to their spots
If you want more water play that stays floor-friendly, waddle over to indoor water play activities that won’t ruin your floors.
Mini FAQ
What age can toddlers start?
Many toddlers can begin with very small amounts of water and large containers around 18 months, sometimes earlier with close supervision. If your child is younger or still mouths everything, start with taste-safe dry fillers and large tools.
Do I need special Montessori materials?
Nope. A tray, two small containers, and a sponge are enough. Simple household items work beautifully.
How long should it last?
For many toddlers, 5 to 15 minutes is plenty. The goal is joyful repetition, not endurance.
How do I keep it tidy?
Use a tray with a rim, start with tiny amounts, keep a sponge right on the tray, and end with a quick reset of the items back to their spots.
A gentle closing waddle
A Montessori-inspired pouring station is one of those little setups that can make a big difference. It invites toddlers to practice real skills, build control, and feel proud of their growing independence. Spills will happen, and that is okay. With a cozy tray, a tiny pitcher, and a sponge ready to swoop in, your toddler gets to learn in the sweetest way: by doing.