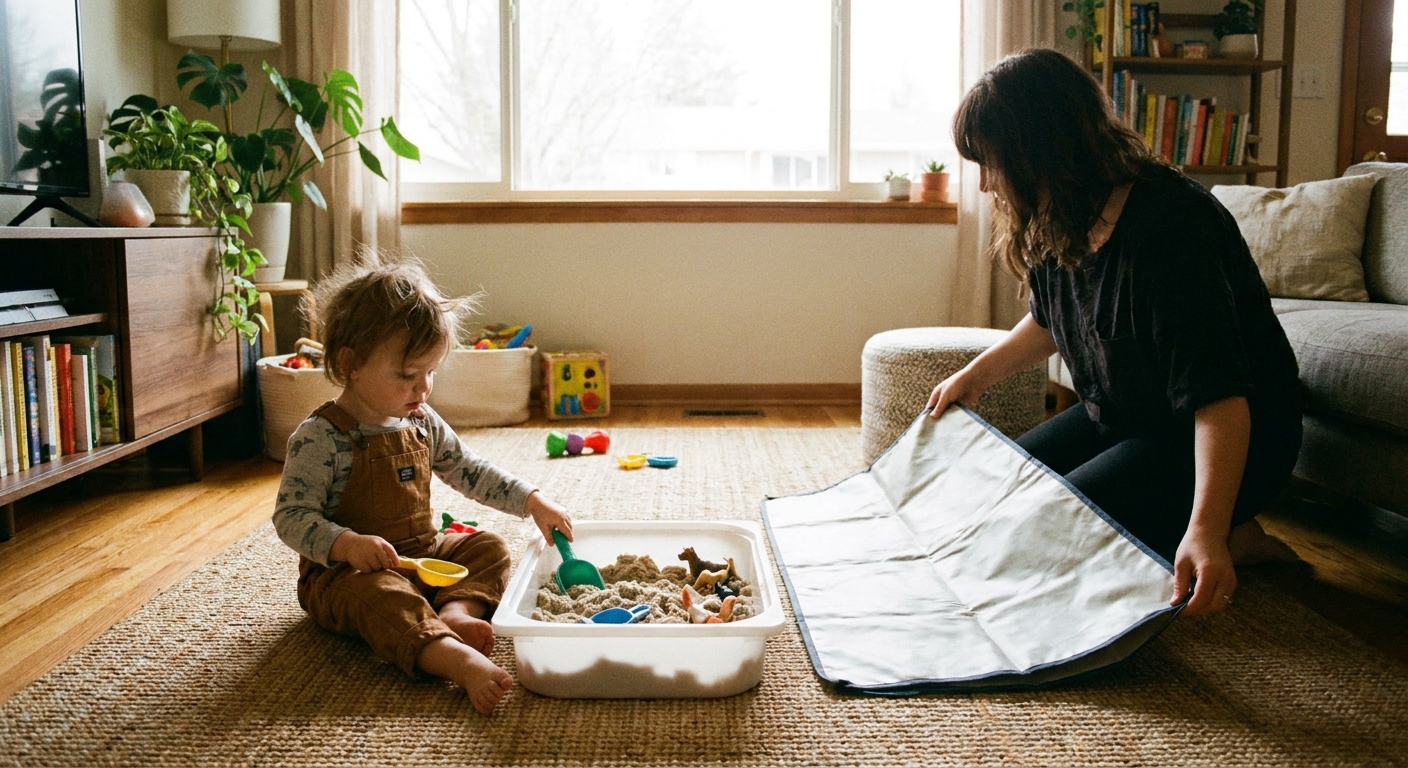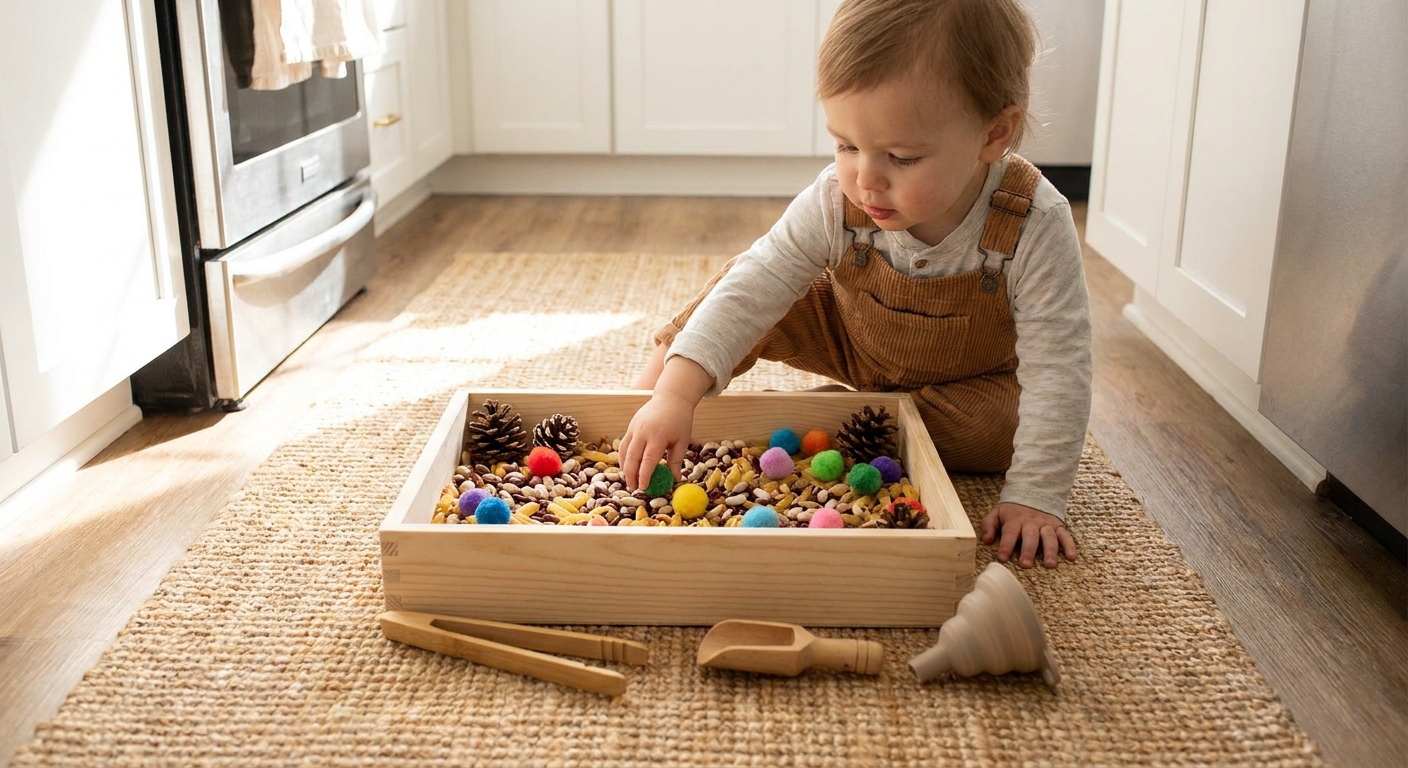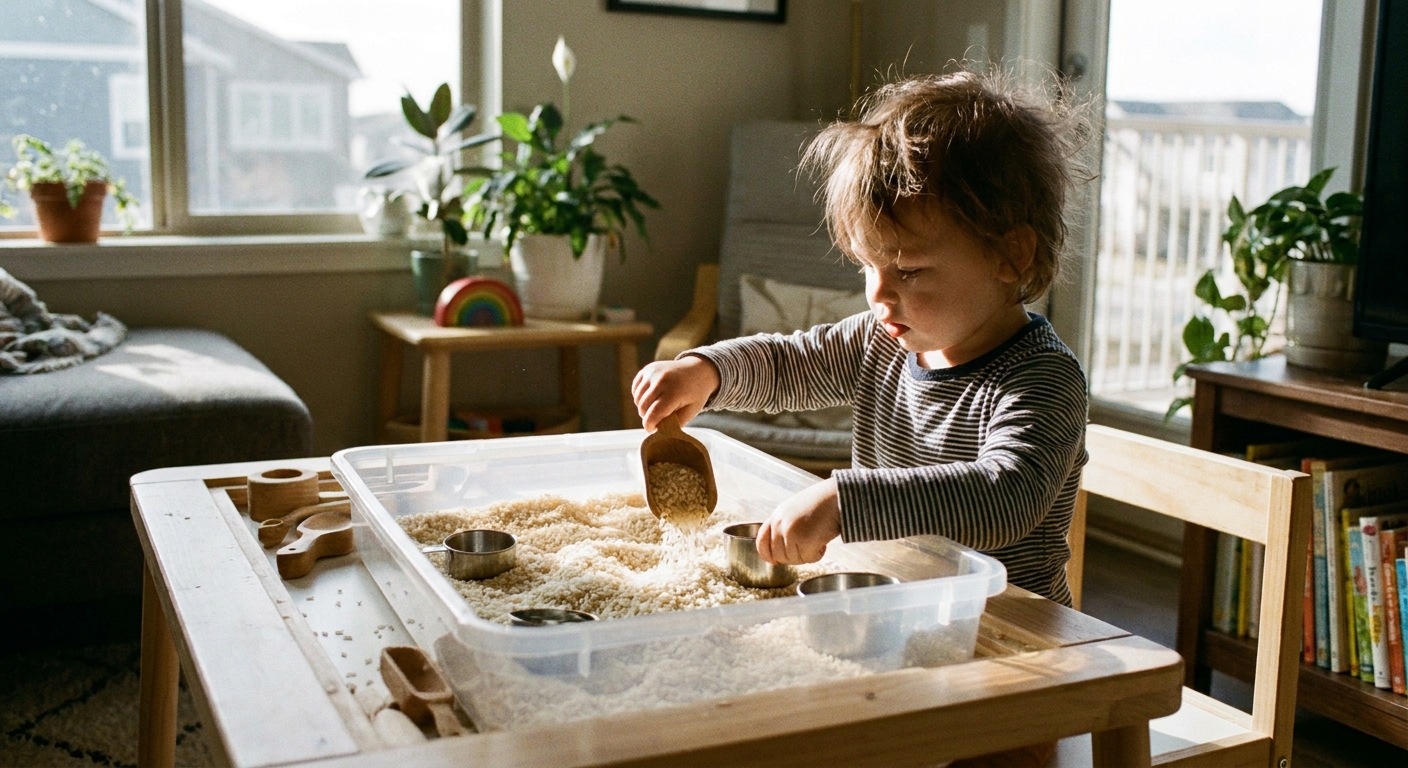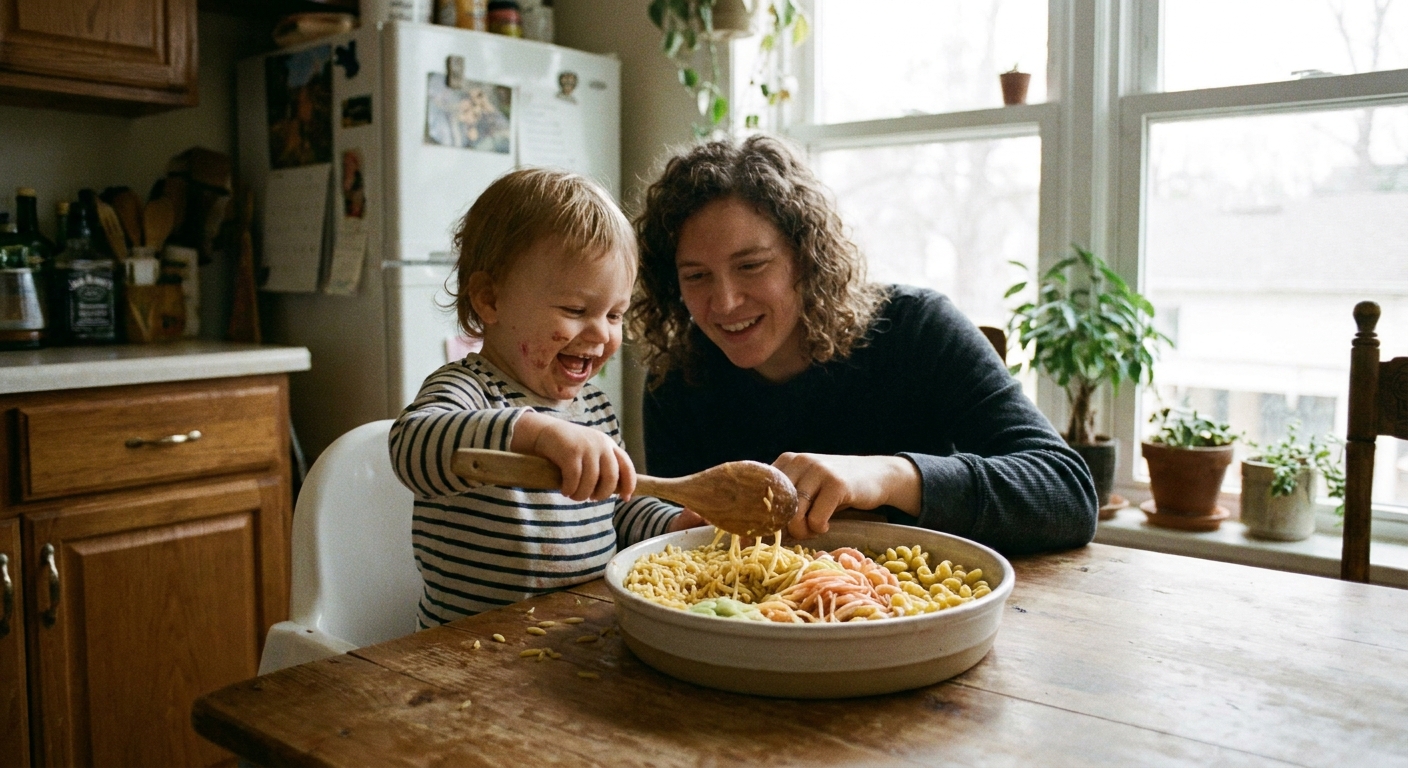
Let’s dive in and make a wonderful, happy mess together! An outdoor mud kitchen and sensory station gives toddlers a “yes space” for scooping, pouring, stirring, and splashing, without turning your indoor floors into a swamp.
This setup is designed to be budget-friendly, weather-resistant, and easy to reset, so you can say “go play” more often and “please stop wiping mud on the door” less often.
What you’re building
Think of this as two connected zones:
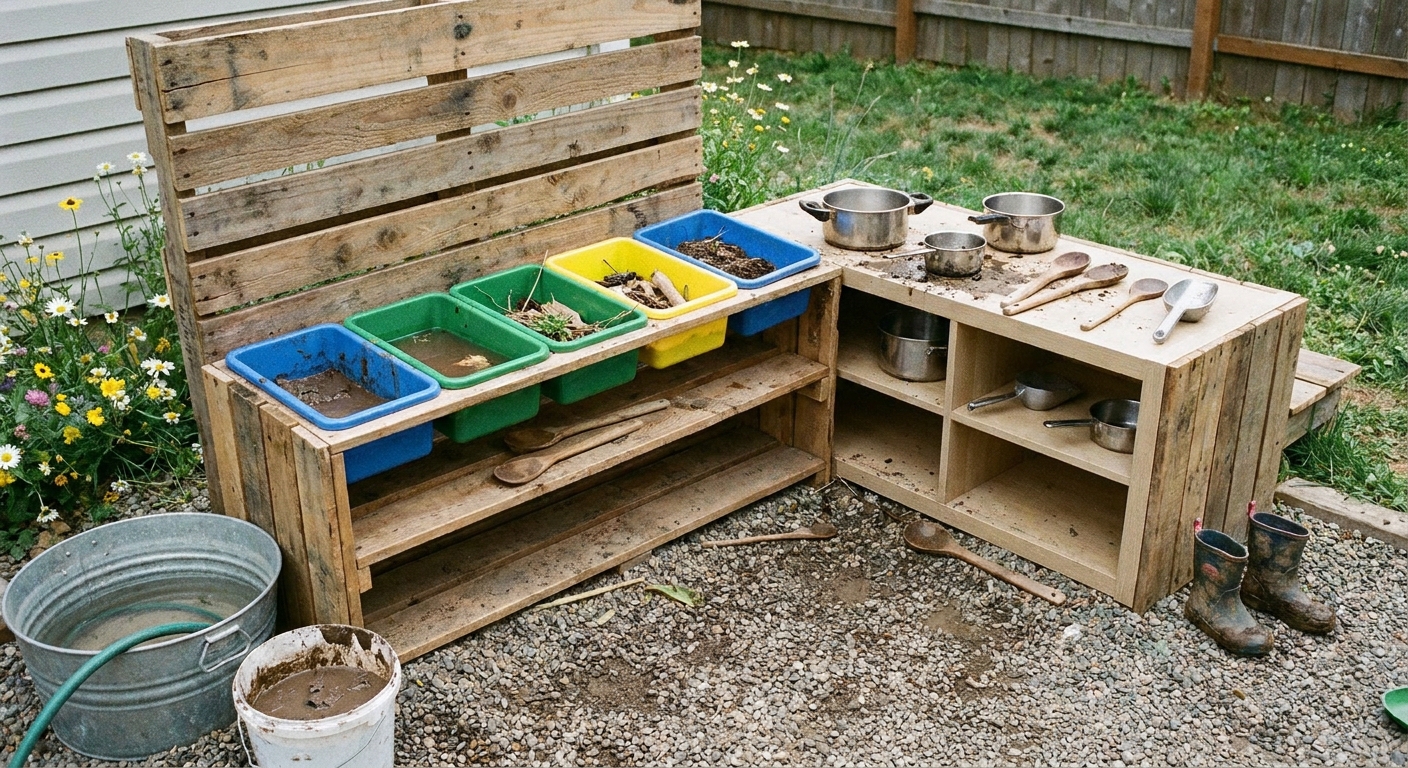
- Mud Kitchen: a low counter or shelf with containers for mud mixing, pretend cooking, and utensil play.
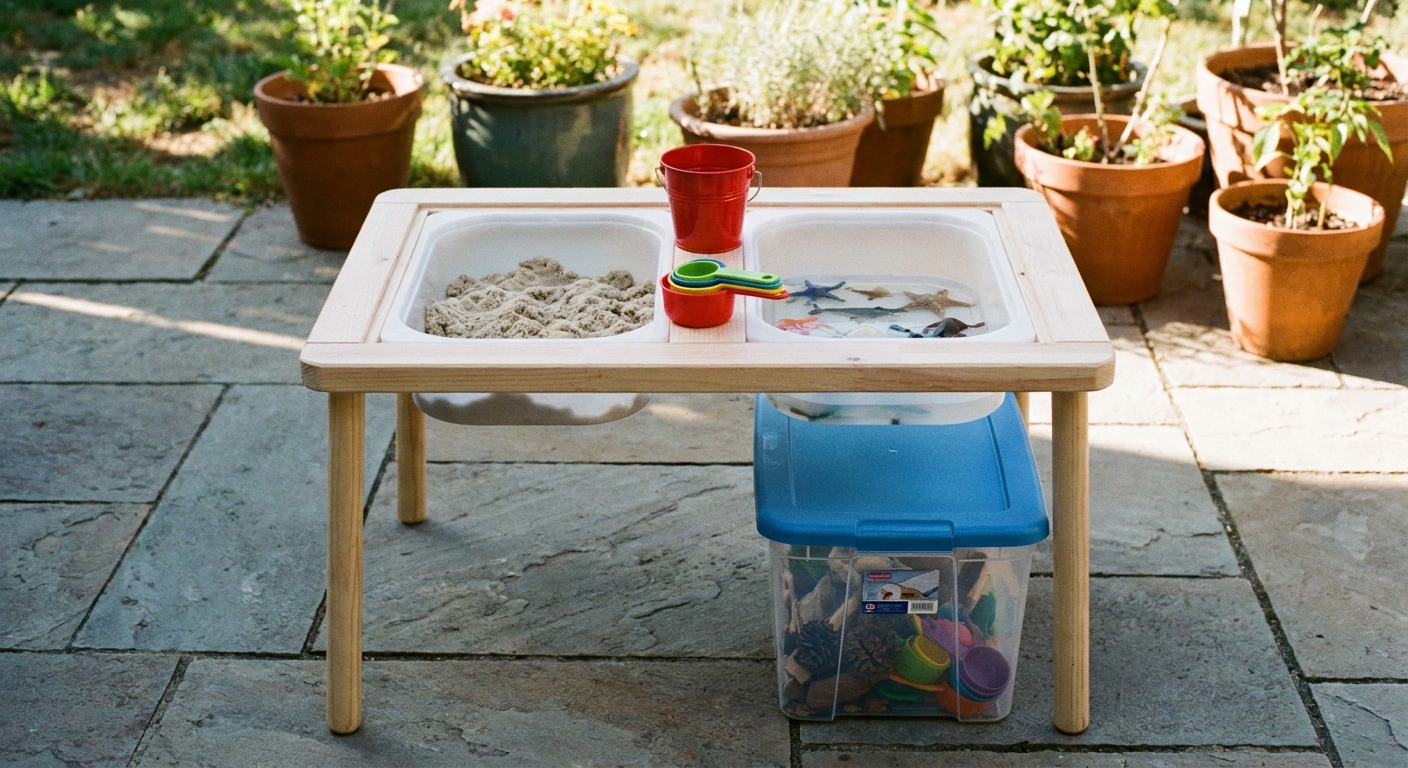
- Sensory Station: a set of tubs for water play, ice play, bubble foam, nature finds, and quick sensory swaps.
It can be as small as one bin and one bucket, or as big as a whole corner of the yard. The trick is choosing a spot and setting up “boundaries” that keep the mess contained.
Pick the best location
Look for these three things
- Drainage: a spot that does not turn into a mini lake every time you add water.
- Shade or partial shade: especially for summer play and for keeping water tubs from getting too warm.
- Easy hose or water access: you can still do this without a hose, but refills are simpler when water is nearby.
Choose a base for cleanup
A base layer makes the biggest difference for mud kitchen sanity. Budget-friendly options:
- Mulch (soft underfoot, helps hide stains, needs occasional topping off)
- Pea gravel (excellent drainage, can travel in shoes, best with a border)
- Pavers or stepping stones (easy hose-down area, pair with a muddy bin so mud stays in one place)
- Outdoor mat plus a catch tray (quick start for patios, easiest to remove and rinse)
If you live in a small space or want more containment ideas, the same strategies used for indoor bins work outdoors too. This guide on containing sensory bin mess has helpful thinking that transfers nicely to backyards and patios.
Budget materials list
You do not need a fancy play kitchen. Aim for sturdy, wipeable, and low enough for toddlers.
Core structure options
- Plastic shelving unit (weather-friendly, lightweight, easy rinse)
- Old side table or bench (best if it is already outdoor-safe)
- Wooden pallet on blocks (needs sanding and sealing, supervise for splinters)
- Large storage tote flipped upside down (instant counter)
Pallet safety note: Only use pallets you know are clean and safe, and avoid pallets with unknown treatments, stains, or strong odors. When in doubt, skip the pallet and go with plastic shelving.
Sensory containers
- Dish tubs or shallow storage bins
- 5-gallon bucket for mud water
- Metal mixing bowls (heavy and wind-resistant)
- Muffin tin for “mud cupcakes” and sorting
Tools toddlers love
- Measuring cups and spoons
- Large spoons and ladles
- Silicone spatulas
- Small watering can
- Funnels and scoops
- Paintbrushes for “mud painting” on a fence or rock
Need ideas for fine-motor friendly tools that work in any sensory setup? See sensory bin tools for fine motor skills.
Weather helpers
- Outdoor deck box or lidded tote for storage
- Hook strip or zip-tied hooks to hang utensils
- Shower curtain liner (cheap cover for sudden rain)
- Plastic tray or dishpan for wet tools
Step-by-step setup
Step 1: Set your boundary
Give the mud kitchen a clear “play footprint” so toddlers know where the mess lives.
- Mark a rectangle with pavers, landscape edging, bricks, or even a ring of logs.
- Place your base layer (mulch or gravel), or put down an outdoor mat on a patio.
Step 2: Place the counter
Put your shelf or table on the edge of the play footprint so you can access it easily for resets. A common toddler-friendly range is around 18 to 24 inches, but the best height is the one that hits around your child’s waist to elbow height so they can scoop without lifting above shoulder level.
Step 3: Add stations with bins
Use 2 to 4 bins to start. More bins can mean more dumping. A balanced beginner setup:
- Mud bin: soil plus water added slowly
- Water bin: plain water for rinsing and pouring
- Nature bin: rocks, pinecones, sticks, leaves
- Ice bin: ice cubes or ice blocks on hot days
Keep bins shallow enough that a toddler can reach the bottom without leaning in too far.
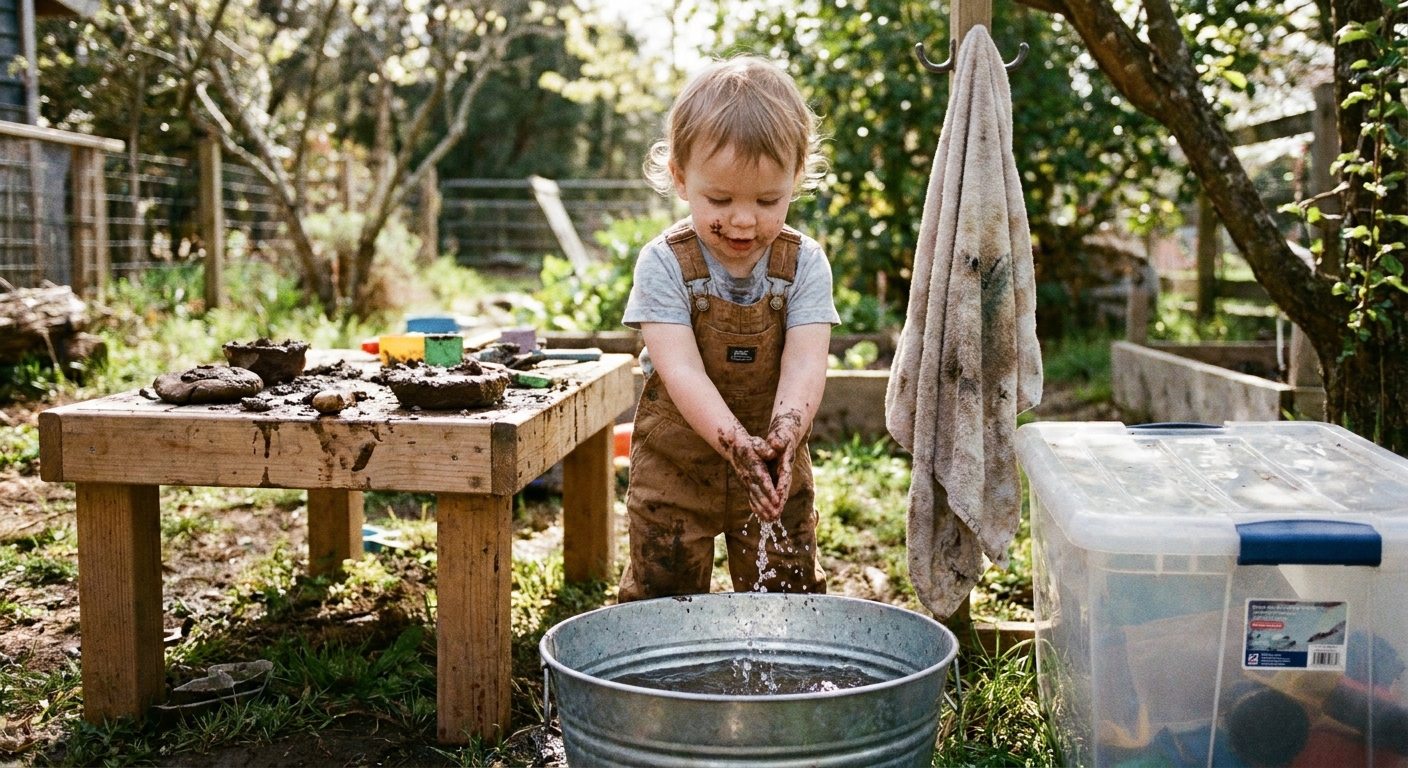
Step 4: Create a rinse zone
A rinse zone prevents muddy hands from traveling. Try one:
- A small tub of water with a washcloth
- A watering can filled with clean water for “hand rinsing”
- A garden sprayer bottle set to a gentle stream (adult controls this)
Step 5: Add storage that gets used
The easiest storage is the storage you can reach with one hand while holding a muddy scoop in the other.
- Keep a lidded tote right beside the station.
- Use a small basket or bin for “clean-ish tools” and one for “muddy tools.”
- If you can, store paper towels, a small rag, and a trash bag nearby for quick resets.
Step 6: Do a quick safety sweep
Before the first play, take 30 seconds to check for sharp sticks, animal droppings, or unknown plants in the play zone. If you are using soil from the yard, avoid areas that pets use as a bathroom, and cover any open cuts or scrapes before mud play.
Mud that feels good
All mud is not the same. For a toddler-friendly mud kitchen, aim for mud that clumps a little but still stirs easily.
Basic mud recipe
- Add soil to a tub or bucket.
- Pour in water slowly, mixing as you go.
- Stop when it reaches a brownie-batter texture, not soup.
Quick mud upgrades
- Thicker mud: add more soil, or mix in a handful of sand.
- Smoother mud: remove big sticks and pebbles, or use potting soil.
- Nature stew: add leaves, petals, pine needles, or seed pods for texture.
A note on safety
Outdoor sensory play is wonderfully messy, and toddlers still explore with their mouths. Use close supervision, avoid unknown plants, and skip anything that could irritate skin. When play is done, do a good handwash (not just a rinse), especially before snacks.
If your toddler is in a heavy mouthing stage, you may prefer taste-safe fillers for some sensory days. This list of taste-safe sensory bin fillers can help you choose materials with more peace of mind.
Easy sensory rotations
Rotations keep interest high without buying new stuff. Swap just one bin and keep the rest the same.
Warm day ideas
- Ice rescue: freeze small toys in ice blocks and provide warm water and a tiny pinch of salt for melting (adult sets the materials, toddler explores). Supervise closely, keep salt out of reach, and rinse hands after. Do not dump salty water in the garden.
- Bubble foam wash: a bin with a little gentle soap and water whipped into foam with a whisk. “Tear-free” helps, but it can still sting eyes, so supervise and rinse if foam gets in eyes.
- Water pour lab: pitchers, funnels, cups, and a muffin tin.
Cool day ideas
- Soup kitchen: mud plus leaves and pinecones in bowls and pots.
- Rock scrub: a tub of water with a brush and a pile of smooth rocks.
- Nature sorting: acorns, pinecones, sticks, and a few containers for “small, medium, big.”
Low-mess outdoor option
If you want the sensory joy without the full-body mud, try contained squish play. These no-mess sensory bags can be taken outside too, especially on patios or balconies.
Weather-resistant on a budget
Keep wood from getting soggy
If you use a wooden table or pallet build, seal it with an outdoor-safe sealer or paint. Let it cure fully before play. If sealing is not an option, choose plastic shelving or keep the structure under a covered area.
Grab-and-cover protection
- Store tools in a lidded tote.
- Keep one cheap shower curtain liner nearby to throw over the whole setup during surprise rain.
- Bring in metal items if rust is a problem in your climate.
Plan for sun
Direct sun can heat up tubs and tools. Place the station in partial shade, or add a simple umbrella base nearby if you already have one. Add a hat, sunscreen, and a water bottle to your “mud kit” on hot days.
Simple safety basics
- Water needs active supervision. Even shallow tubs count. Stay close, and empty tubs after play to reduce drowning risk and mosquitoes.
- Dress for the job. Play clothes, a towel by the door, and shoes you can rinse (or bare feet in a safe, clean area) make everything feel easier.
- Watch skin. If your child has sensitive skin, consider a quick patch test on the forearm first, and rinse promptly if you notice redness or itching.
Toddler rules that work
Mud kitchen play goes best with a few simple, repeatable boundaries.
- Mud stays in the mud zone. Show where it goes, and redirect calmly every time.
- Tools stay low. Scoops and spoons work best below shoulder height.
- One bin at a time. If dumping becomes the main activity, offer smaller containers and fewer bins.
- When we’re all done, we rinse hands. Make the rinse routine part of the play rhythm, then follow up with a real handwash.
Cleanup and reset
This is the secret sauce for using the station often. A fast reset beats a perfect reset. And yes, some days take longer. That is normal.
- Dump chunky mud back into the mud bin or into a designated “mud return” bucket.
- Rinse tools in the water tub, then shake dry.
- Dispose of water thoughtfully into gravel or a designated dirt area. Avoid storm drains, and avoid dumping water that contains soap or salt onto plants.
- Wipe the counter with a rag and hang tools to drip dry.
- Close the tote and you’re done.
Simple add-ons
- Chalkboard panel: a small outdoor-safe board for “menu” scribbles using chunky chalk.
- Pot and pan hooks: hang a few lightweight items so the counter stays clear.
- Loose parts jar: bottle caps, big buttons, corks, and smooth stones for sorting (only with close supervision, and skip small pieces for toddlers who mouth).
- Tool return basket: a “tool return” spot makes cleanup easier for little helpers.
FAQ
What age is an outdoor mud kitchen good for?
Many toddlers enjoy mud kitchen play from around 18 months and up, with close supervision and simple tools. Younger toddlers often love basic scooping and pouring, while older preschoolers may start pretend recipes and more detailed “cooking.”
How do I keep my toddler from eating mud?
Close supervision is key. Offer a snack and water before play, keep play sessions shorter, and redirect to stirring and pouring. If mouthing is frequent, use more taste-safe sensory days and reserve mud for times you can supervise closely.
What if I do not have a backyard?
A mud kitchen can work on a patio or balcony with a waterproof mat, shallow bins, and a strict “mud stays in the tub” routine. You can also use a single “sensory station bin” and rotate water, ice, and nature items without adding mud every time.
How do I start if I have never done sensory bins before?
Start small with one tub and a few tools, then add more as it feels comfortable. This beginner-friendly guide to your first toddler sensory bin walks through the basics in a simple way.
One last bit of encouragement
Messy outdoor play is not about perfect setups. It is about giving toddlers a place to explore textures, experiment with cause and effect, and feel proud doing real work like pouring and scooping.
Pick a corner, add a bin, and say yes to mud in one very specific place. You’ve got this. Splash, scoop, stir, repeat!
More sensory play ideas live right here whenever you are ready for the next happy mess.