Let’s dive in and make a wonderful, happy mess together! If paintbrushes feel a little too predictable, it is time to waddle over to the kitchen drawer and toy bin. Everyday objects make amazing painting tools, especially for toddlers who love big motions, bold textures, and silly surprises. Think cars, forks, sponges, and all the “why is this in the art bin?” stuff.
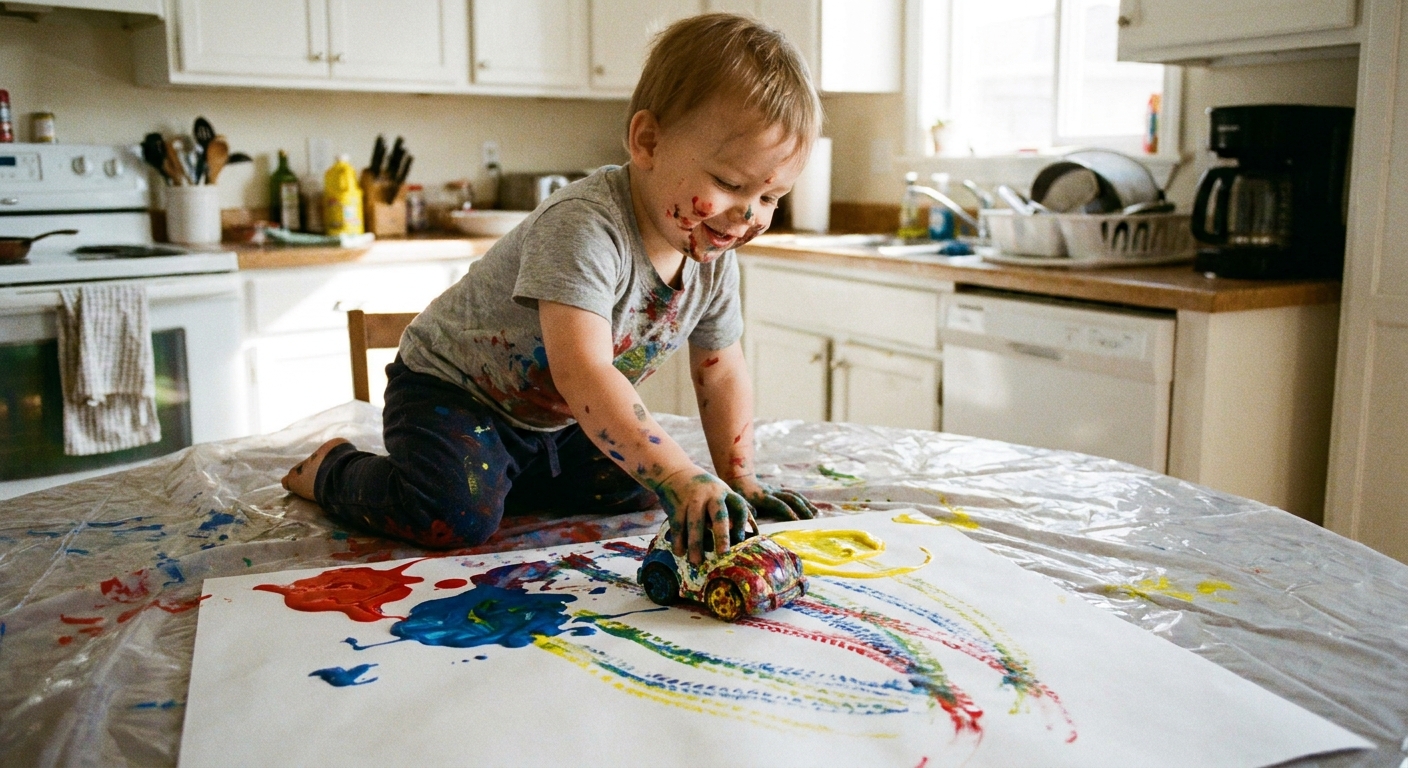
These ideas are designed for washable paint and toddler-sized success. Pick one tool at a time, offer just a few colors, and let the process be the masterpiece.
Safety first
Most of these ideas are a great fit for roughly 18 months to 4 years with close supervision, but you know your child best. A few quick guardrails help everyone relax:
- Supervise closely: Small tools (like cotton swabs) can be a choking risk for children under 3, especially if your toddler mouths materials.
- Taste-safe is not snack-safe: Even when you use a taste-safe paint, it is not meant to be eaten. Keep an eye out for allergies (especially dairy with yogurt paint) and stop if you notice irritation.
- Protect porous surfaces: Washable paints clean easily from many non-porous surfaces, but they can stain unfinished wood, grout, and some fabrics. When in doubt, cover first and spot-test.
- Skip electronics and delicate toys: Avoid battery toys, painted wood, and anything you do not want to scrub.
Quick setup for stress-free painting
- Cover first: Use a shower curtain liner, old towel, or flattened cardboard box under your paper.
- Choose the right paint: Washable tempera is great for most projects. For littles who still mouth materials, use a taste-safe option like yogurt paint (with supervision and allergy awareness).
- Use a tray: A plate, muffin tin, or shallow container keeps paint from traveling too far.
- Dress for yes: An old T-shirt or smock helps everyone relax.
- Keep wipes nearby: A damp washcloth and a bowl of warm water are often enough.
If you need a painting option that feels extra toddler-proof, try taste-safe yogurt finger paint for a gentle, beginner-friendly start.
1) Toy cars and trucks
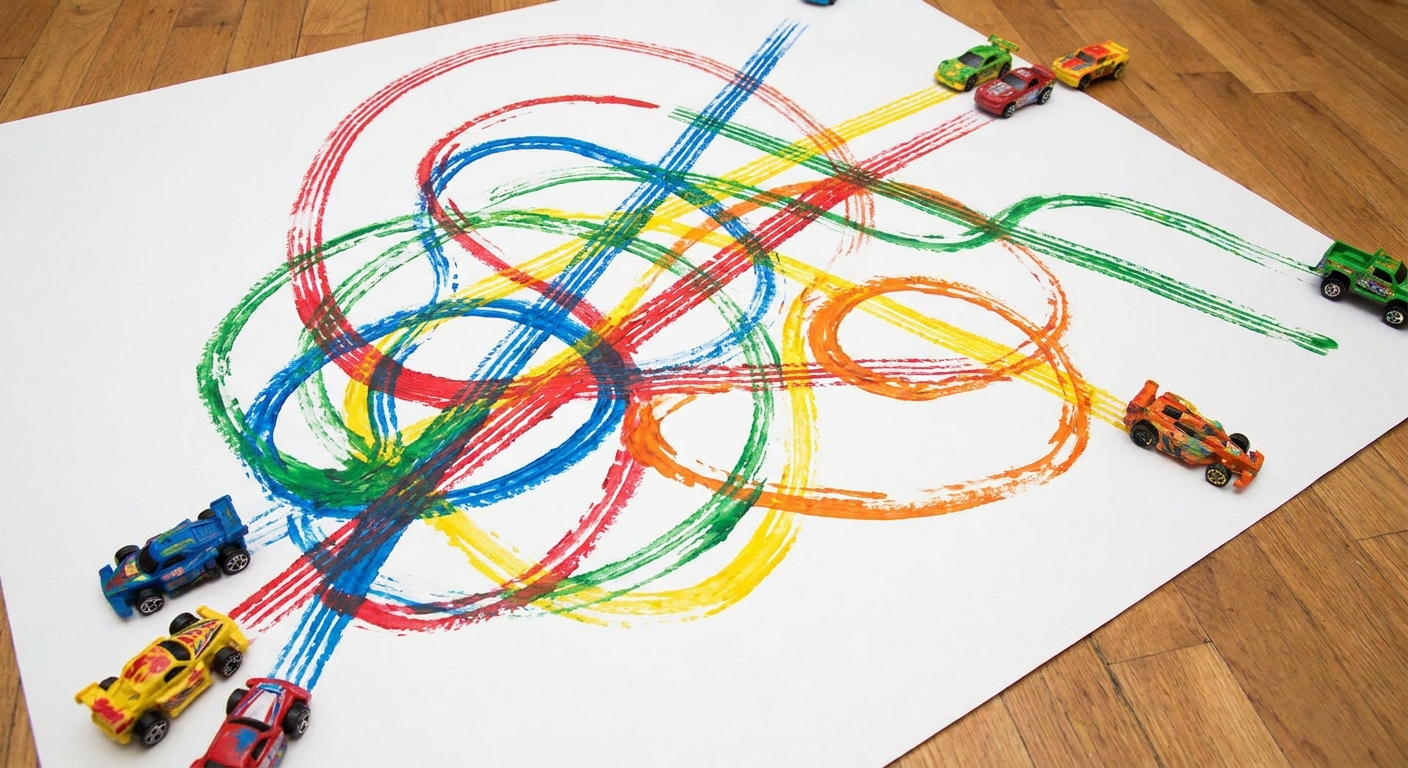
Best for: Big movement, cause and effect, and toddlers who love wheels.
- How to do it: Pour a small puddle of paint onto a plate. Roll the car wheels in paint, then drive across paper.
- Make it easier: Tape paper to the table so it does not scoot away.
- Try this: Use one color for the first run, then add a second color for “new roads.”
Safety note: Choose sturdy cars that are easy to wash and large enough not to be a choking risk. Skip anything battery-operated.
2) Bubble wrap
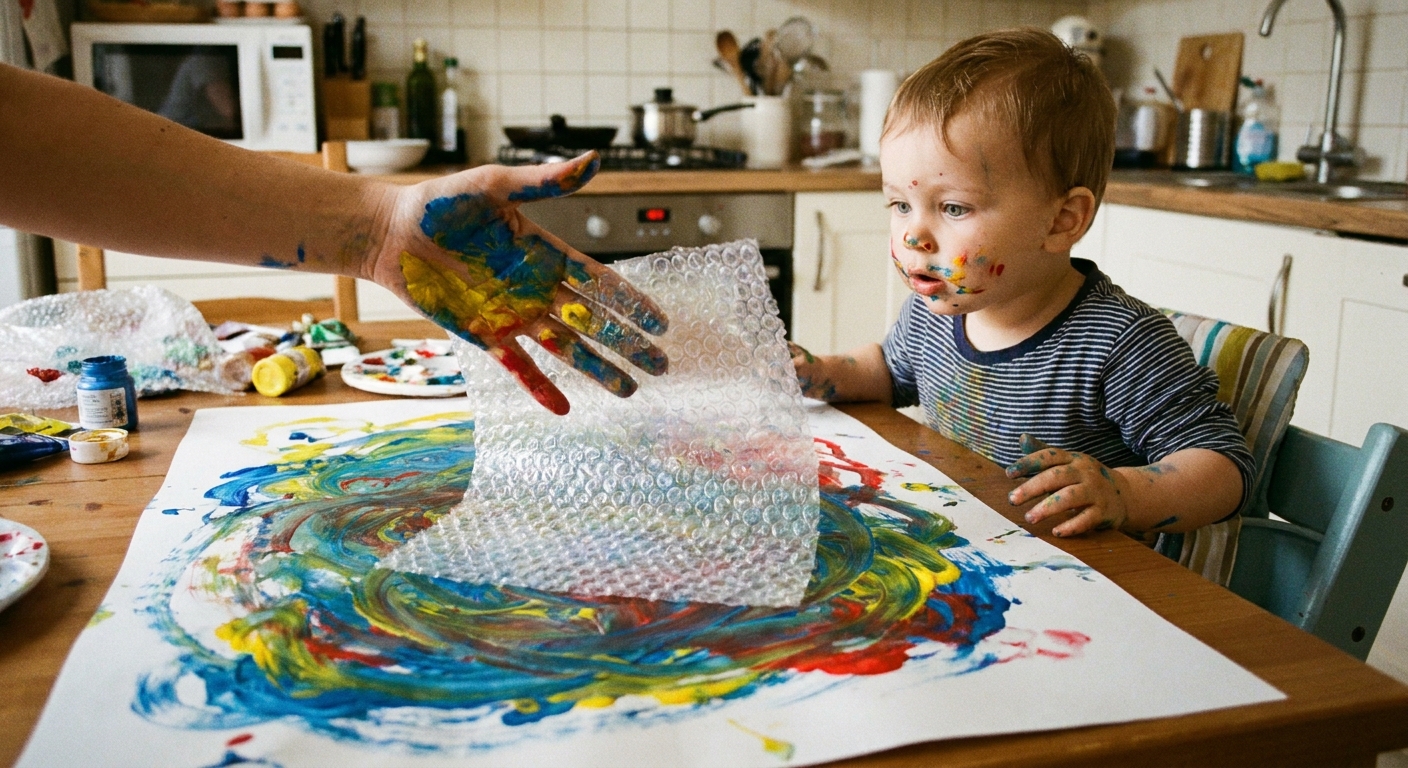
Best for: Texture exploration and quick full-page coverage.
- How to do it: Wrap bubble wrap around a small rolling pin, cardboard tube, or even your hand. Dab paint onto the bubbles with a sponge, then press and lift.
- Make it extra fun: Use bubble wrap scraps in different bubble sizes if you have them.
- Try this: Print a “rainy day sky” background, then add finger-painted raindrops.
3) Plastic fork
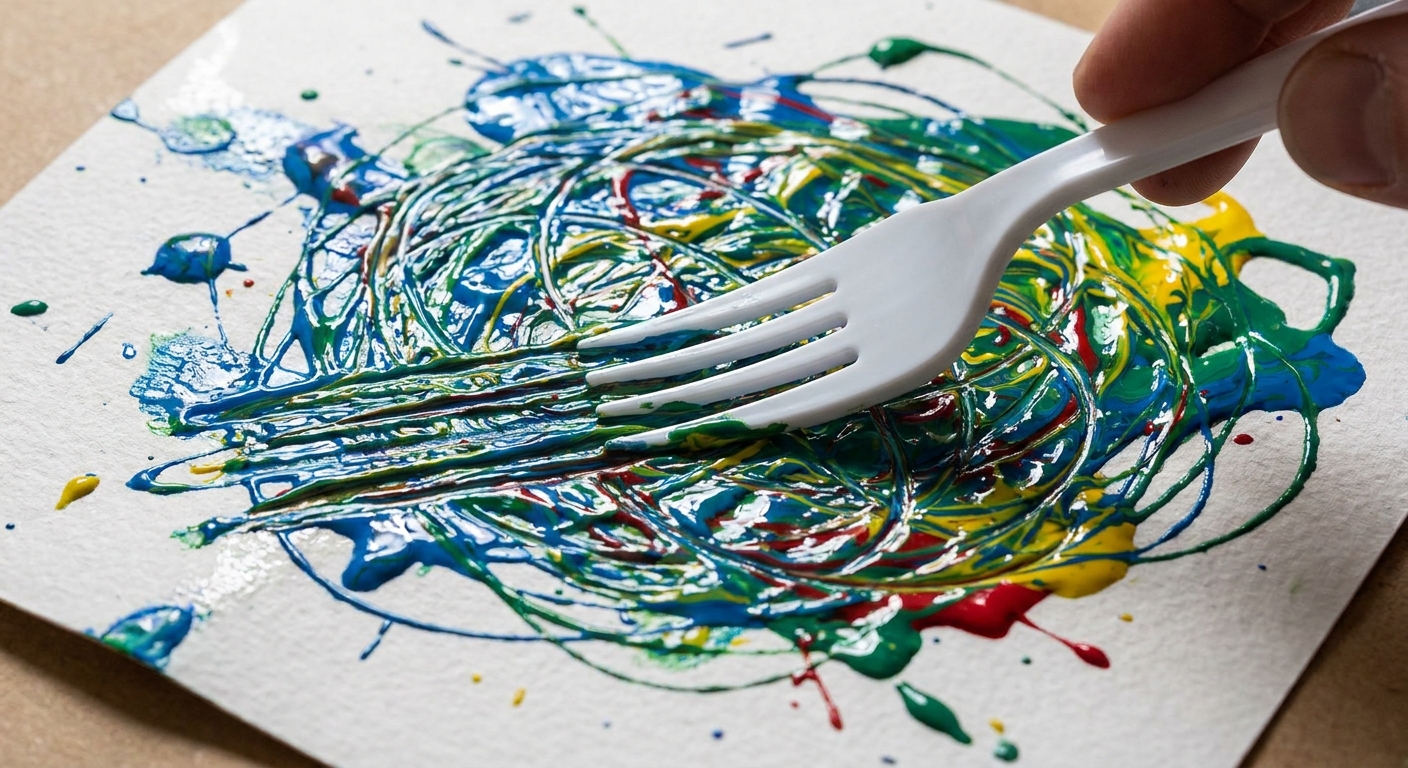
Best for: Fine motor practice and satisfying line-making.
- How to do it: Spread a thin layer of paint on paper, then drag the fork through it like a tiny rake.
- Make it easier: Thicker paper helps reduce wrinkling when paint gets wet.
- Try this: Fork-comb green paint for “grass,” then stamp flowers with a cotton swab.
Safety note: Use a blunt plastic fork and supervise closely.
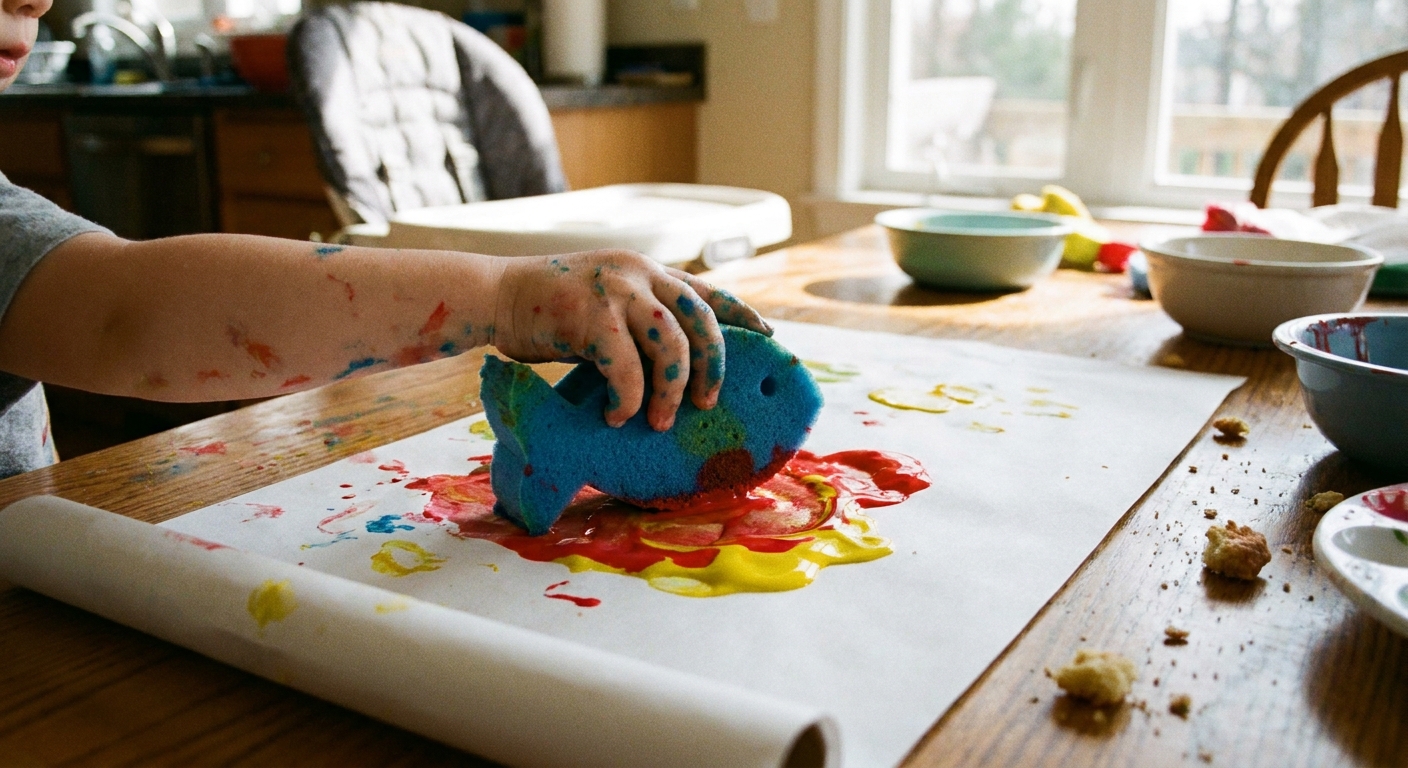
4) Sponge pieces
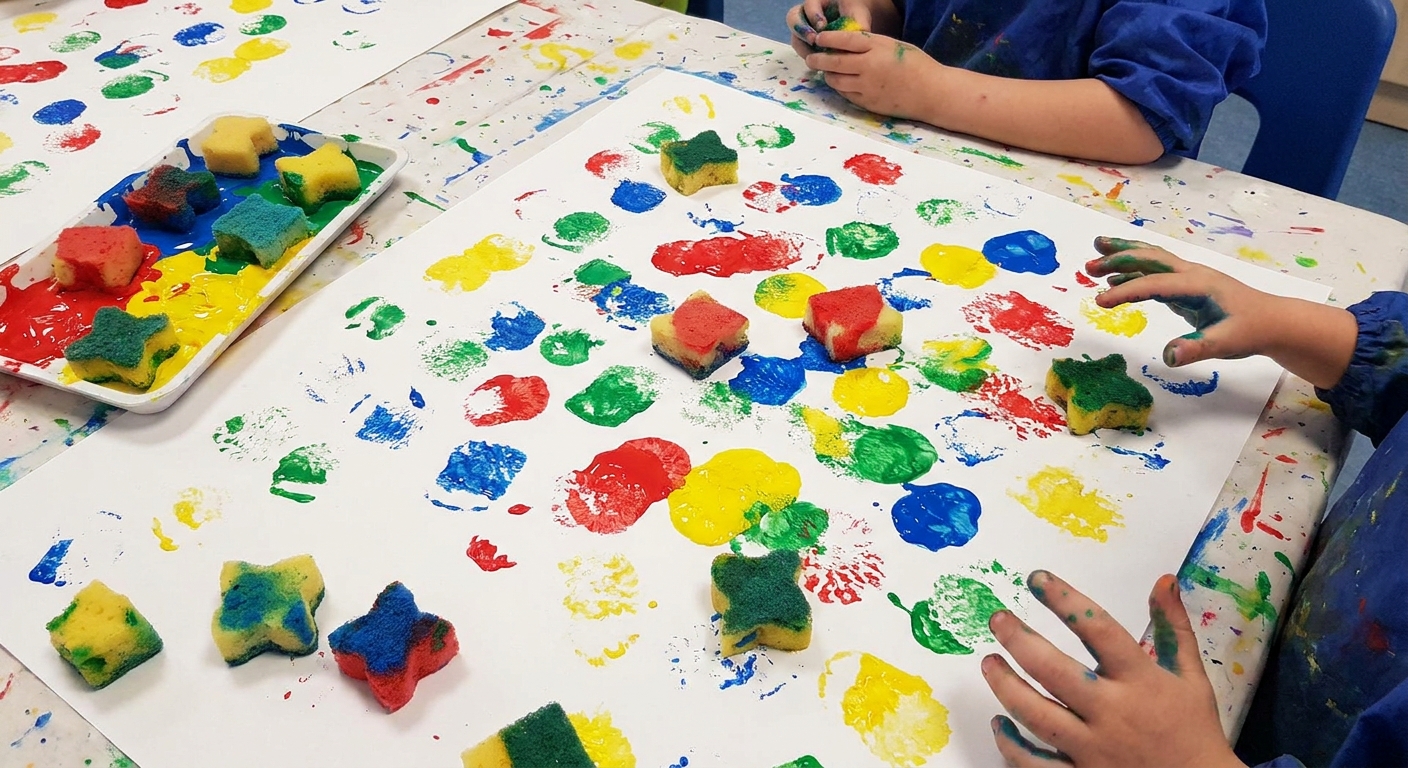
Best for: Toddlers who like stamping, not brushing.
- How to do it: Cut a clean kitchen sponge into easy-to-hold chunks. Dip and stamp.
- Make it less drippy: Use a “paint pad” by spreading paint thinly on a plate.
- Try this: Use different shapes for patterns, or make a simple color-mixing page with two colors side by side.
More stampy fun lives here: 10 Easy Sponge Stamping Crafts for Toddlers.
5) Cotton swabs
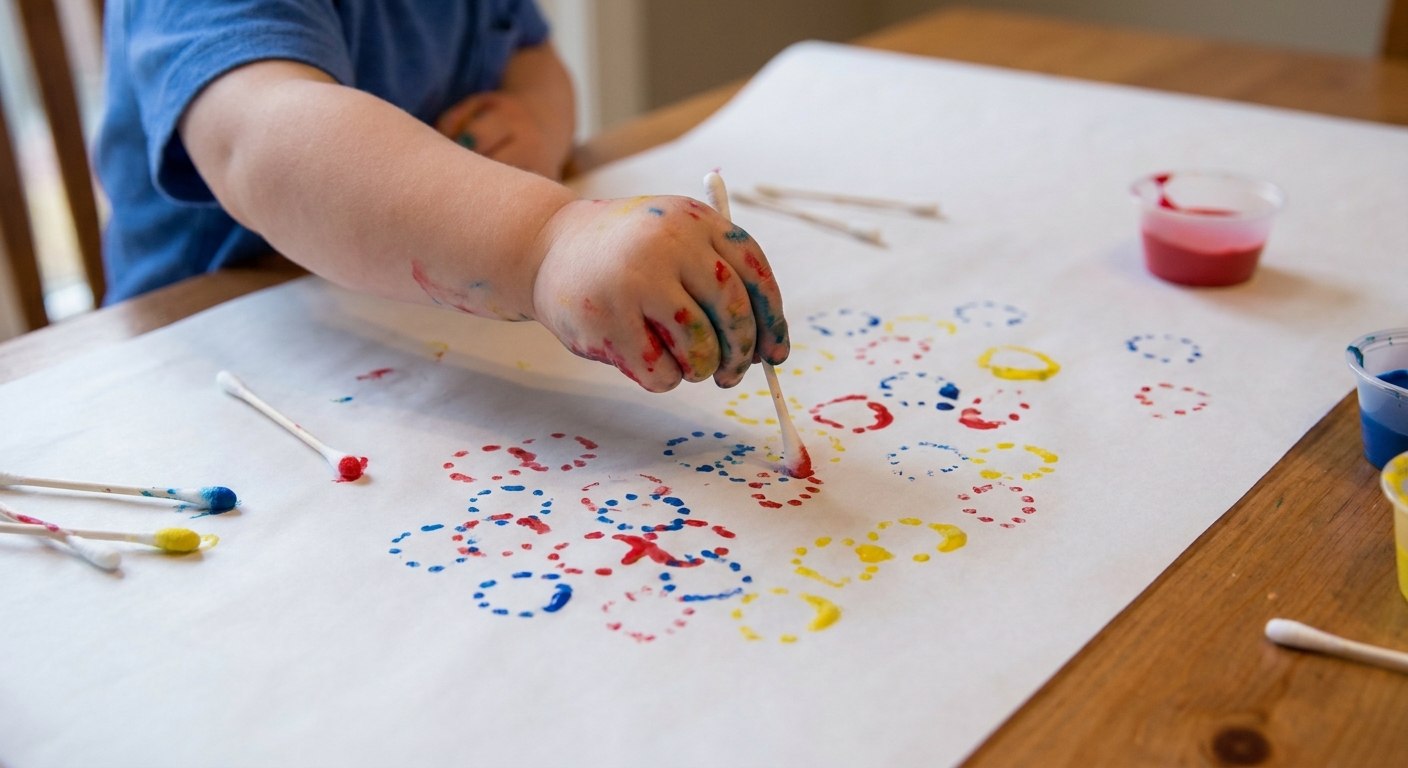
Best for: Dots, pointillism-style art, and calmer table time.
- How to do it: Offer a small cup of cotton swabs and a few paint colors. Demonstrate dotting straight up and down.
- Make it toddler-friendly: Start with just one color so the tool feels simple.
- Try this: Dot paint along drawn lines to make a “dotted road” for toy cars later.
Safety note: Cotton swabs can be a choking hazard for children under 3 and are not for chewing. They can also bend or shed a bit of cotton when soaked. If your toddler mouths tools, choose a larger option like a sponge.
6) Toilet paper roll
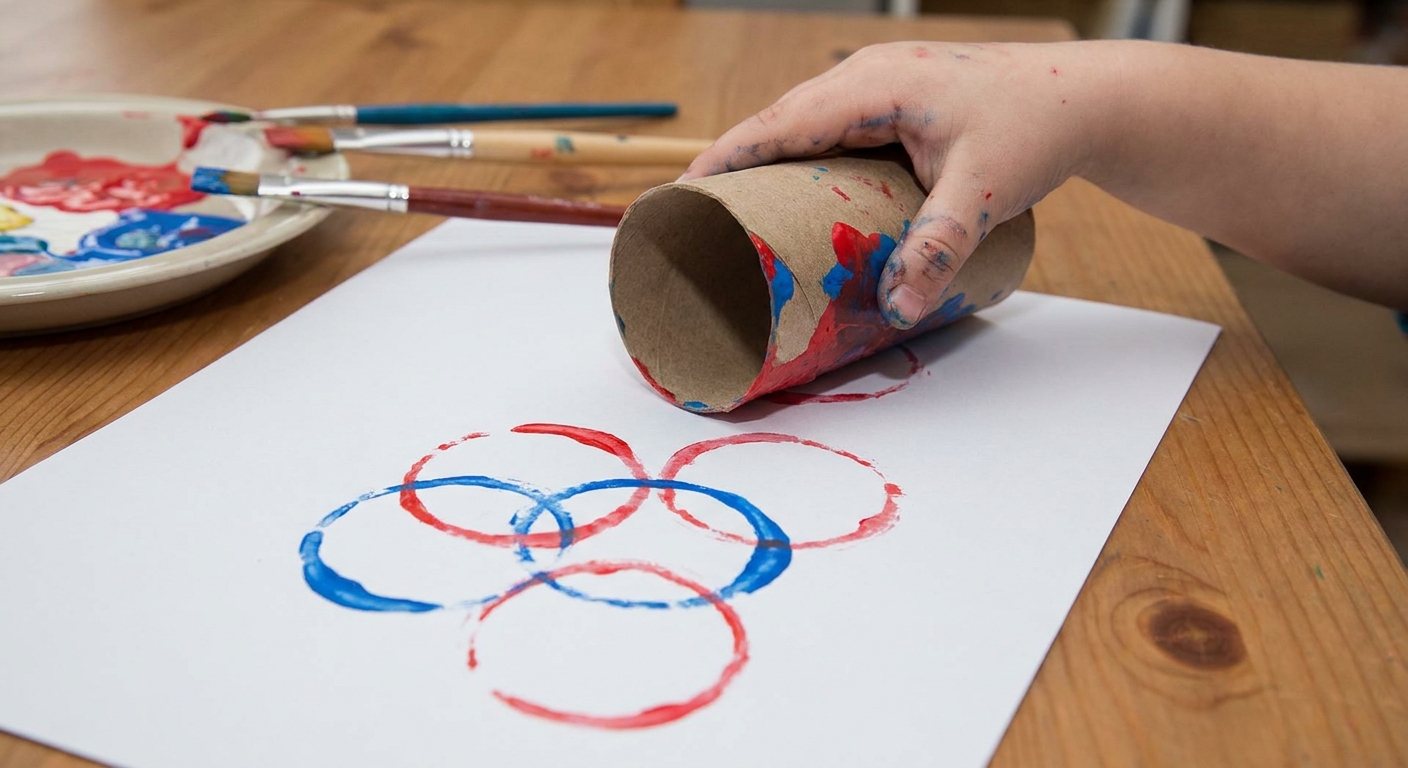
Best for: Easy stamping and learning simple shapes.
- How to do it: Dip the end of the roll into paint and stamp circles.
- Change the shape: Pinch the roll into an oval, heart-like shape, or a teardrop before stamping.
- Try this: Stamp lots of circles, then let your toddler add sticker “spots” after the paint dries.
7) Salad spinner art
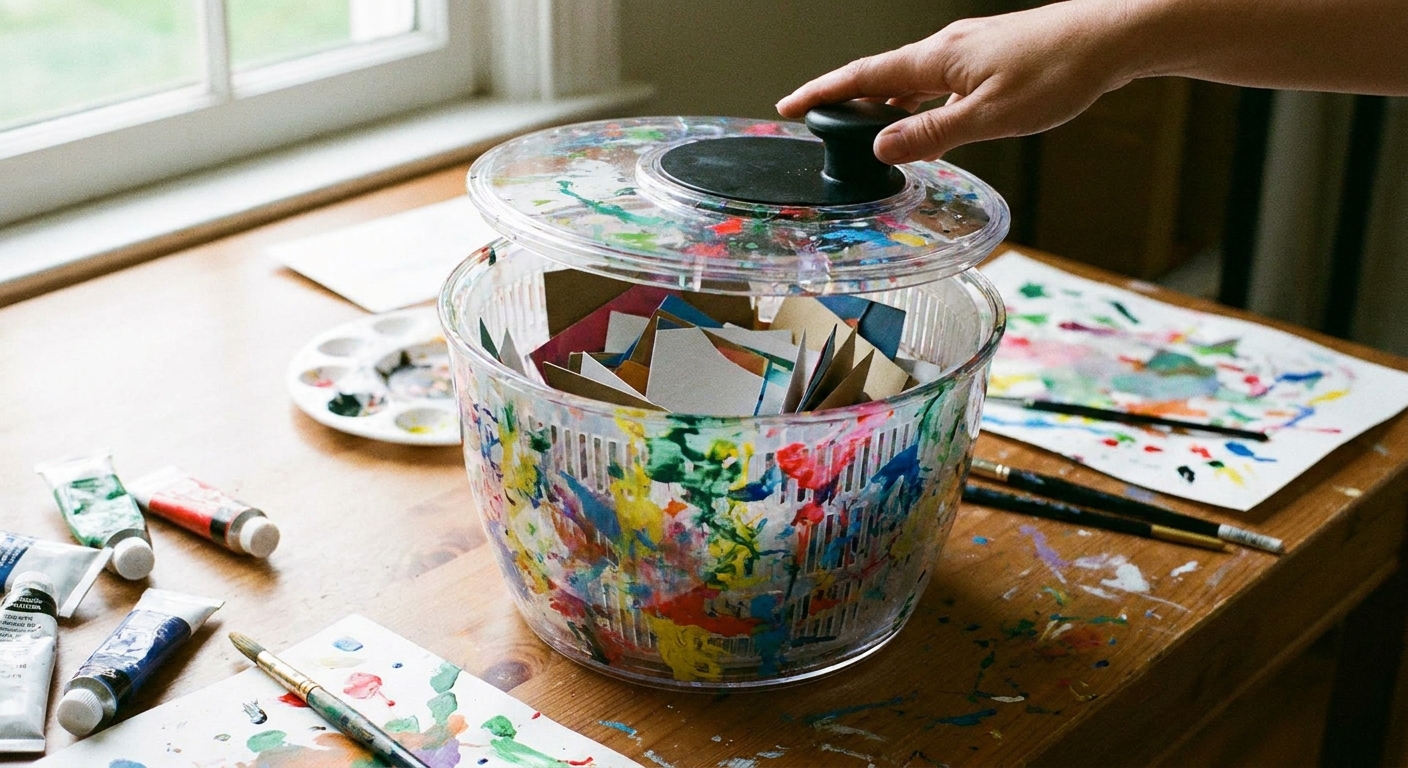
Best for: High wow factor with most of the mess contained.
- How to do it: Place a circle of paper in the spinner basket. Add a few drops of paint. Close the lid and let your toddler spin.
- Make it work with what you have: If you do not have a circle punch, trace a bowl and cut a paper circle.
- Try this: Use the finished spin art as wrapping paper for small gifts or as a background for a handprint.
Safety note: Spin on a protected surface and keep paint drops small. Paint can work its way into the mechanism, and it can fling when the lid opens, so open slowly and keep the spinner level.
8) Q-tip bundle or clothespin stampers
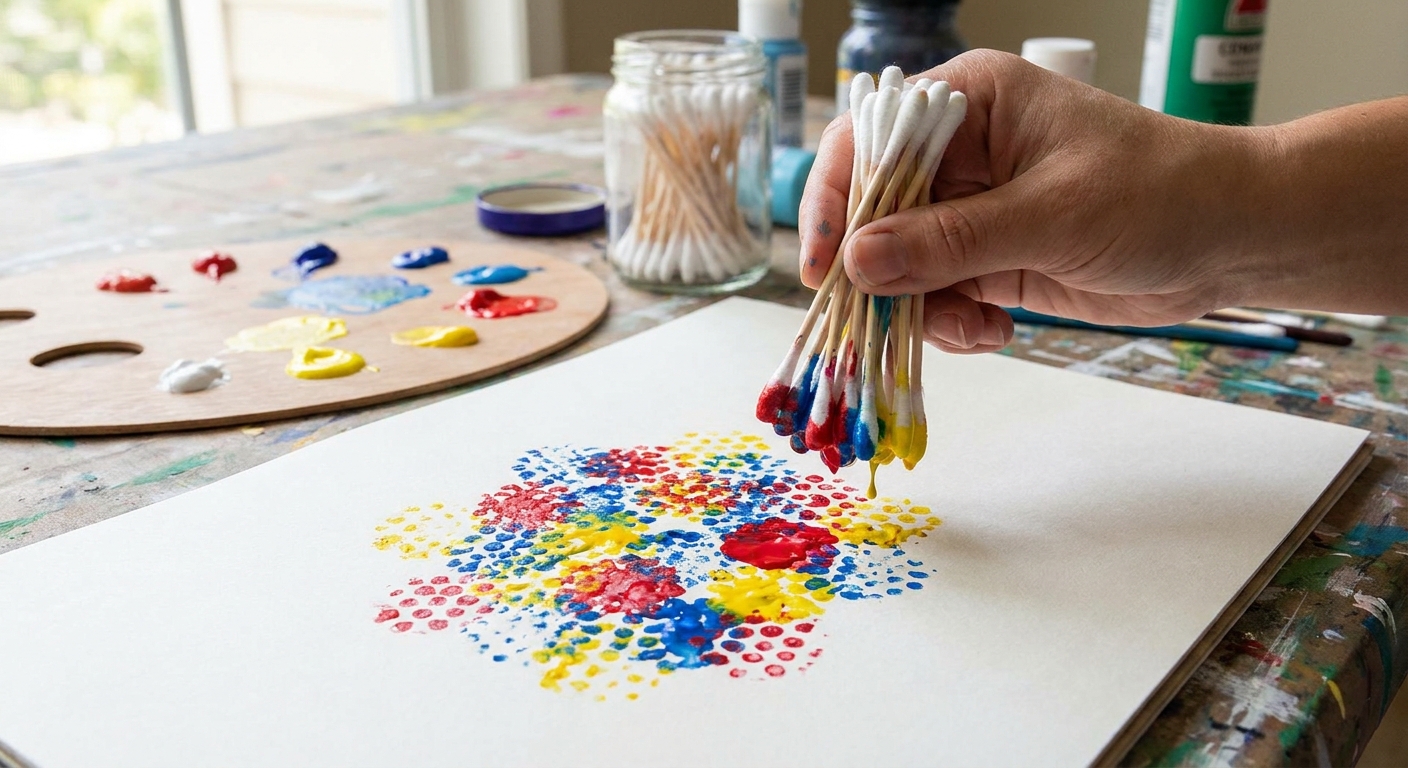
Best for: Stamp bursts, flower shapes, and building hand strength.
- How to do it: Bundle several cotton swabs with a rubber band, or clip one swab in a clothespin for an easy handle. Dip and stamp.
- Make it sturdier: Use a clothespin handle if little fingers struggle with the small swab.
- Try this: Stamp “fireworks” with bright colors on dark paper, or stamp flower heads then add green fingerprints for leaves.
Safety note: Just like single swabs, bundled Q-tips can still be a mouthing and choking risk for under-3s. If your toddler mouths tools, go with sponges or a larger stamp instead.
Helpful paint choices
Washable tempera
Great for most household-object painting tools. It shows up brightly and usually cleans up well from many non-porous surfaces. Porous or unsealed areas can still stain, so cover and spot-test if needed.
Finger paint
Thicker and less drippy. Often a good match for stamping tools like sponges and rolls.
Taste-safe options for mouthing
If your toddler still explores with their mouth, skip small tools and use a taste-safe recipe. Remember, taste-safe does not mean “snack.” This guide is a good starting point: Taste-Safe Yogurt Finger Paint.
Keep the mess manageable
- One tool at a time: Fewer choices means more focus.
- Smaller paint portions: Add more paint only when needed.
- Tray boundary: Place paper inside a rimmed baking sheet for stamping sessions.
- Drying made simple: Slide finished paper onto a flat cardboard piece to move it without smears.
If you want more toddler-friendly strategies for containing enthusiastic hands, take a peek at Containing Sensory Bin Mess in a Small House. The same ideas work beautifully for paint time.
Easy extensions
- Turn art into a game: After it dries, hide small stickers around the page for your toddler to find and press on.
- Pair with a story: Paint tire tracks, then read a vehicle book together.
- Make it a color day: Choose one color and explore all the marks it can make with different tools.
- Add a clean-up bonus: After painting, wash toys in a small tub of soapy water for extra sensory play.
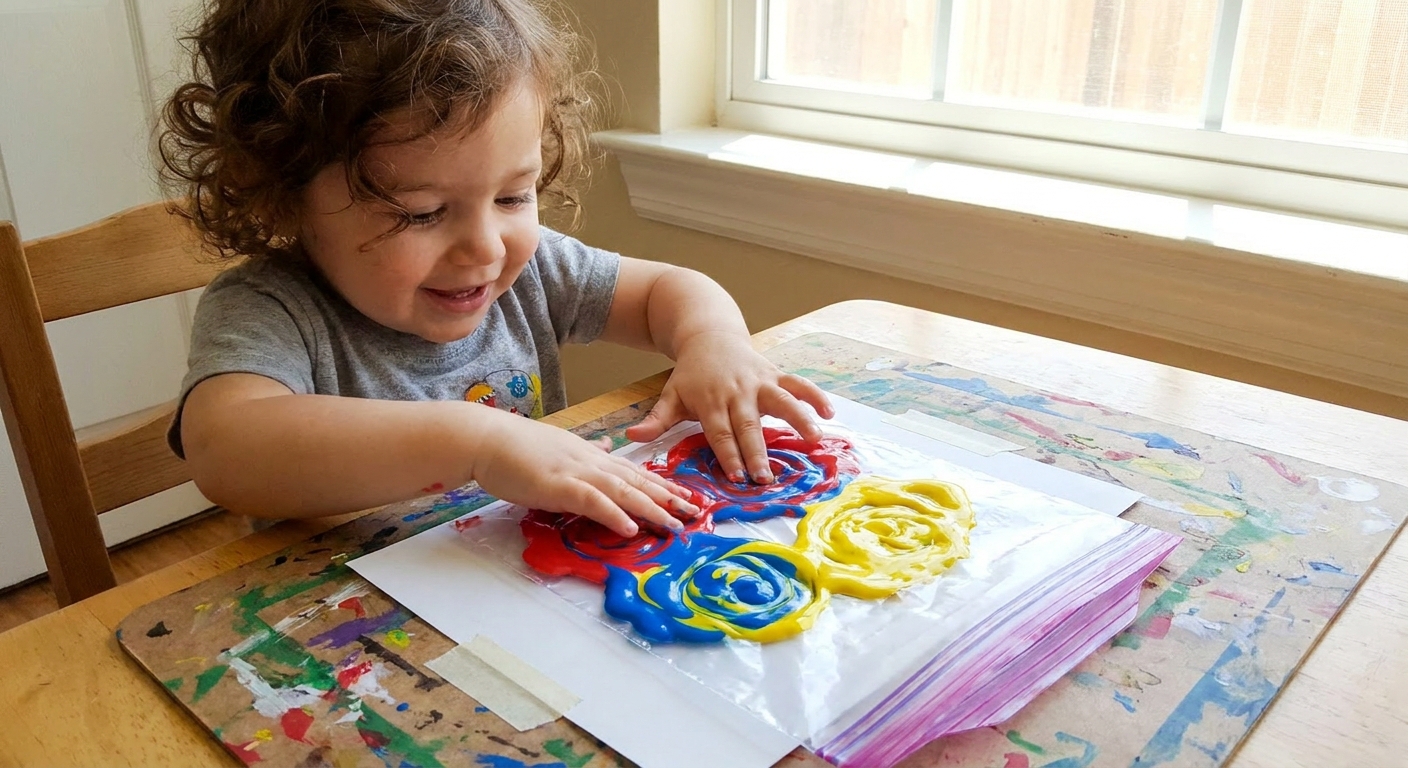
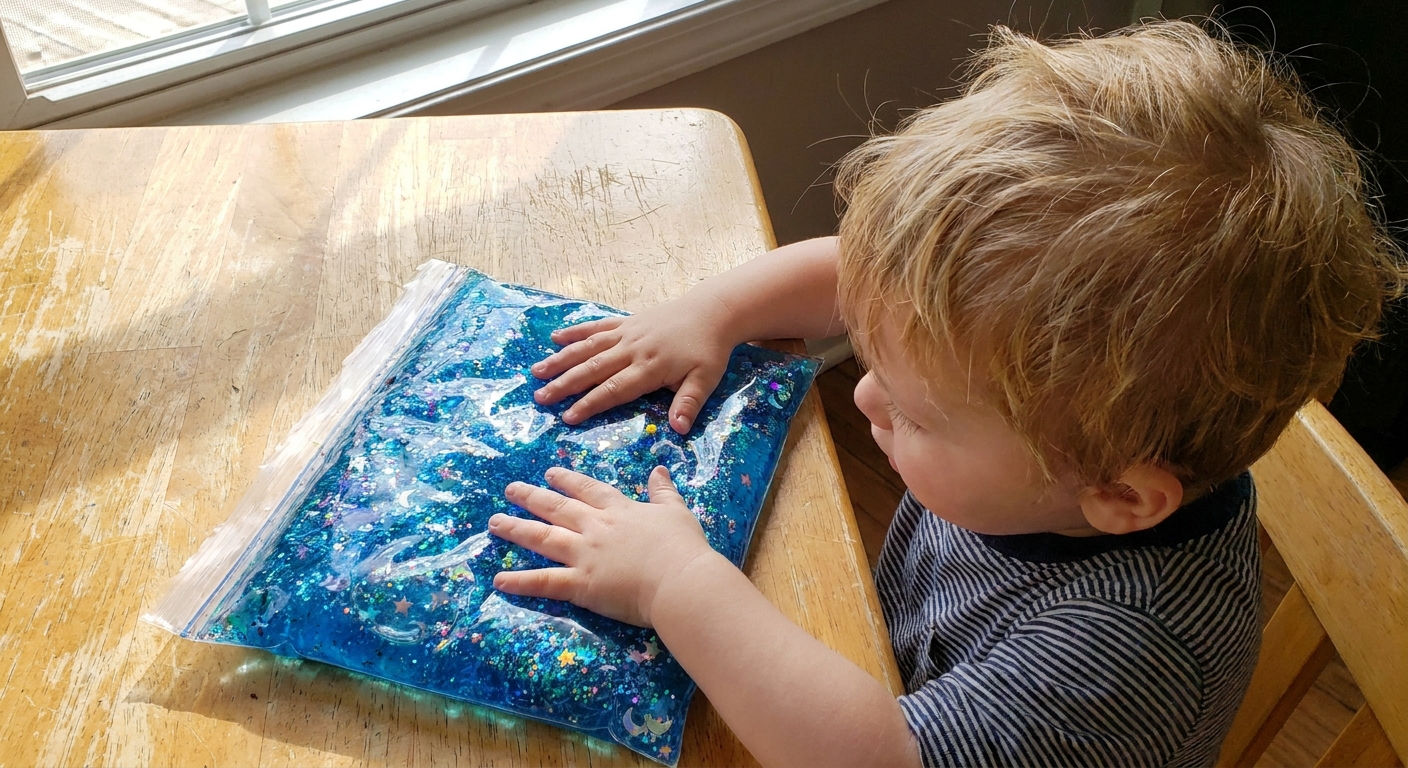
- For kids who hate messy hands: Try painting in a sealed bag for squishy, no-mess color mixing. You can find ideas in 7 No-Mess Sensory Bags With Household Items.
Need more rainy-day ideas? Waddle over to Easy Arts & Crafts for more simple, hands-on fun.
Quick FAQ
What is the best paper for toddler painting?
Thicker paper helps. Construction paper works, but cardstock or mixed media paper holds up even better for stamping, scraping, and wet paint.
How do you clean paint off toys like cars?
Washable paint usually rinses with warm water and a little dish soap. Avoid using painted wooden toys, porous toys, or toys with electronic parts for paint rolling.
How long should toddler painting last?
Many toddlers are happy with 5 to 15 minutes. Short sessions still count as a big win, especially when the process is new.