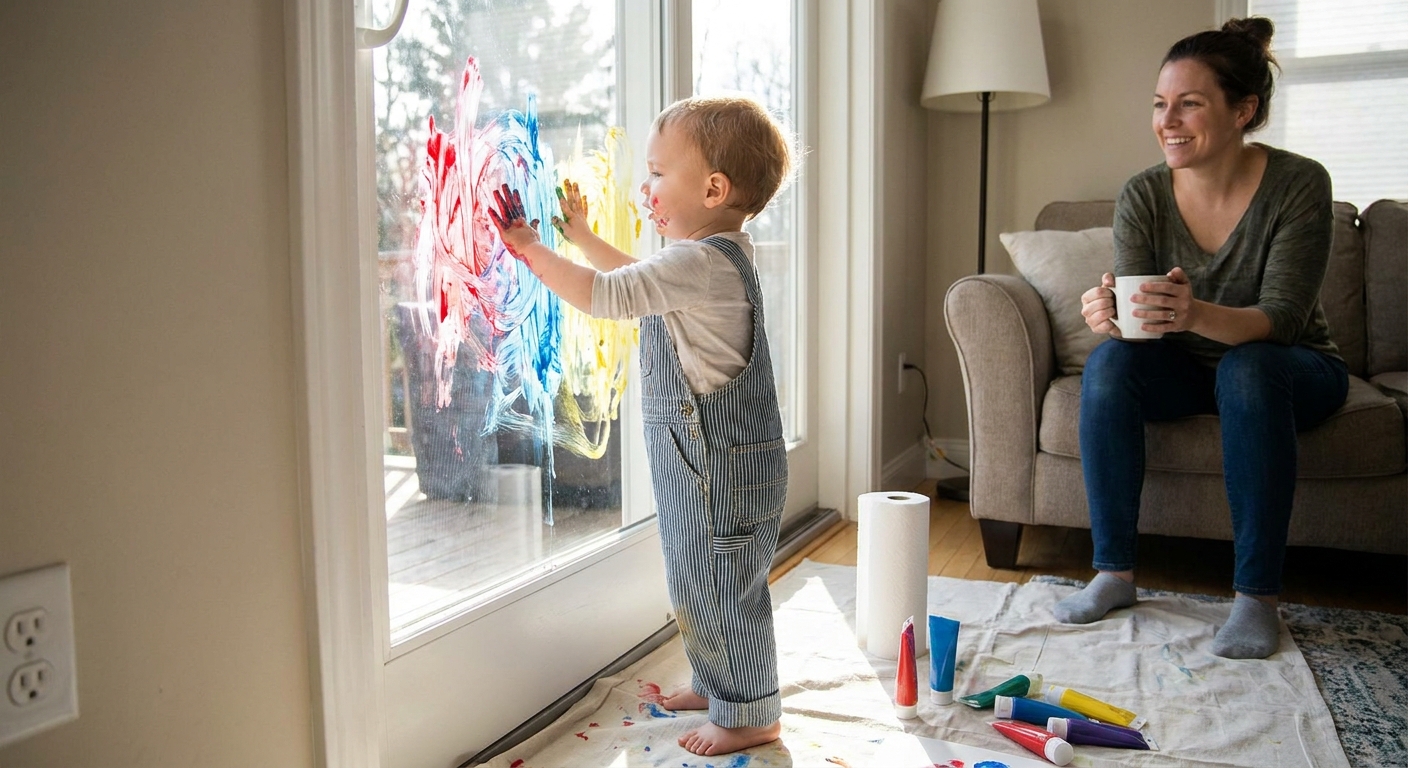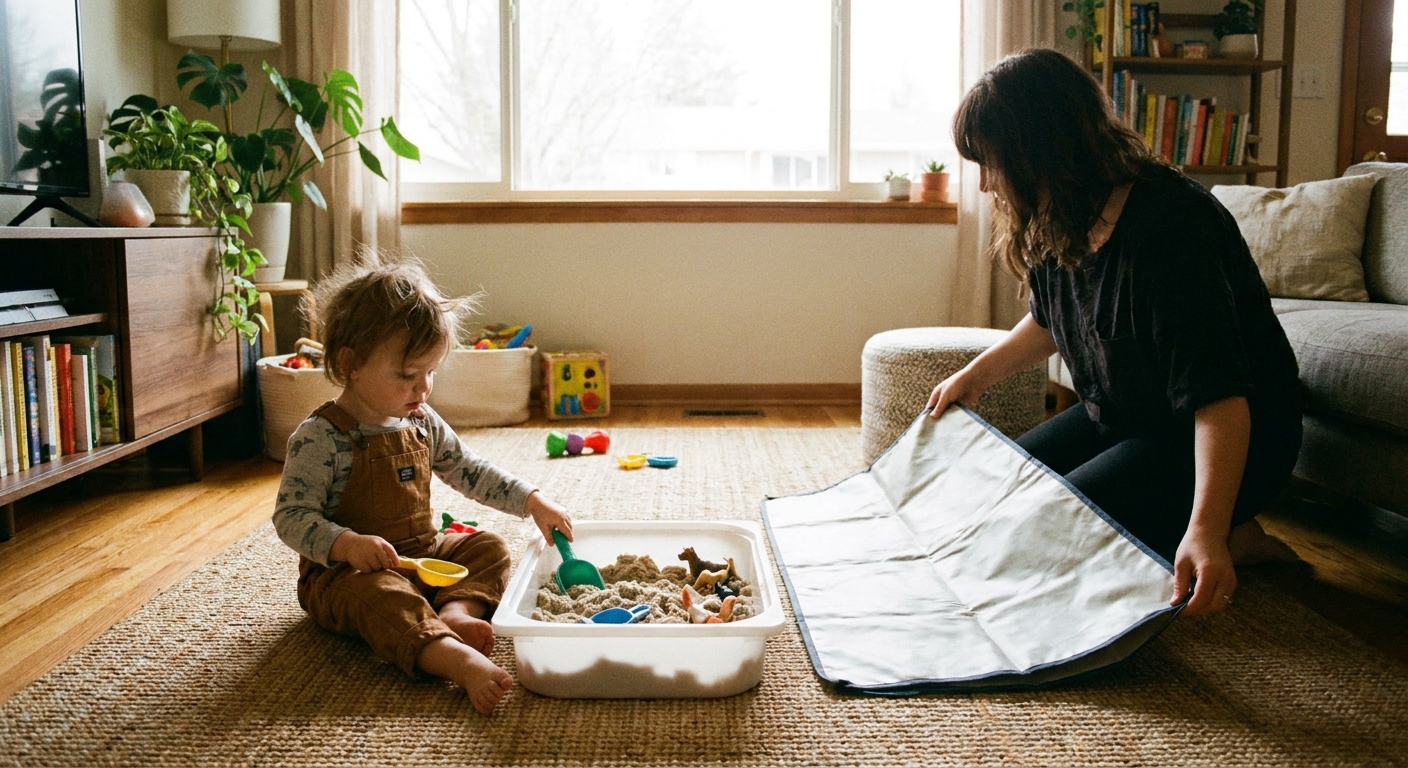
Let’s dive in and make a happy little “art mess” together, without the big cleanup. Process art is all about the doing: squishing, swirling, dabbing, and experimenting. The goal is not a perfect final craft. The goal is playful creation, with a setup that helps your living room stay calm and (mostly) clean.
One quick truth from Puddle: nothing is 100 percent mess-proof with toddlers. These ideas are designed to be low-mess, and a few tiny prep steps (like taping seams) make a huge difference.
What makes an art activity low-mess?
For toddlers, “low-mess” usually means the color stays contained, and cleanup is quick. These activities use one or more of these handy tricks:
- A barrier like a zip-top bag, plastic sleeve, or contact paper so little fingers touch the surface but not the paint or glue.
- Dry materials like stickers, tape, and chunky crayons that do not drip or splatter.
- A defined workspace like a tray, cookie sheet, or a taped-down sheet of paper that stays put.
If your toddler loves the sensory part but also loves flinging, take a peek at Containing Sensory Bin Mess in a Small House. Many of the same containment ideas work for art too.
1) Squish-and-Swirl Bag Painting
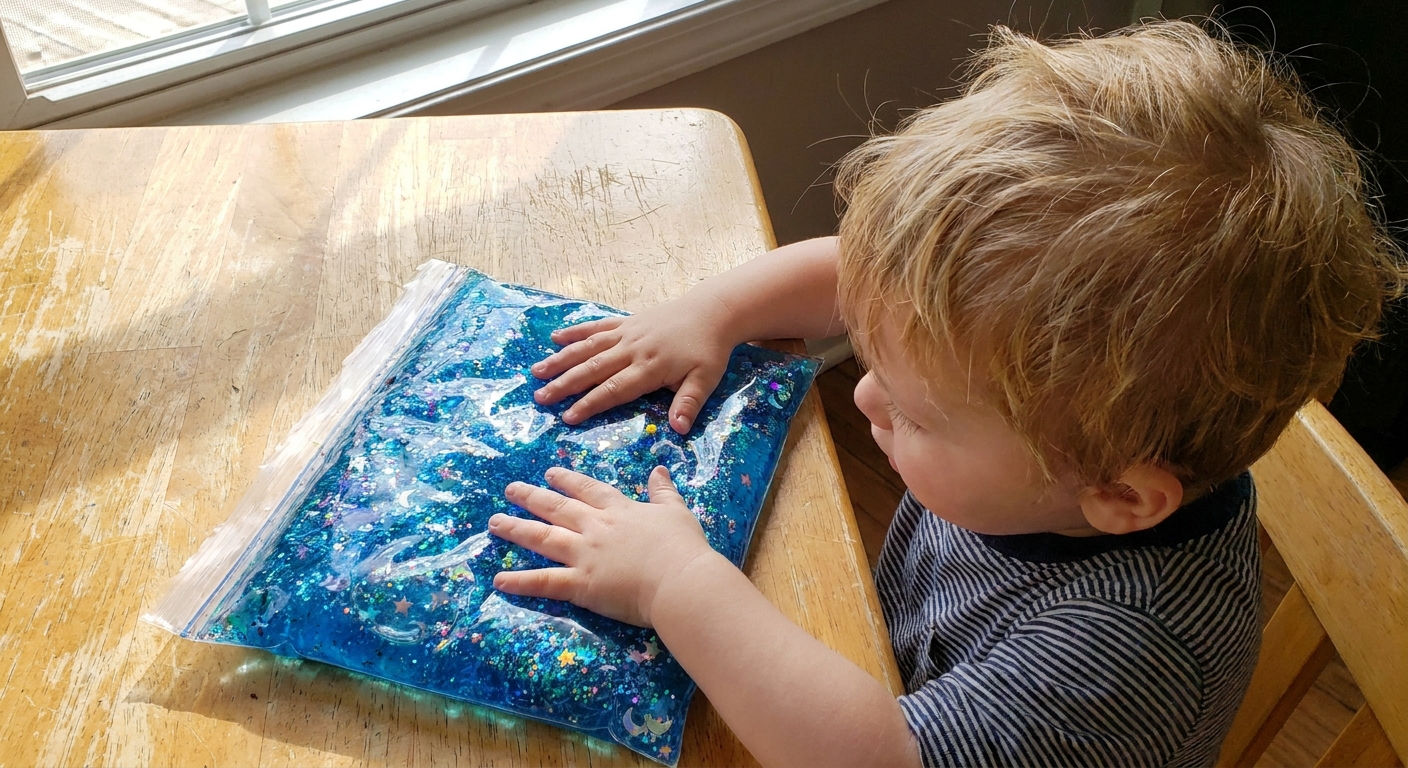
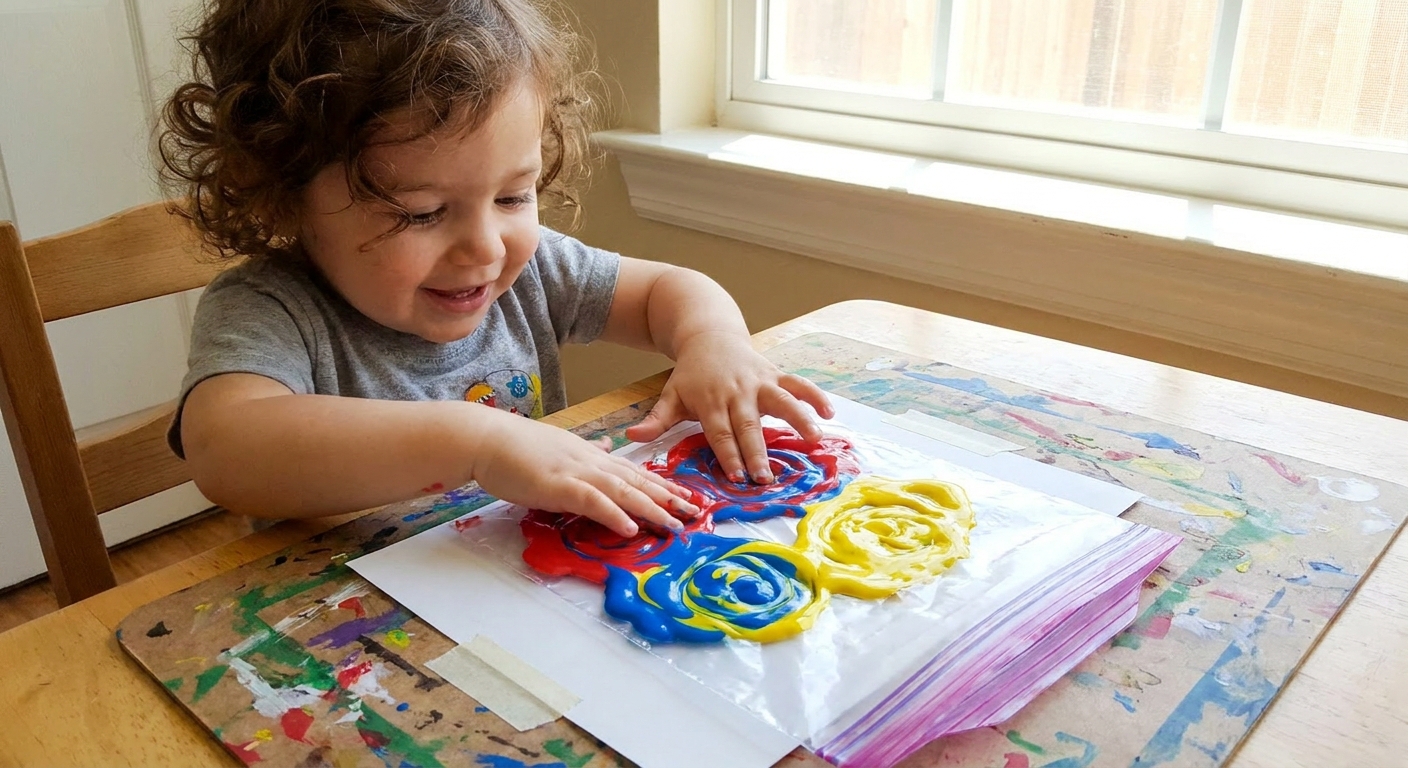
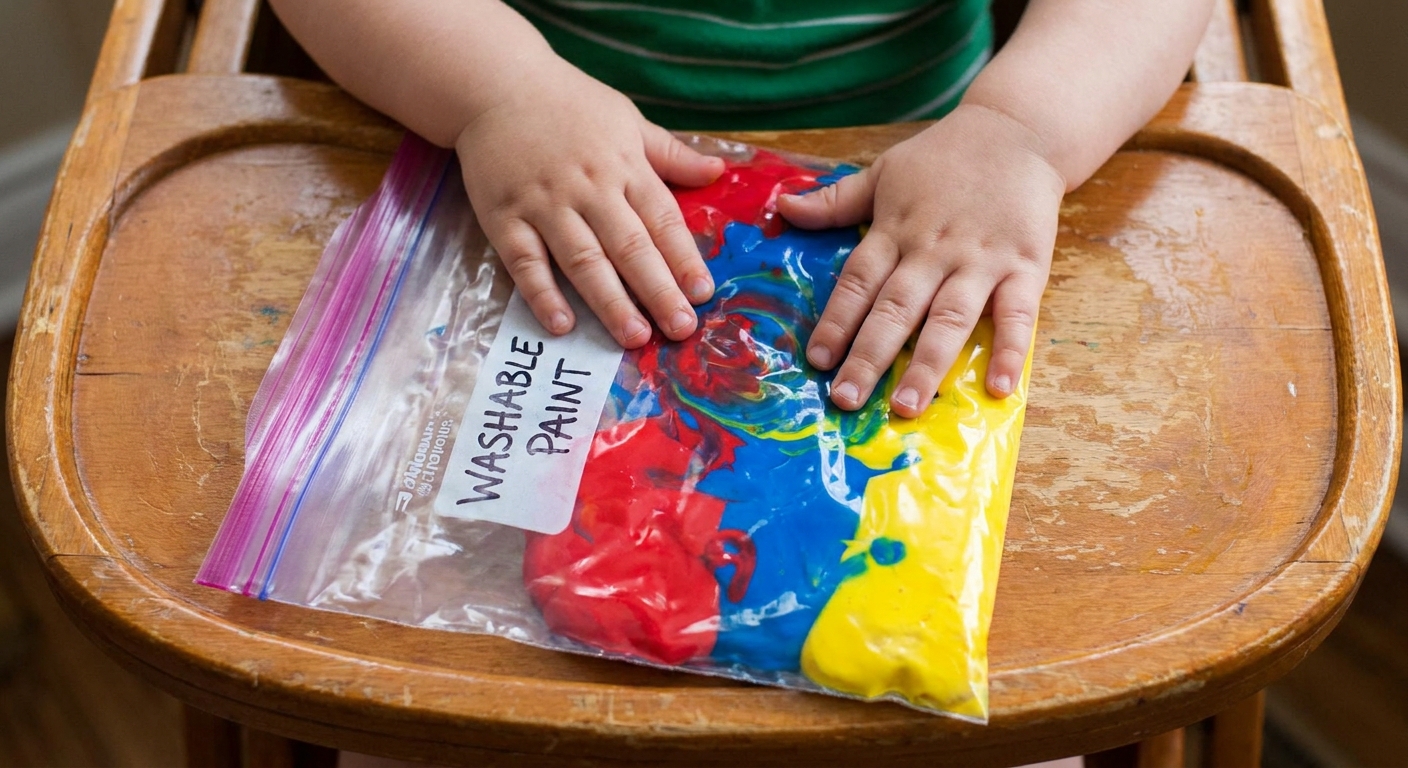
This is classic process art magic. Toddlers get the joy of mixing colors with very little paint on hands, especially if you tape the seams well.
What you need
- Zip-top freezer bag (freezer bags are sturdier)
- Washable paint (2 to 4 colors)
- White paper (optional, but it makes colors pop)
- Tape (painter’s tape works, packing tape is extra sturdy)
How to do it
- Slip a sheet of paper into the bag (optional).
- Add small blobs of paint (pea to quarter-sized blobs are plenty).
- Press out extra air and seal tightly.
- Tape the top zipper seam (right over the closure) and tape all four edges of the bag to the table, a window, or a cookie sheet so it cannot slide away.
- Invite your toddler to press, pat, trace lines, and “write” shapes with their fingers.
Make it more open-ended
- Add only two colors and let your toddler discover what happens when they blend.
- Challenge: “Can you make tiny dots? Big swirls?”
- Slide a piece of cardboard under the bag and tilt it like a ramp to make the paint move.
If your little one enjoys contained sensory play like this, you will also love 7 No-Mess Sensory Bags With Household Items.
2) Sticker Resist Collage
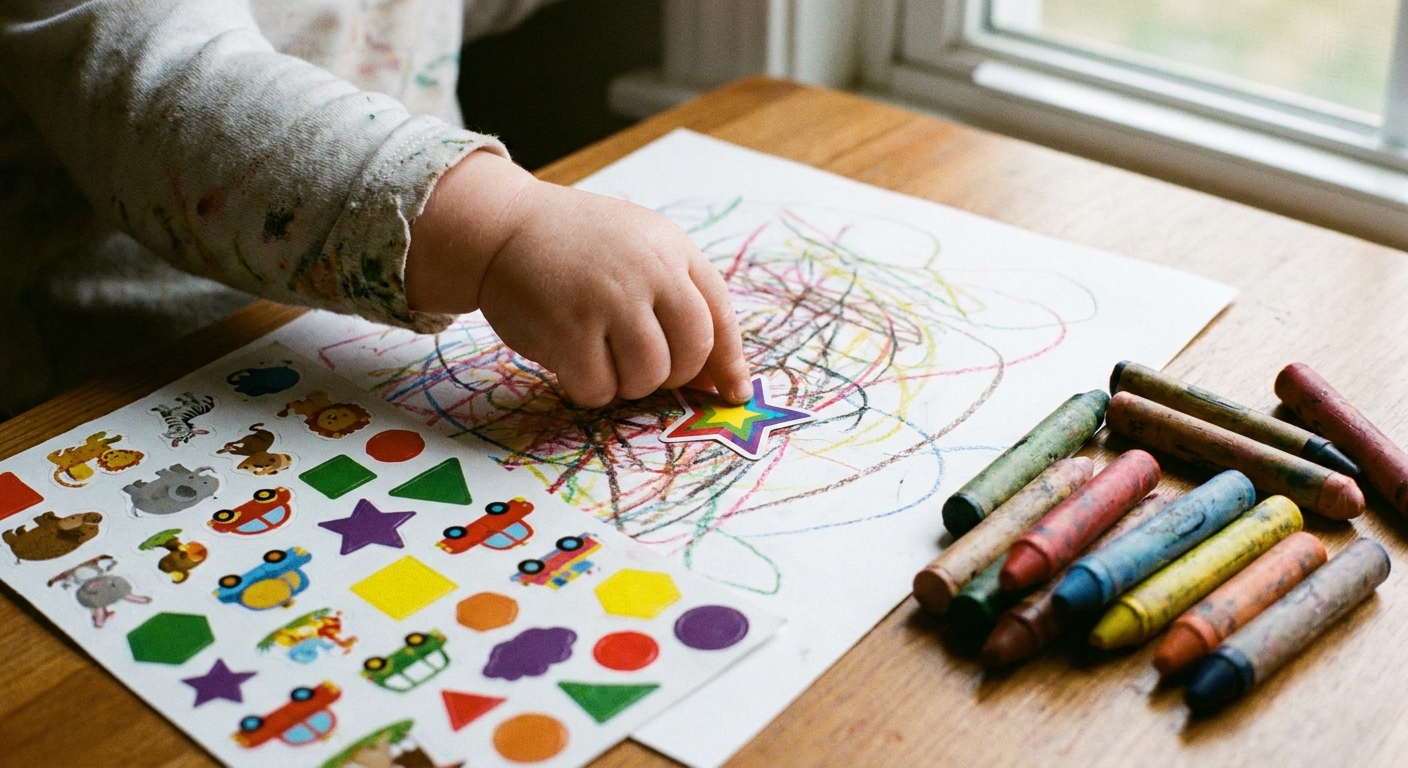
This one feels like a secret mission: stick, color, then peel to reveal surprises. It is process art because toddlers decide where stickers go and how the page fills up.
What you need
- Stickers (any kind)
- Paper
- Chunky crayons or washable markers
How to do it
- Let your toddler place stickers anywhere on the paper.
- Color over and around the stickers using big scribbles, circles, or stripes.
- Peel stickers to reveal the “resist” shapes underneath (grown-up help often needed).
Make it more open-ended
- For easier peeling, try larger vinyl stickers or big dot stickers (tiny paper stickers can tear).
- Offer a limited sticker set (dots only, animals only, shapes only) and see what patterns appear.
- Try a “tiny corner to giant page” challenge: start in one corner and slowly travel across.
Want more fine-motor sticker fun? Visit Sticker Activities for a Stronger Pincer Grasp.
3) Contact Paper Sticky Art Window
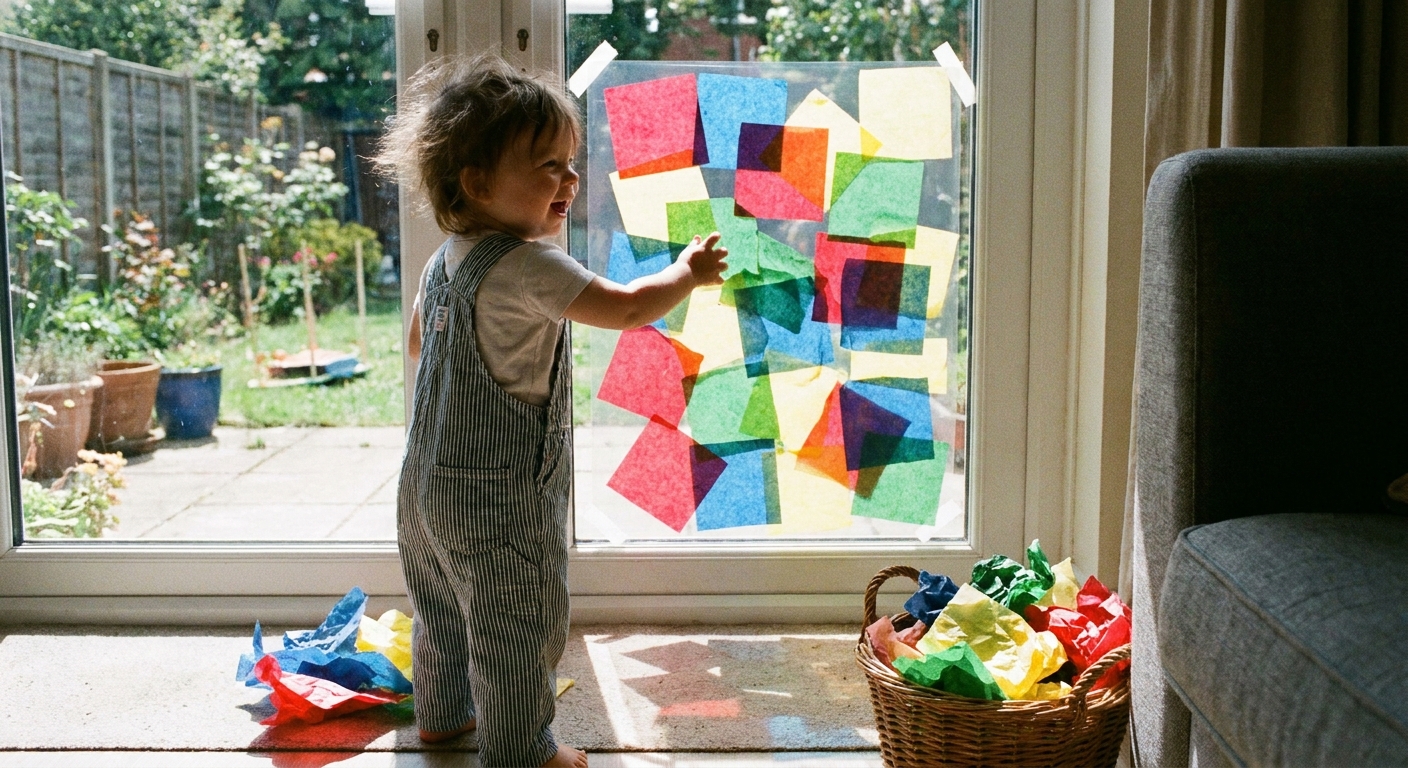
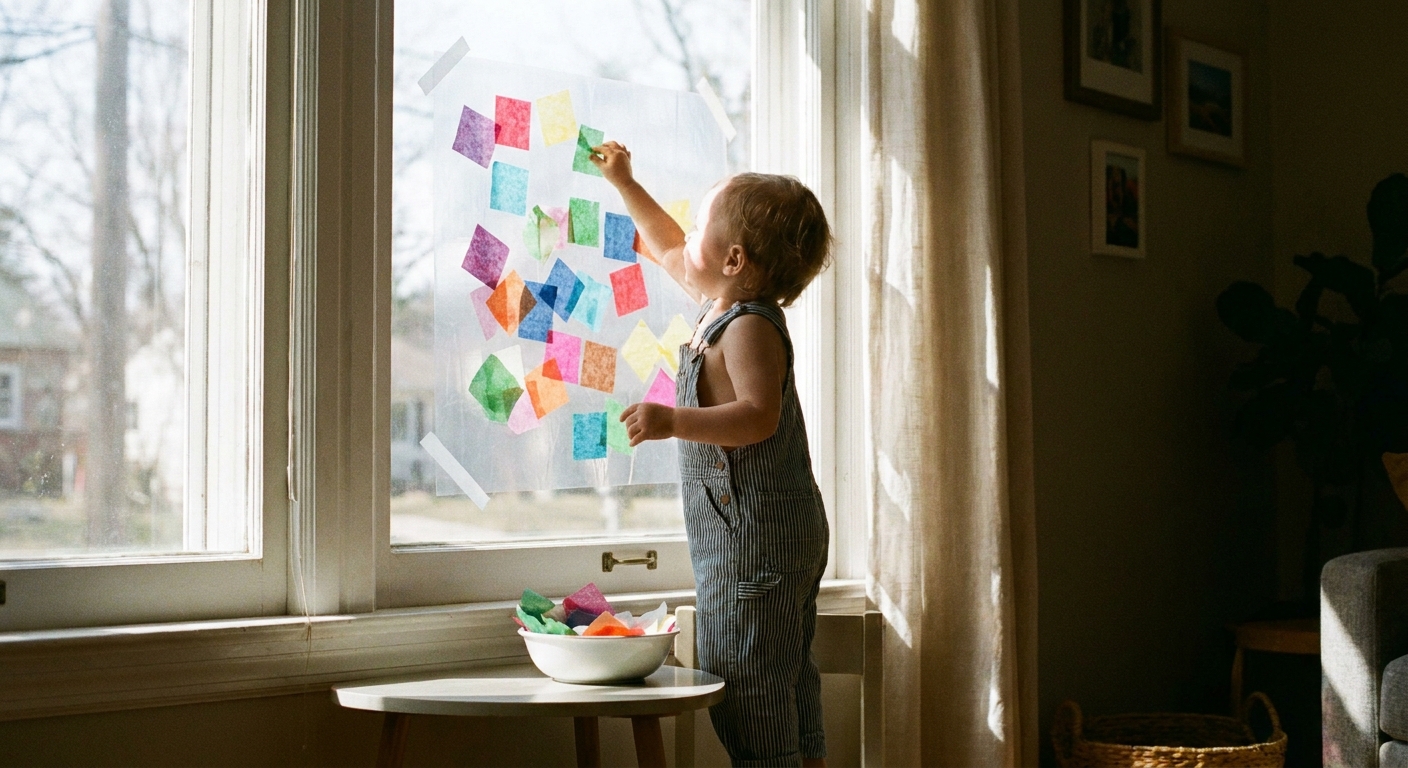
This is a no-glue collage that feels extra special because it can go on a window. Toddlers stick and unstick, layer and overlap, and step back to admire the light shining through.
What you need
- Clear contact paper
- Painter’s tape
- Lightweight collage pieces: tissue paper squares, cut-up construction paper, foil bits, large pom poms, wide ribbon pieces
How to do it
- Tape a sheet of contact paper to a window with the sticky side facing out.
- Optional but helpful: fold over a tiny strip on two corners to make non-sticky “tabs” for easier removal later.
- Place collage materials in a shallow tray nearby.
- Let your toddler stick pieces anywhere, rearranging as they go.
- When finished, you can seal it with a second sheet of contact paper over the top (optional).
Quick note: contact paper can leave residue on some surfaces. If you are unsure about your window finish or painted wall, test a small piece first, or stick it to a smooth glass window only.
For more sticky-wall ideas, this pairs perfectly with Contact Paper Sticky Wall for Toddler Art.
4) Painter’s Tape Peel-and-Reveal Art
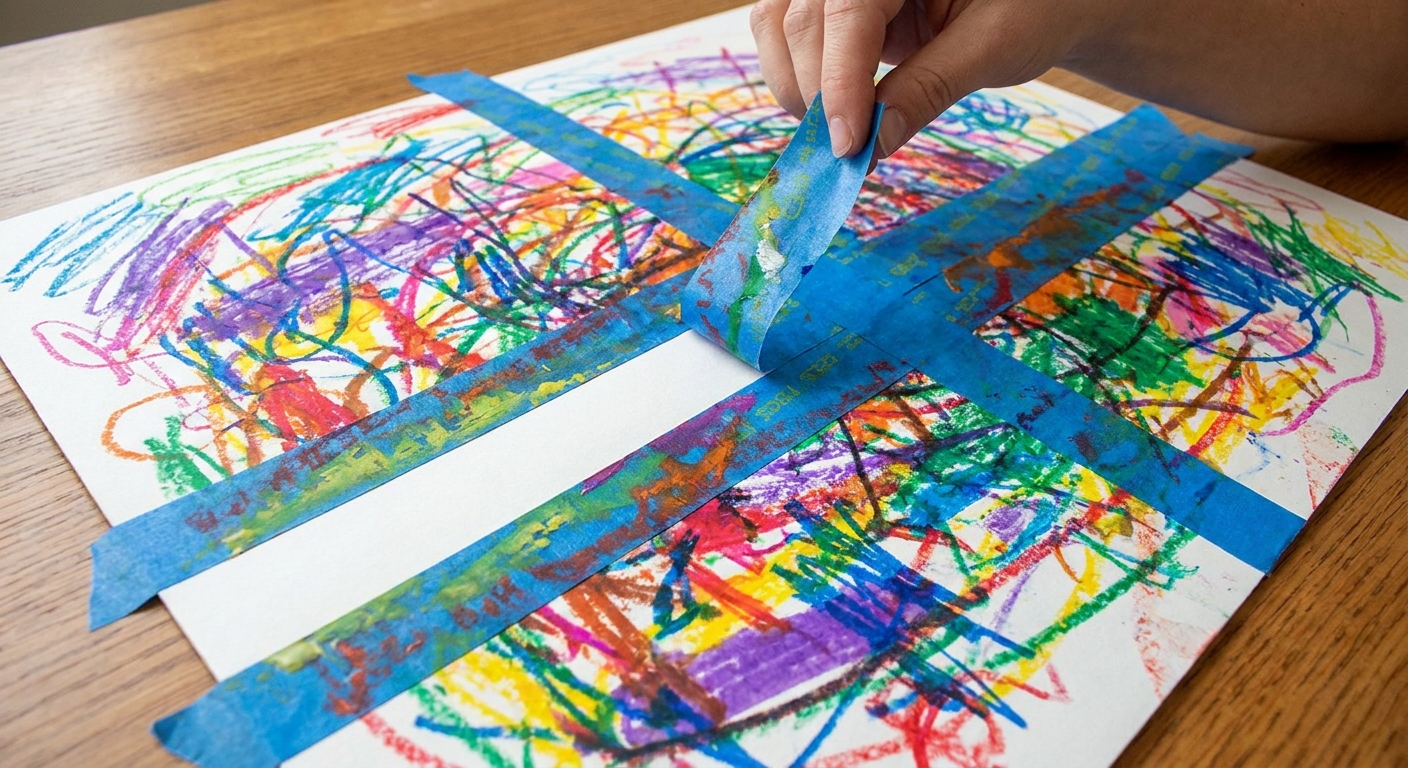
Tape is a toddler process art treasure. It sticks, it peels, it makes lines, and it feels wonderfully purposeful.
What you need
- Painter’s tape
- Paper
- Chunky crayons or washable markers
How to do it
- Place strips of painter’s tape on paper. Crisscross, zigzag, make a big square, or keep it random.
- Let your toddler color all over the page, right across the tape.
- Slowly peel the tape to reveal clean white lines.
Make it more open-ended
- Use short tape pieces for “tape confetti.”
- Try a color rule: “Only blue today,” or “Two colors only.”
- Stick the paper to the floor for a whole-body coloring session.
If tape is a favorite at your house, take a look at 10 Painter’s Tape Floor Games for Toddlers for movement-friendly ways to play.
5) Crayon Rubbing Texture Hunt
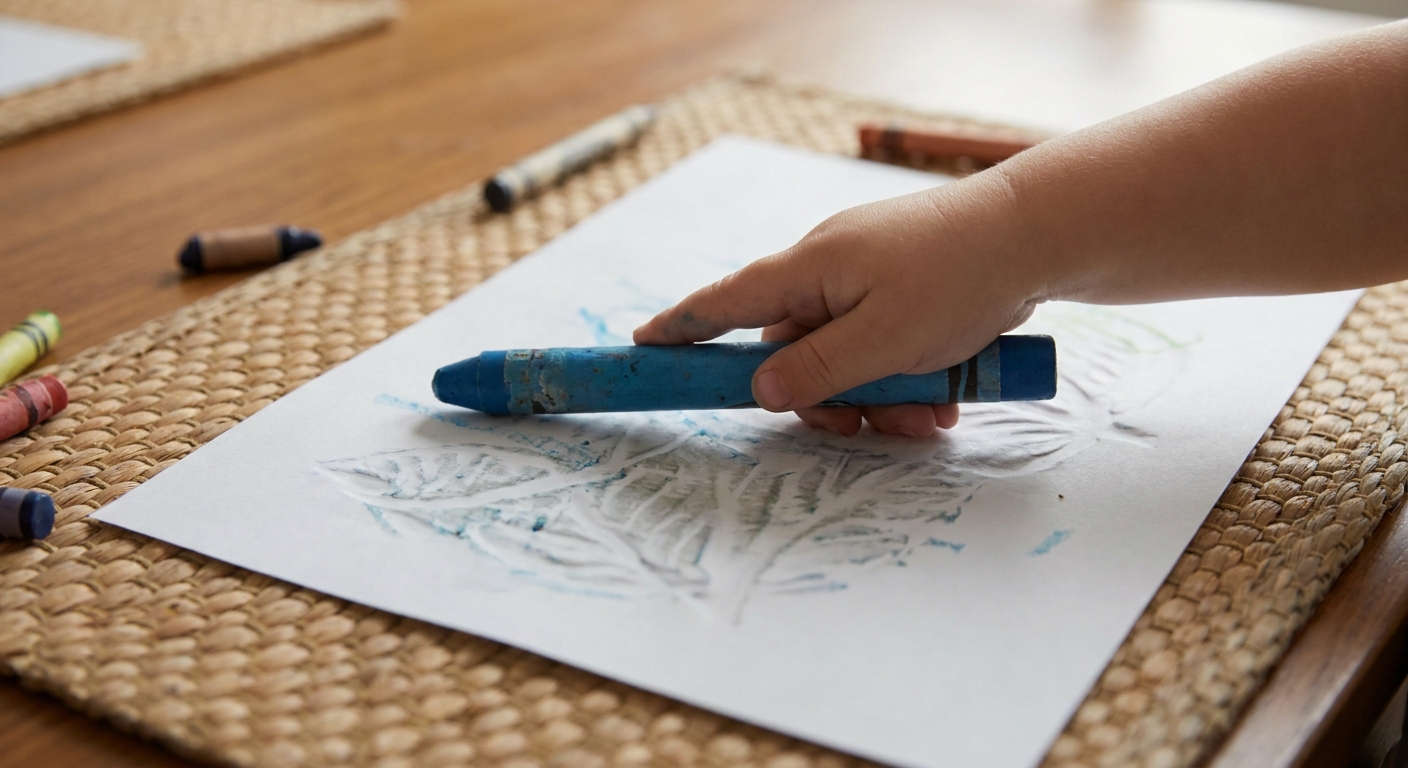
This activity turns your home into a texture museum. Toddlers get to explore bumpy, ridged, and patterned surfaces while keeping the art materials dry and tidy.
What you need
- Paper (smaller pieces reduce wandering)
- One or two crayons with wrappers removed (or chunky crayons)
- Optional: painter’s tape to hold paper in place
How to do it
- Find safe texture surfaces: a plastic placemat, a textured book cover, a basket weave, a coin under paper, or a leaf.
- Place paper on top and tape one edge if needed.
- Rub the side of the crayon across the paper to reveal the texture.
- Repeat with new surfaces and colors.
Make it more open-ended
- Do a “texture walk” around one room and collect rubbings in a little stack.
- Offer just one crayon and let your toddler decide when the page feels “done.”
If you want zero liquids
If you are skipping paint entirely today, go with a fully dry combo: painter’s tape plus stickers. Put tape lines on paper, hand over a small sheet of stickers, and let your toddler build a tape-and-sticker “map” with roads, borders, and silly little zones. No peeling required, no drying time required.
Setup tips for a cleaner session
- Use a tray or cookie sheet. Even dry supplies stay corralled.
- Pick toddler-friendly tools. Chunky crayons, big stickers, and short tape pieces reduce frustration and frantic flailing.
- Offer one material at a time. Less out on the table usually means less on the floor.
- Keep wipes nearby. A quick hands-and-table wipe at the end is often all you need.
- End with a “finished spot.” A clear space where artwork dries or gets displayed keeps wet or sticky projects from traveling.
If you want even more tidy, rainy-day creativity, you might also enjoy 5 Washable Window Art Activities for Rainy Days.
Safety notes
- Supervise closely with plastic bags. Bags can be a suffocation hazard, and they can leak if punctured or if a seal pops open.
- Watch small parts. Loose collage bits like pom poms and yarn snips can be choking hazards. For toddlers (especially under 3) and heavy mouthers, use large pieces only or skip small loose parts entirely.
- Choose washable, non-toxic supplies and keep lids closed when not in use.
- Know your surfaces. Markers can transfer to hands and furniture, and contact paper can leave residue on some finishes. A tray and a quick test patch can prevent big cleanup later.
FAQ
What is process art for toddlers?
Process art focuses on exploration: how the materials feel, how colors mix, and what happens when toddlers make choices. The artwork is the record of their experimenting, not a project that must look a certain way.
How long should a low-mess art activity last?
Many toddlers are happiest with 5 to 15 minutes. It is completely fine to stop while it is still fun. Short sessions often lead to fewer messes and more smiles.
What if my toddler tries to open the paint bag?
Use a freezer bag, press out air, seal firmly, then tape over the zipper seam and tape all four edges to a flat surface. If opening still happens, switch to sticker resist or tape resist for a fully dry option.
Happy creating, little artists. Puddle is cheering you on with a clean floor and a calm heart.