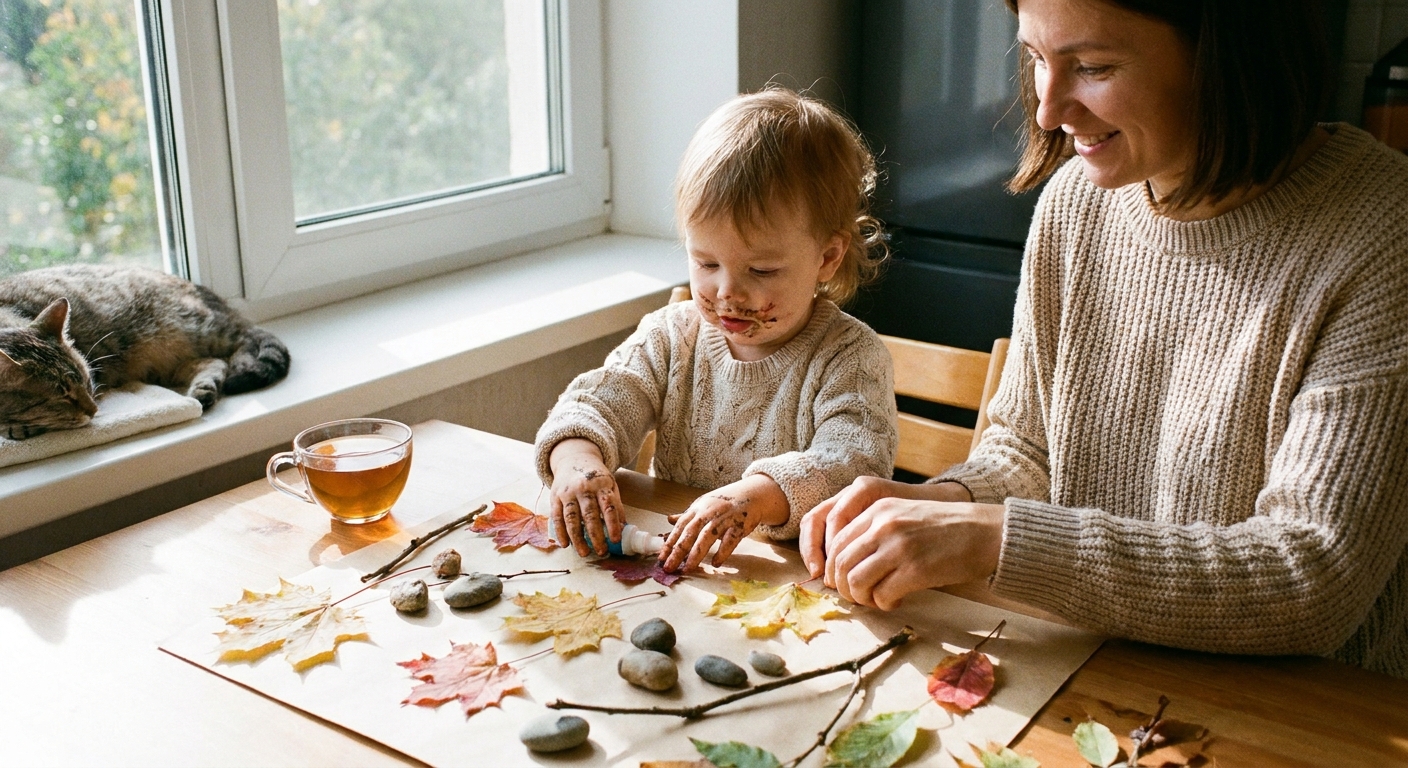
Let’s dive in and make a wonderful, happy mess together! A pocketful of leaves, a few smooth rocks, and some twigs can turn an ordinary nature walk into a cozy craft session, outdoors or right at the kitchen table.
Before you start
Nature crafting is sweetest when it stays simple. A tiny bit of prep helps everything feel calm and doable.
Where to collect
- Skip roadsides and parking lots: leaves and rocks can be coated in oil, salt, and other grime.
- Avoid treated wood: no lumber scraps or pressure-treated pieces.
- Steer clear of obvious animal mess: if it looks questionable, leave it.
- Know your “no touch” plants: if poison ivy or oak is common where you live, stick to open grass areas and bring wipes.
- Check local rules: some parks and nature areas do not allow collecting. When in doubt, take a photo and collect from your own yard.
What to gather
- Leaves: different shapes and sizes, dry or fresh
- Sticks: short pieces that are not sharp or splintery
- Rocks: smooth, palm-sized rocks are easiest to handle
- Bonus finds: pinecones, seed pods, grass (skip anything prickly)
Basic supplies
- Washable glue or glue stick
- Washable paint (optional)
- Paper plates or a tray for sorting
- Cardstock or cardboard for a sturdier base
- Child-safe scissors (optional, for older toddlers with help)
- Wet wipes or a damp cloth for quick cleanups
- Old shirt or smock (for paint days)
Safety notes
- Mouthing stage: Any small rock, pebble, bead-sized pinecone bit, or tiny stick can be a choking hazard. If your toddler is still in the “everything goes in the mouth” stage, skip loose small items entirely and stick with big, hard-to-mouth pieces only, with close 1:1 supervision.
- Avoid: unknown berries, mushrooms, and plants that cause irritation.
- Rinse first: rinse rocks and sticks to remove visible dirt, and pat dry. Wipe leaves gently. Discard anything that cannot be cleaned easily or seems questionable.
- Handwashing: wash hands after handling nature items, especially before eating.
- Short crafting wins: aim for about 5 to 15 minutes. You can always do “one more leaf.”
If your little one loves sensory play that stays contained, peek at Containing Sensory Bin Mess in a Small House for simple setup tricks that work for crafts too.
1) Leaf rubbings
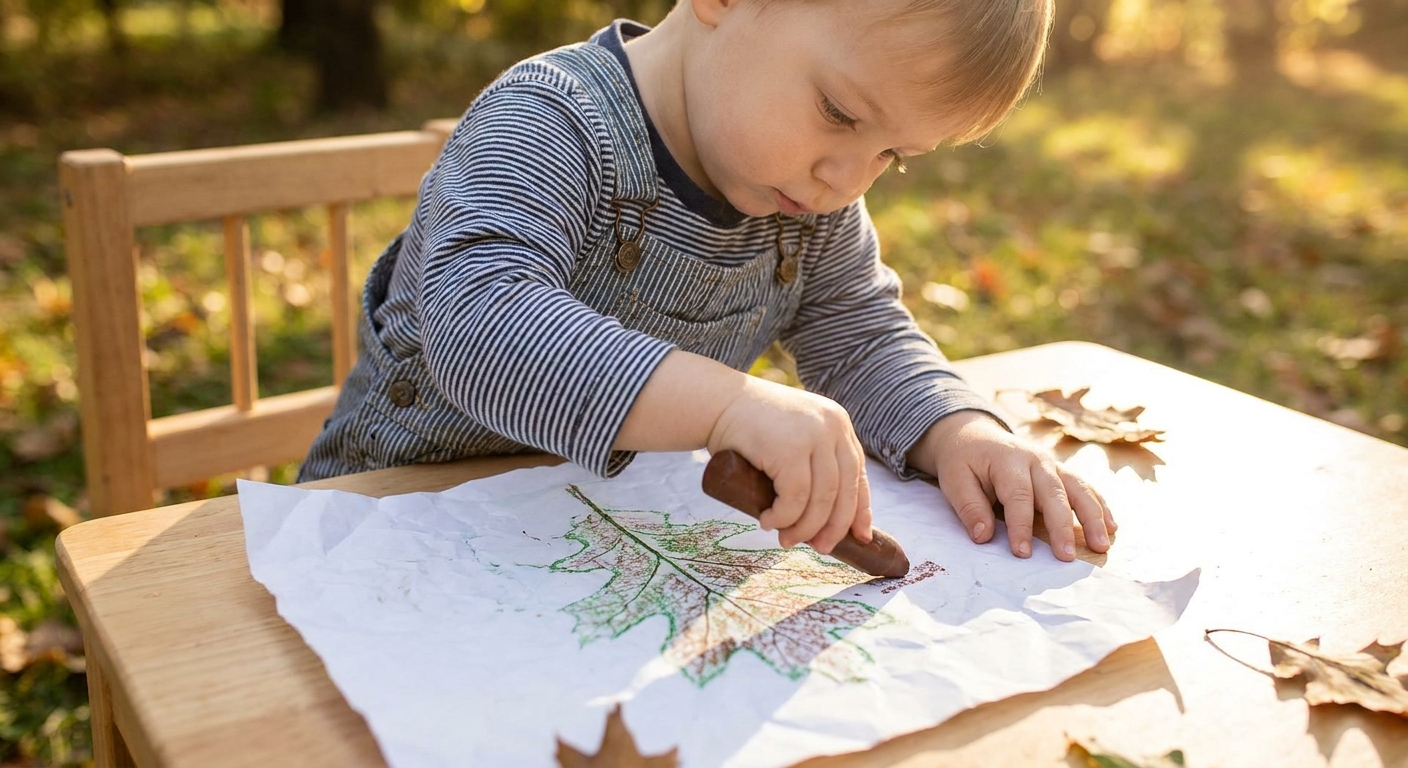
This one feels like magic because the leaf veins pop right through.
You’ll need
- Leaves with clear veins
- Plain paper
- Crayons (peeled works best)
How to do it
- Place a leaf on the table, vein-side up.
- Lay paper over the leaf and hold it still.
- Rub a crayon sideways across the paper until the leaf pattern appears.
Toddler-friendly twists
- Try “find a bumpy leaf” versus “find a smooth leaf.”
- Use just two crayon colors to keep choices easy.
2) Sticky nature collage
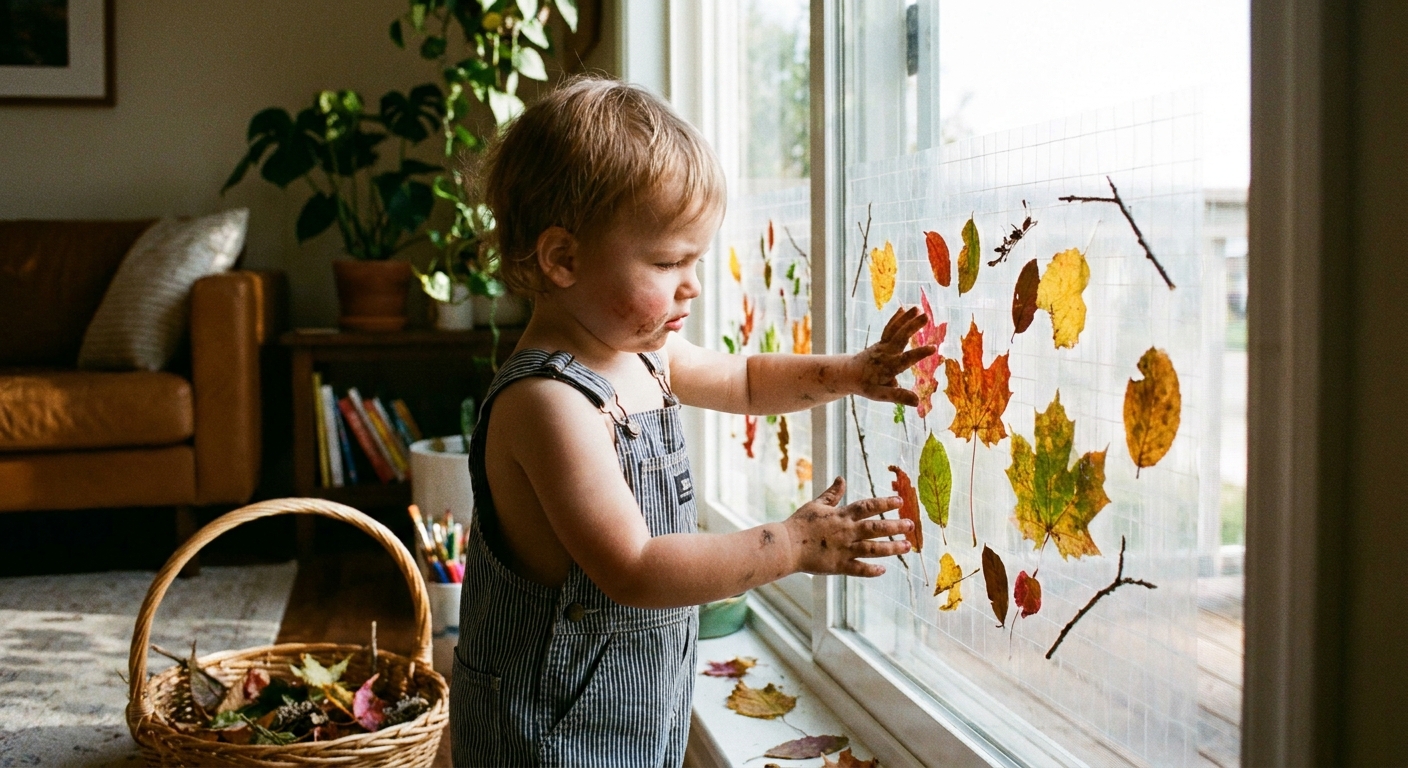
This is open-ended toddler art at its best. Collect, stick, admire, repeat.
You’ll need
- Contact paper
- Painter’s tape (to hang it up)
- Leaves and small sticks
- Optional: cardstock behind the contact paper for extra sturdiness
How to do it
- Tape contact paper up with the sticky side facing out. A wall or the back of a chair works especially well for this one.
- Invite your toddler to press nature finds onto the sticky surface.
- When it feels done, peel it down and fold another sheet of contact paper on top to seal it, if you want.
Make sticking easier
- Pre-tear a few leaves and break sticks into short pieces so little hands get quick success.
- Offer bigger pieces only, so grabbing and placing is easier.
If you like the idea of sticky art, you might also enjoy Contact Paper Sticky Wall for Toddler Art.
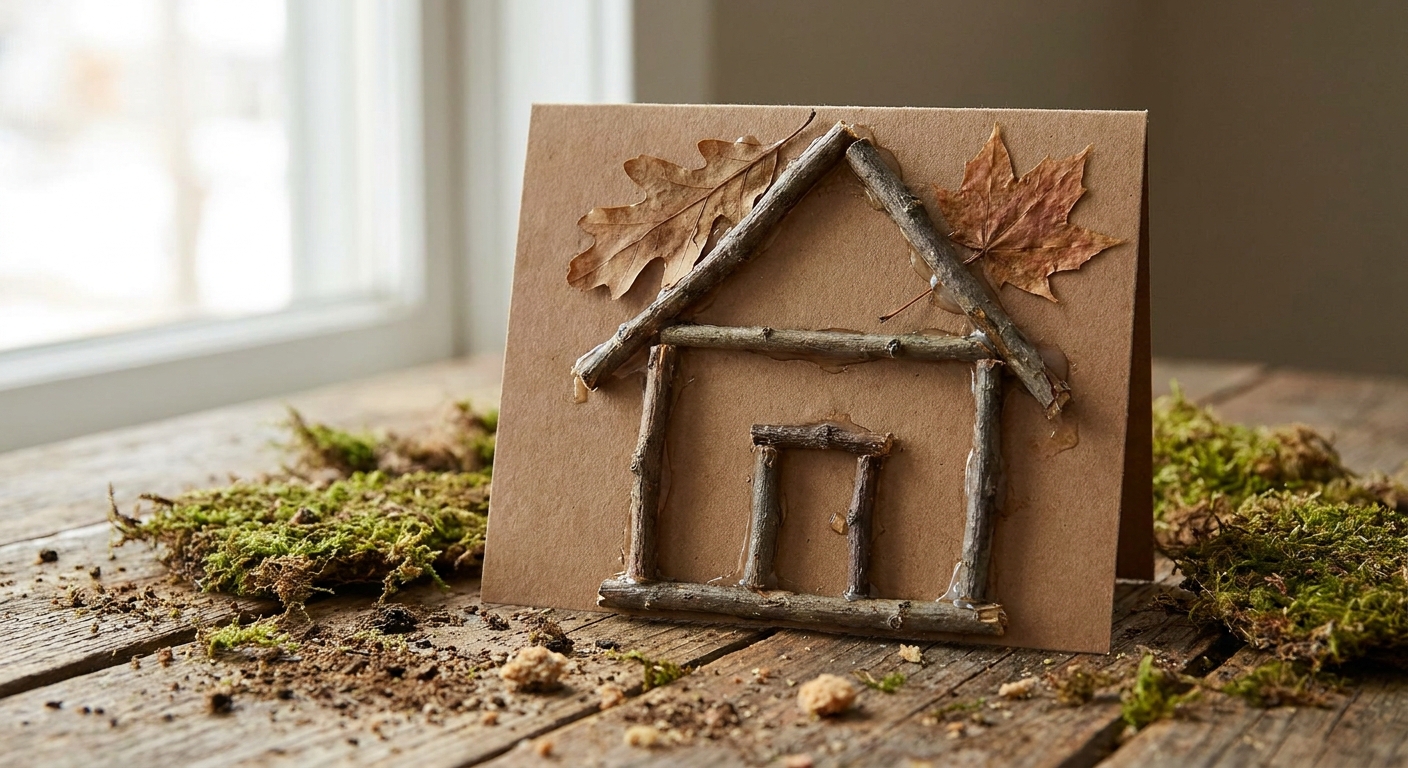
3) Stick people and twig houses
Sticks naturally turn into lines, shapes, and little worlds. Perfect for toddler storytelling.
You’ll need
- Short sticks or twigs
- Cardstock or cardboard
- Washable glue
- Optional: leaves for roofs, crayons for faces
How to do it
- Help your toddler choose a few sticks.
- Make a simple shape: a square house, a triangle roof, or a stick person.
- Add leaves as roof shingles or clothes.
Easy learning talk
- Count sticks: “One, two, three for the roof.”
- Name shapes: “This is a triangle!”
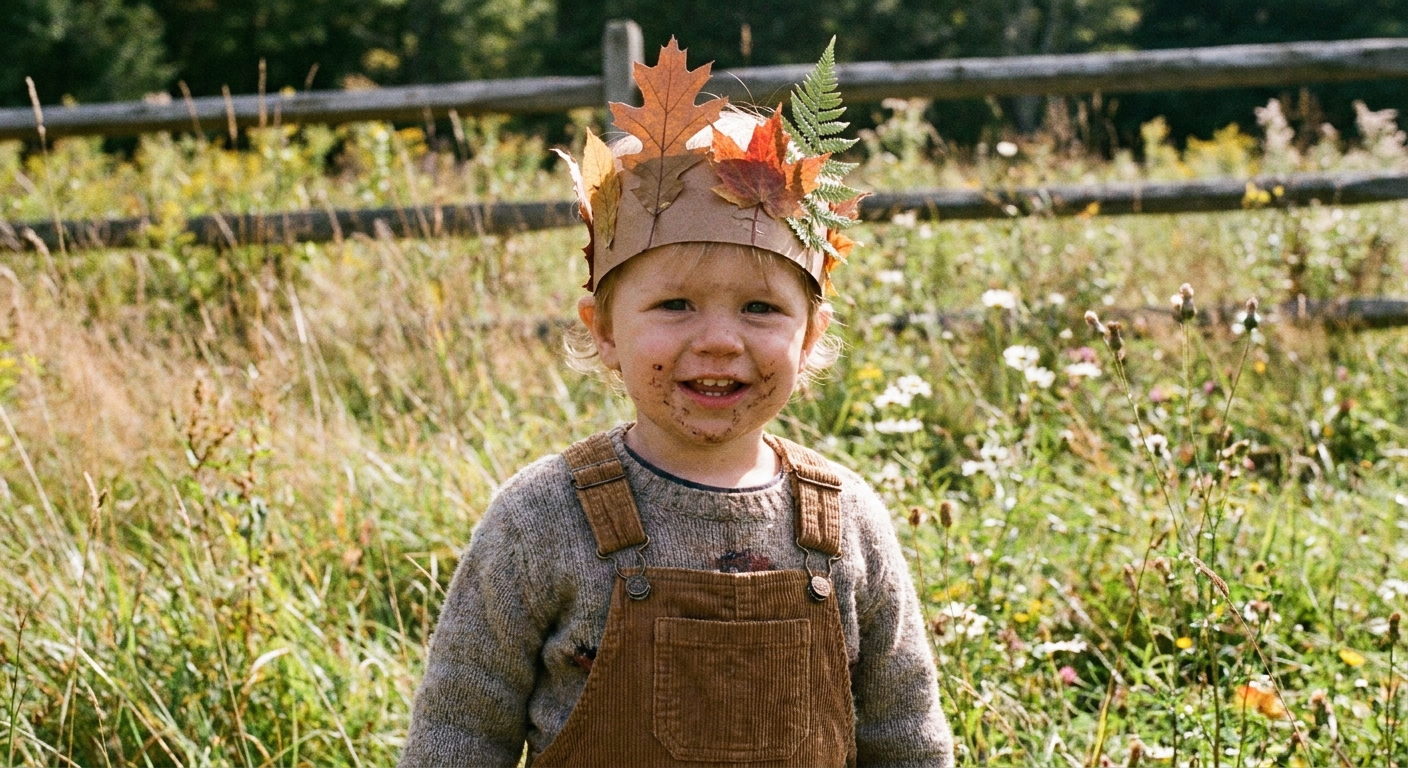
4) Leaf crowns
This craft turns into play immediately, which is my favorite kind of crafting.
You’ll need
- Strip of paper (or two taped together)
- Tape or glue
- Leaves
How to do it
- Measure the paper around your toddler’s head and tape into a band.
- Tape or glue leaves along the band like feathers.
- Wear and parade gently around the living room or yard.
Make it toddler-proof
- Use tape loops for faster sticking.
- Choose bigger leaves that are easy to grab.
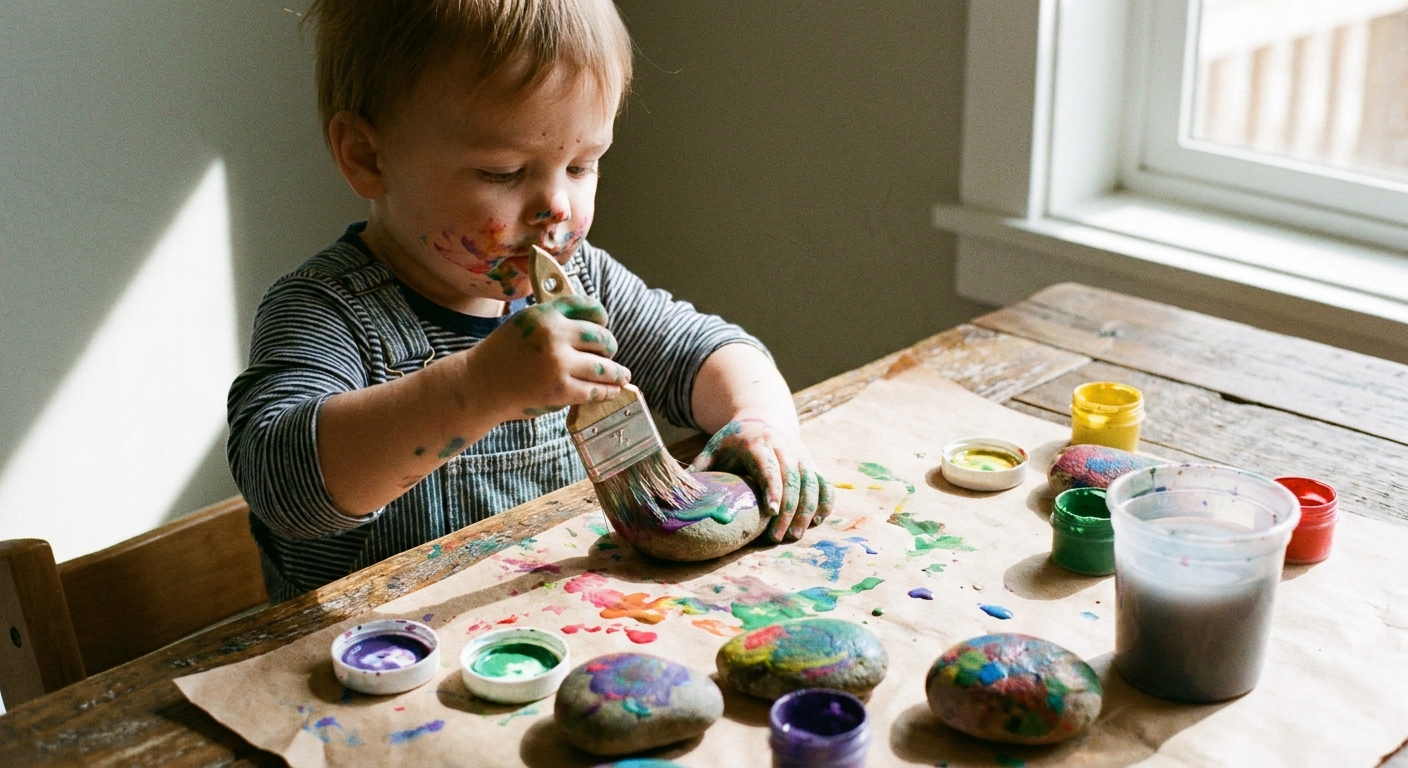
5) Toddler rock painting
Rocks are satisfying to hold, and a few bold paint dabs go a long way.
You’ll need
- Smooth rocks
- Washable paint
- Paintbrushes or sponges
- Paper to protect the table
- A tray or baking sheet for drying
How to do it
- Rinse and dry rocks first.
- Offer 2 to 3 paint colors.
- Let your toddler dab, swipe, and dot.
- Place finished rocks on a tray to dry somewhere out of traffic so paint does not transfer to floors or furniture.
Toddler-friendly design ideas
- Dot rocks: big polka dots with a sponge
- Stripe rocks: thick brush stripes
- Color rocks: one rock per color for simple sorting
Tip: Some families seal painted rocks for outdoor use. If you choose to seal, make it adult-only, follow the product directions, choose a product labeled non-toxic once cured, allow it to fully cure, and keep sealed rocks out of reach, especially for toddlers who mouth toys. If your toddler might mouth the rocks, keep them for indoor play and store up high when not in use.
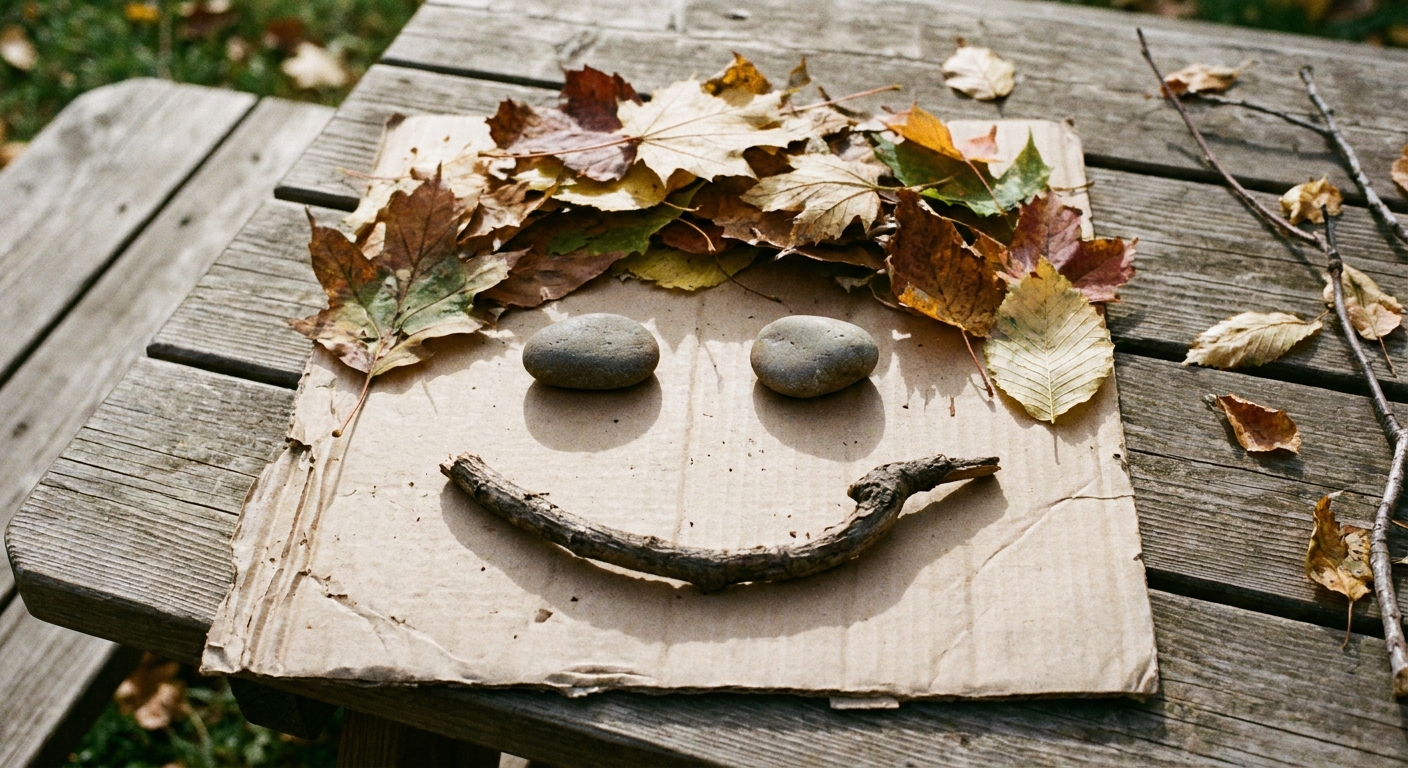
6) Nature faces
Leaves make great hair. Larger stones can make sweet eyes. Toddlers love choosing parts.
You’ll need
- Cardboard
- Glue
- Leaves, small sticks, rocks (choose sizes that are safe for your child)
How to do it
- Draw a simple circle face (optional).
- Invite your toddler to pick: eyes, nose, mouth, hair.
- Glue each piece down together.
Gentle skill-building
- Practice body parts: eyes, nose, mouth.
- Try feelings: happy mouth, surprised mouth.
7) Nature sun catchers
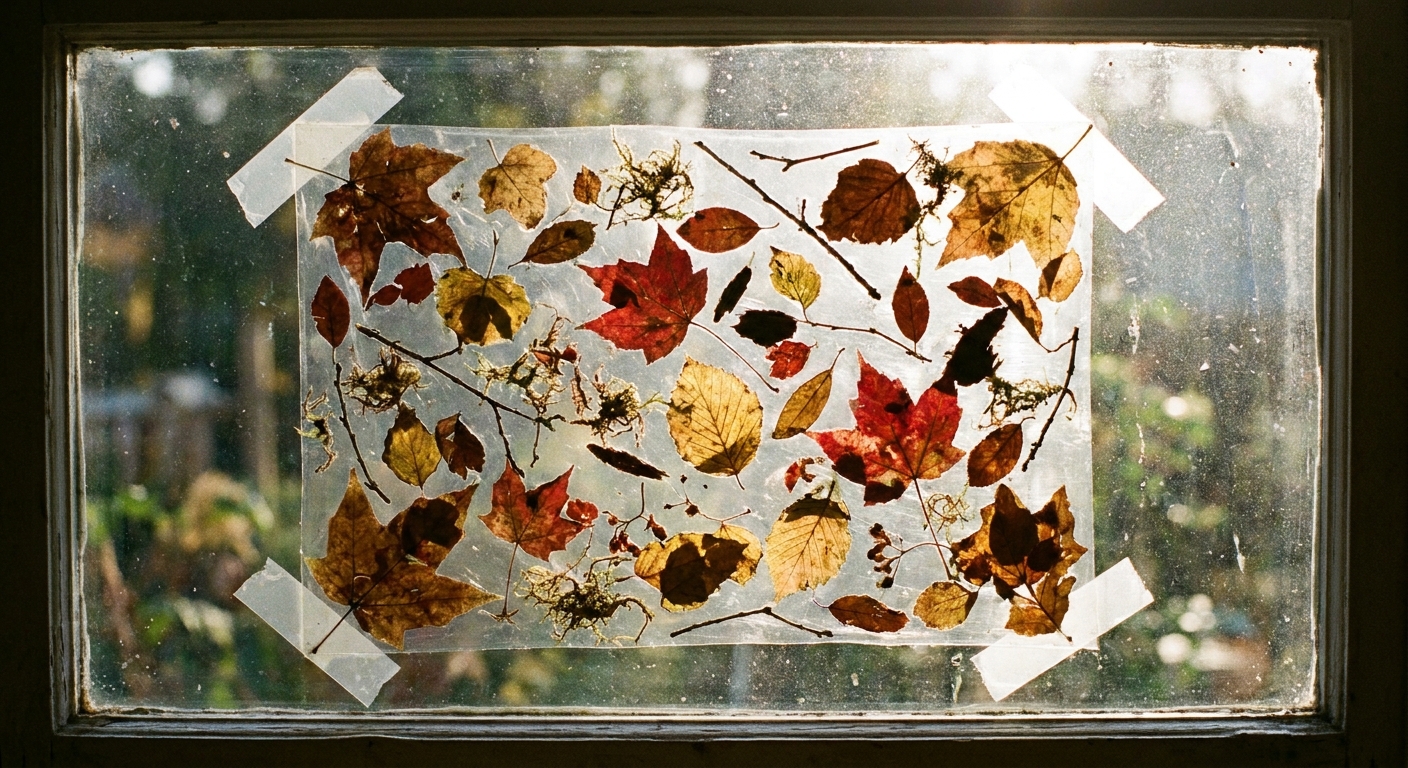
This is a lovely indoor nature craft for rainy days, and it looks beautiful when the light shines through. Unlike the sticky collage, this one gets sealed up and is made to hang in a sunny window.
You’ll need
- Clear packing tape
- Leaves (flat works best)
- Tiny sticks or grass (optional)
- Scissors (adult use)
- Painter’s tape (optional, to hang the finished sun catcher)
How to do it
- Cut a strip of packing tape and place it sticky-side up on the table. Anchor the ends by taping them down with painter’s tape, or fold a little non-sticky tab on each end.
- Let your toddler press leaves onto the sticky tape.
- Place a second strip of tape on top, sticky-side down, to seal.
- Trim edges and hang it in a sunny window.
Window tip: Packing tape can leave residue on some surfaces. If you are unsure, test a small corner first, or use painter’s tape to mount the finished sun catcher to the window instead of sticking packing tape directly to the glass or frame.
If window art is a hit, you can also explore 5 Washable Window Art Activities for Rainy Days.
Make it easier
Try a three-pocket walk
- Pocket 1: one special leaf
- Pocket 2: two sticks
- Pocket 3: three rocks (only if they are safe for your child to handle)
That’s enough for a project without hauling home the whole forest.
Set up an invitation to create
- Put nature finds in a tray or muffin tin.
- Place one paper, one glue, one crayon beside it.
- Let your toddler decide what happens next.
Quick mess management
- Use a tray, a baking sheet, or a wipeable tablecloth under the project.
- Put paint and glue on a plate so it is harder to spill.
- Keep wipes nearby and stop while everyone is still happy.
For more toddler-friendly ideas that keep hands busy in a good way, visit Easy Arts & Crafts.
FAQ
What age are these nature crafts best for?
Most work well for toddlers about 18 months to 4 years with close supervision. Younger toddlers usually enjoy sticking, dabbing paint, and placing items, while older toddlers may enjoy creating recognizable houses, people, and patterns.
How do I store nature finds for later?
Leaves press nicely in a heavy book between two pieces of scrap paper to protect the pages. Sticks and rocks can be rinsed, dried, and stored in a small bin. If anything looks moldy or smells off, toss it.
What if my toddler wants to collect everything?
Offer a tiny container and make it the collector rule. When it’s full, it’s time to choose favorites. Toddlers love being the decider.