Rain tapping on the window and a toddler full of wiggles? Let’s turn that glass into a cheerful little art studio. These washable window art activities use simple supplies and usually wipe away easily when playtime is done (a quick test spot first keeps surprises to a minimum). Let’s dive in and make a wonderful, happy mess together!
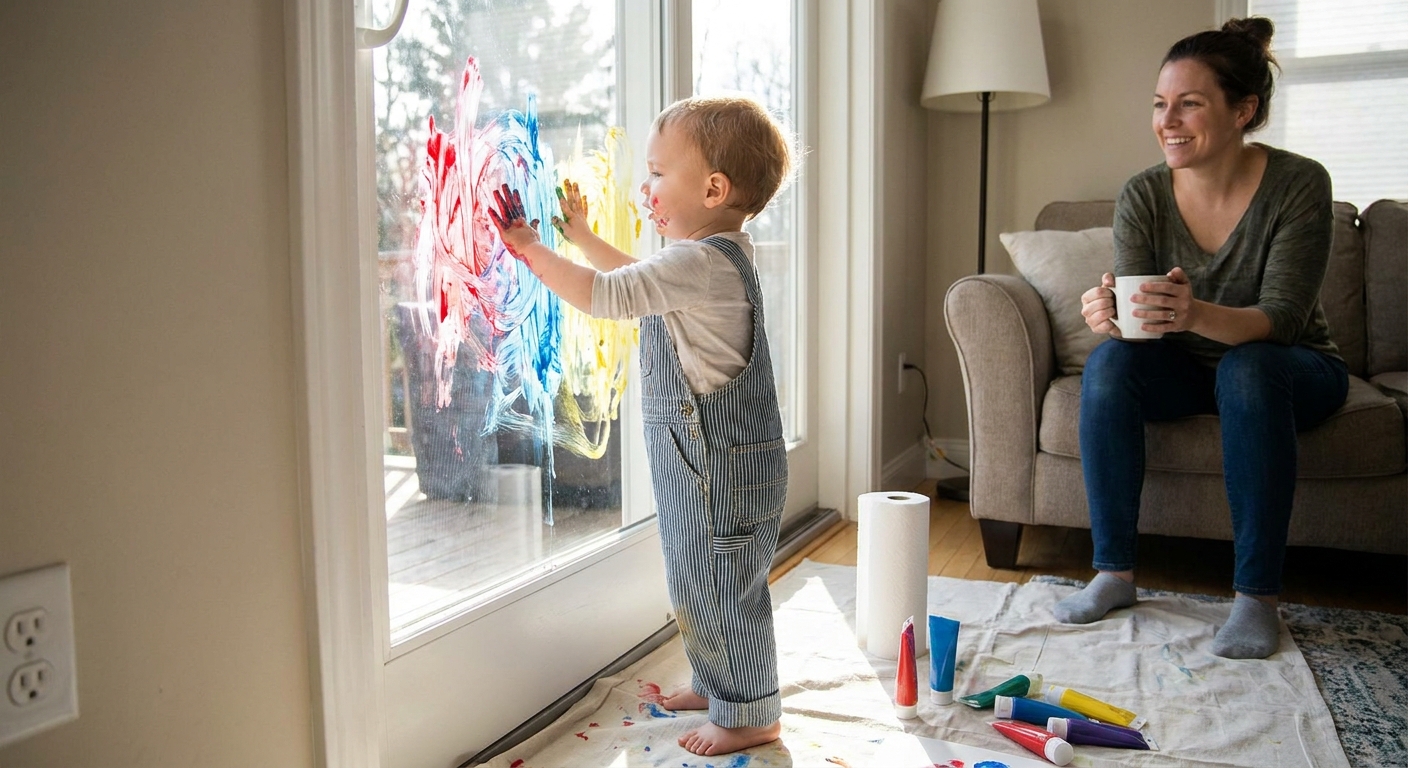
Before you start
A tiny bit of prep keeps window art fun instead of frazzling.
- Pick the right window: A sliding door or big low window is perfect. Avoid antique glass, tinted or etched areas, window film, and anything with peeling paint nearby.
- Do a quick test spot: Try your chosen material in a small corner first, then wipe. If it smears, stains, or clings, switch activities.
- Protect the floor: Put down a towel, bath mat, or a washable drop cloth along the baseboard.
- Protect the frames: Keep play on the glass. Painted trim, unfinished wood, caulk, and windowsills can stain or hold residue.
- Choose truly washable supplies: Think washable tempera or kids washable paint, not acrylic craft paint. And only markers labeled washable.
- Dress for success: A smock or old T-shirt helps, especially with shaving cream.
- Keep wipes ready: A bowl of warm water with a washcloth makes cleanup quick.
- Supervision note: Toddlers love to taste. Choose safer-to-mouth options when needed and keep small items out of reach.
If your little one is in a big “mouth everything” stage, you may also like these taste-safe sensory bin fillers for alternative rainy day play.
1) Shaving cream window art
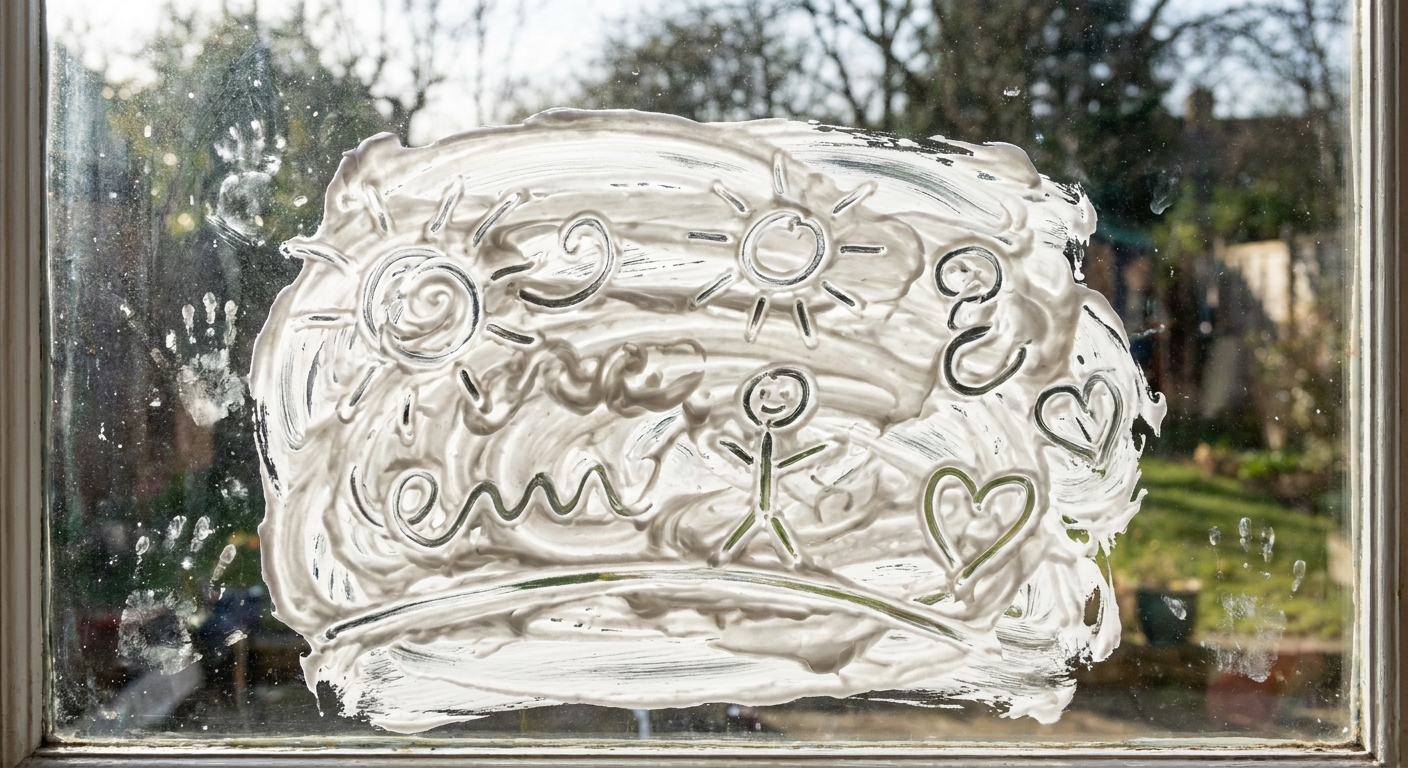
This is the classic window “frosting” activity. It feels fluffy, spreads smoothly, and cleans up well with warm water. Some shaving creams can leave a light film, so plan to finish with a quick glass wipe if needed.
What you need
- Plain shaving cream (foam, not gel)
- Washable paint (optional, for tinting)
- Cookie sheet, tray, or bowl
- Washcloth and warm water for cleanup
How to do it
- Spray shaving cream onto a tray.
- If using color, add a tiny dot of washable paint and gently swirl. Keep it marbled rather than fully mixed for a fun effect.
- Help your toddler spread shaving cream on the window with hands or a big paintbrush.
- Draw in the foam with fingers: lines, circles, faces, zigzags, or pretend letters.
Make it a learning moment
- Try “big circle, little circle,” “up line, down line,” and “curvy snake.”
- Play “I spy” by drawing simple shapes for your toddler to find and trace.
Cleanup
Scrape excess foam down with a plastic scraper or an old gift card, then wipe with warm water. Finish with a dry microfiber cloth for streak-free glass, and avoid pushing foam into the window tracks.
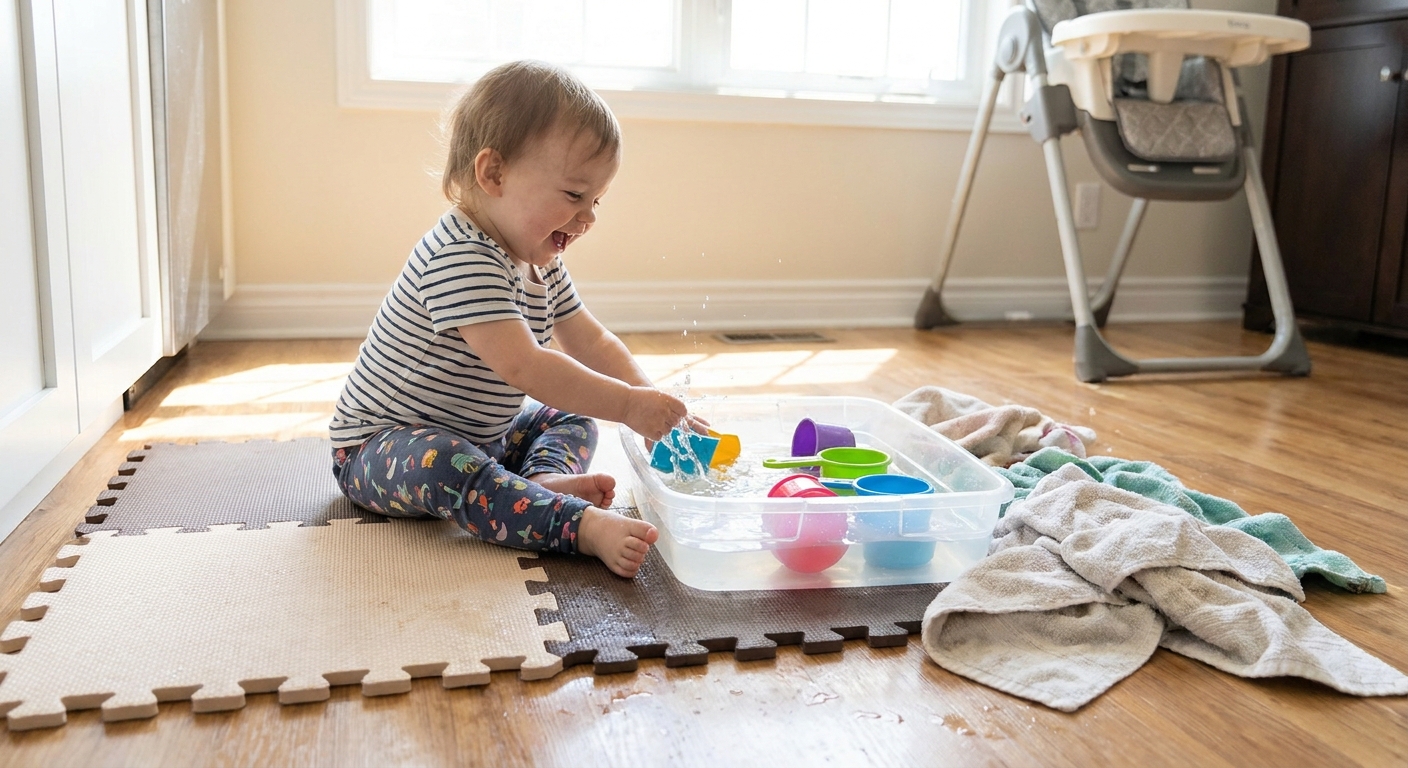
2) Water painting
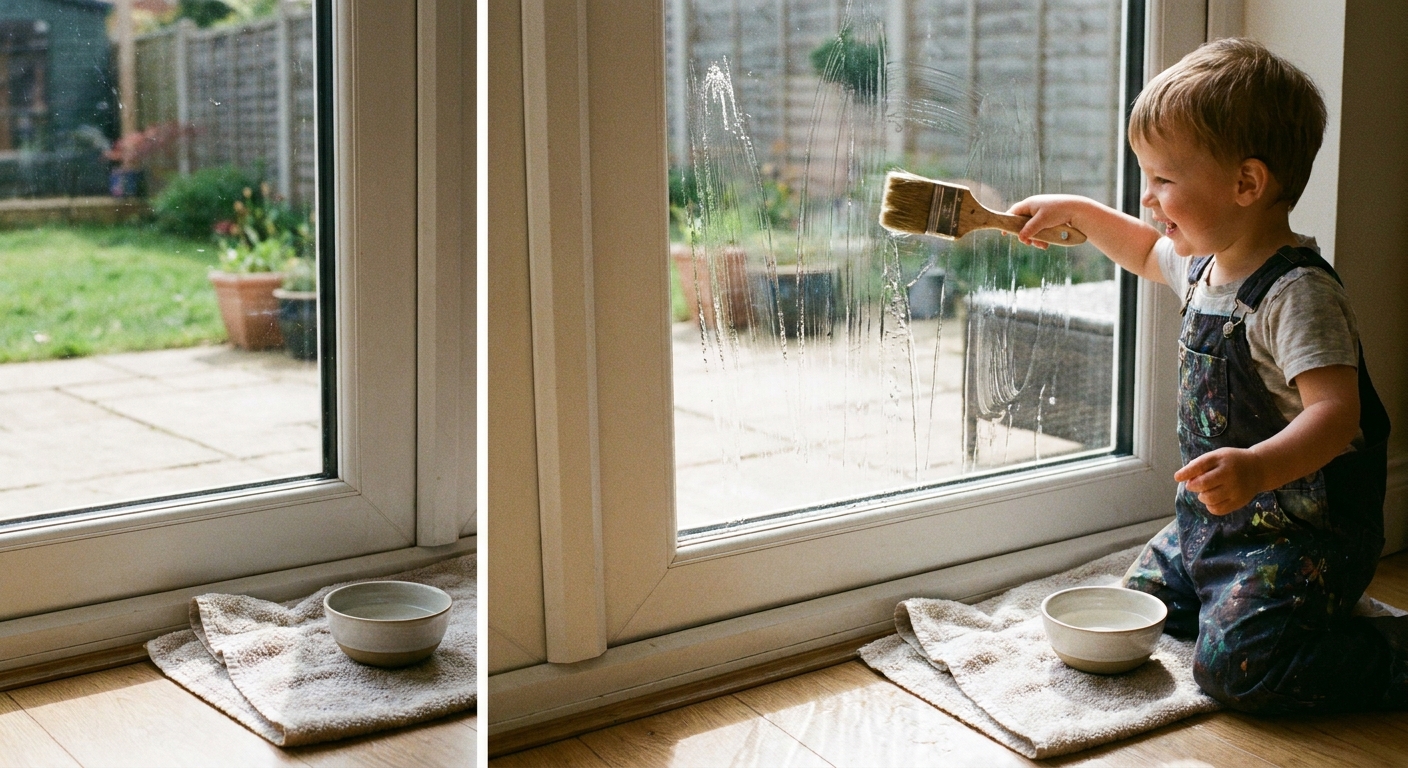
All the joy of painting, with water only. This one is perfect for toddlers who want to paint again and again.
What you need
- Small bowl of water
- Paintbrushes (big, toddler-friendly handles work well)
- Towel on the floor
How to do it
- Set the towel under the window and place the bowl on it.
- Show your toddler how to dip and paint.
- Invite them to paint “raindrops,” “rainbows,” or “window waves.”
Fun variations
- Spray bottle painting: Use a clean spray bottle filled with water for big arm movement. Supervise closely and keep it aimed at the window, not faces.
- Wipe and reveal: Let your toddler “erase” with a dry cloth after painting.
Why it’s great on rainy days
It’s calm, repetitive, and helps practice hand control without any staining worries.
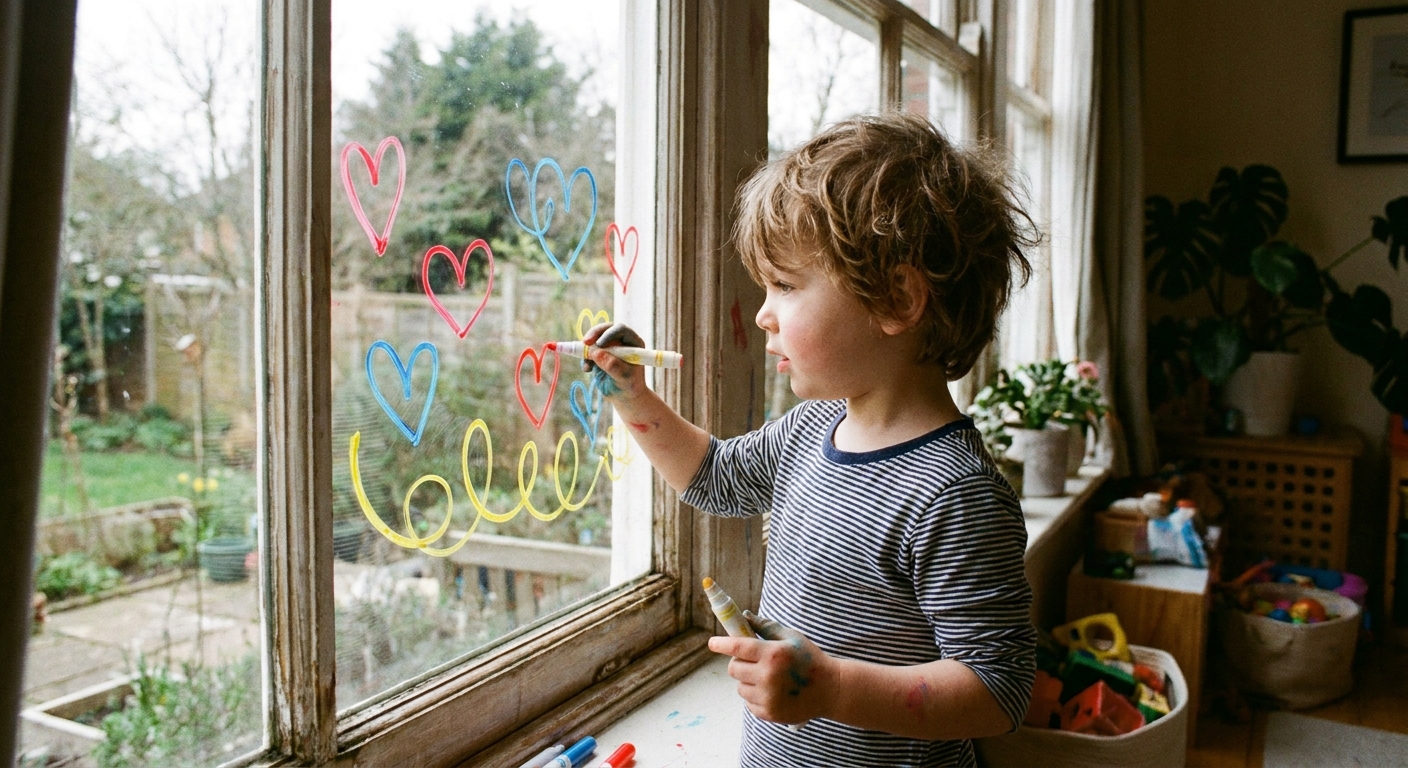
3) Washable marker doodles
Windows make the best giant doodle boards. Use only markers clearly labeled washable, and do a quick test spot if you are working with older windows or painted trim nearby.
What you need
- Washable markers
- Microfiber cloth or paper towels
- Window cleaner safe for glass (optional)
How to do it
- Start with a clean, dry window.
- Offer 2 to 4 marker colors to reduce cap chaos and prevent dried-out markers.
- Prompt ideas: faces, balloons, swirls, “rainy day clouds,” or tracing their own hands on the glass.
Toddler-friendly prompts
- “Can you make a long line? Now a short line?”
- “Let’s draw three circles. One, two, three.”
- “Can you find the color blue and make a puddle shape?”
Cleanup
Most washable marker wipes off with a damp cloth. If any color hangs on, try warm water with a drop of dish soap and a microfiber cloth. For stubborn spots, a small amount of window cleaner can help. Always test a tiny corner first.
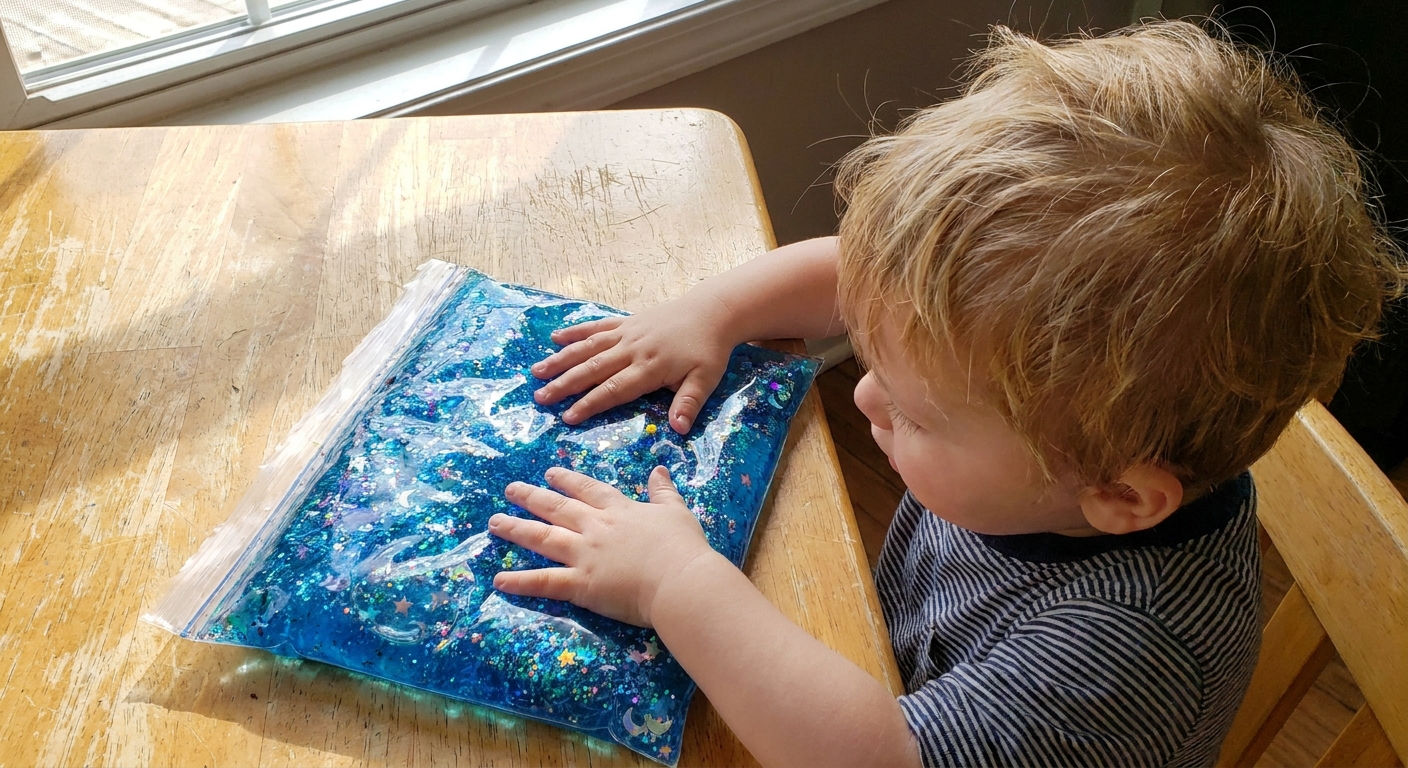
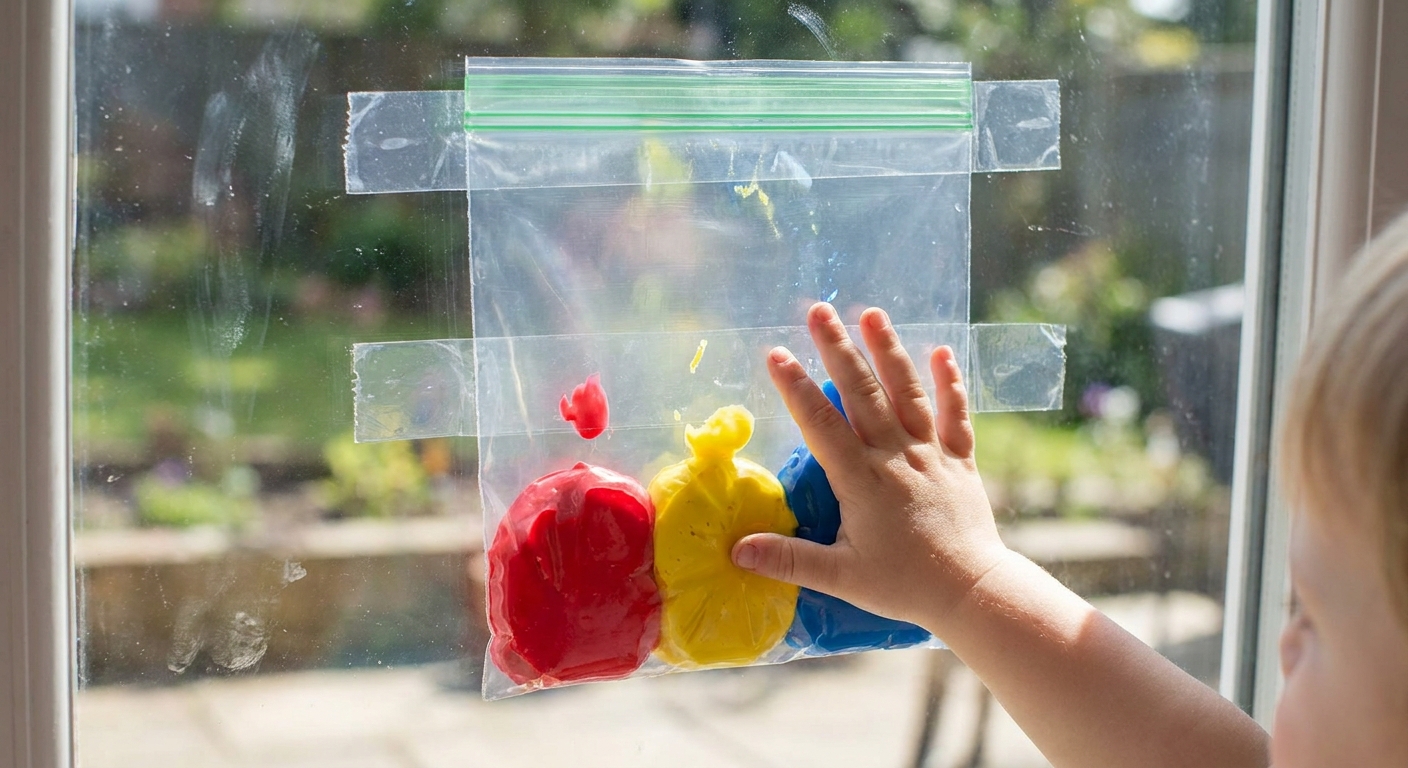
4) Paint mixing in a bag
If you love window art but want less direct mess, this is a “squish and smear” win. It’s also great for finger strength practice and busy hands.
What you need
- Zip-top freezer bag (thicker is better)
- Washable paint (primary colors are perfect)
- Clear packing tape
- Optional: cotton swabs for poking and drawing (best for toddlers who do not mouth tools)
How to do it
- Add small blobs of paint to the bag. Use less than you think you need.
- Press out extra air and seal tightly.
- Tape all four edges to the window so little hands cannot peel it down easily.
- Invite your toddler to squish colors together and watch new colors appear.
Play ideas
- “Can you make orange?”
- “Push the blue paint to the corner.”
- “Draw a spiral with your finger through the bag.”
Cleanup
Peel off tape slowly, wipe the window, and toss the bag when you’re done.
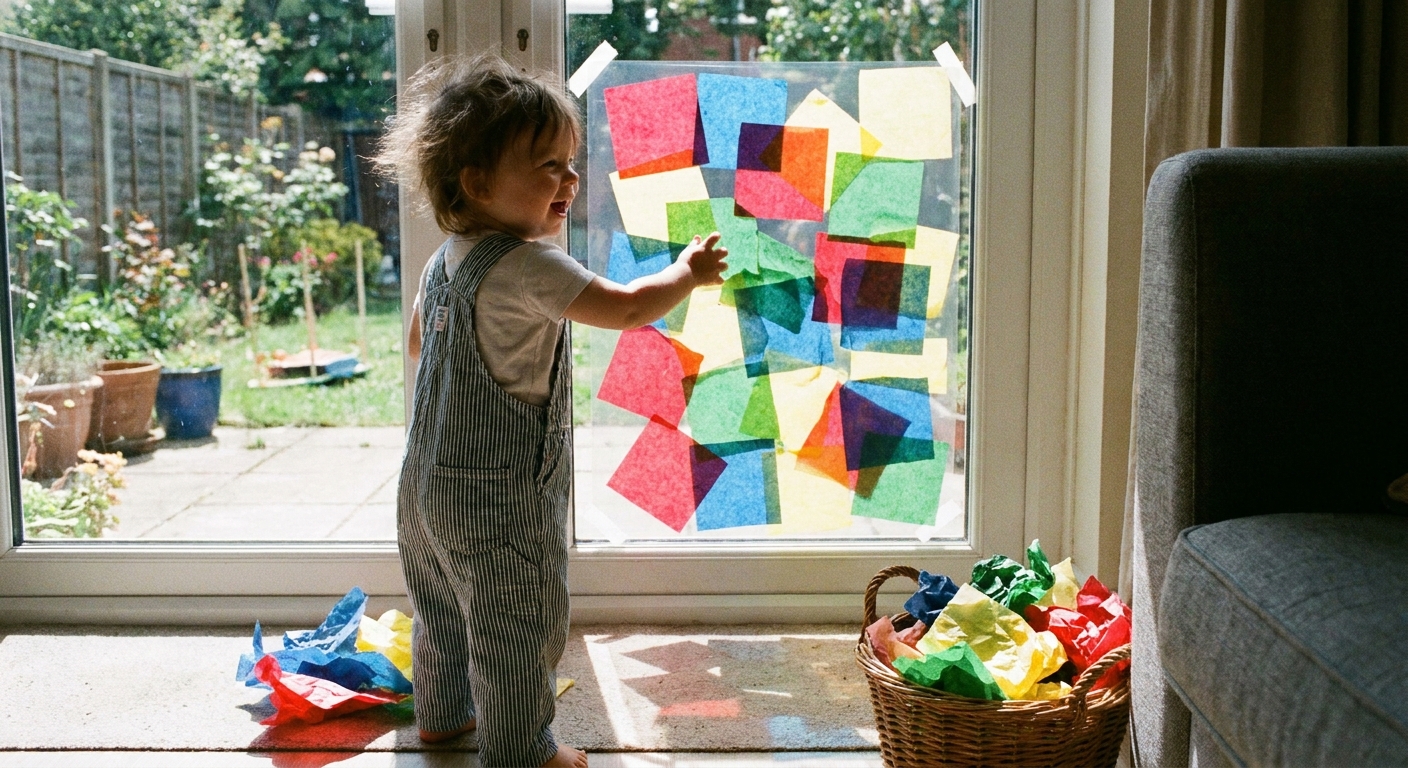
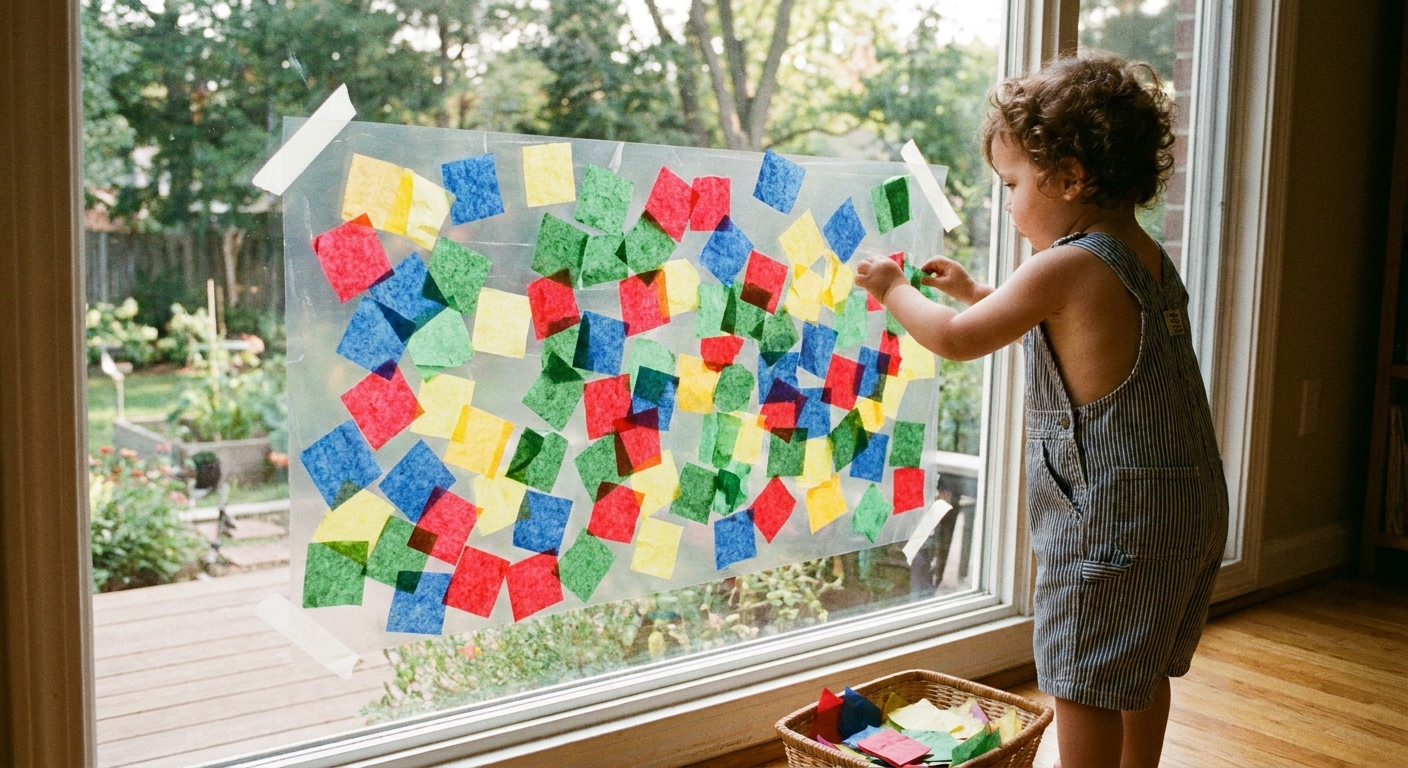
5) Sticky window collage
This one feels like magic to toddlers. Things stick, unstick, and restick, and the light shining through makes everything glow.
What you need
- Clear contact paper
- Painter’s tape (gentle on surfaces)
- Lightweight collage items: tissue paper squares, ribbon bits, pom poms, foam shapes, or cut paper
How to do it
- Cut a big rectangle of contact paper.
- Tape it to the window with the sticky side facing the room.
- Offer a small pile of collage pieces and let your toddler build a “window garden” or “rainy day rainbow.”
Keep it toddler-safe
- Skip tiny items for kids who still mouth everything.
- Use larger tissue paper squares or big foam shapes instead.
Want a full sticky wall version too? This pairs nicely with contact paper sticky wall art for toddlers.
Extra tips
- Choose one medium per day: Shaving cream and markers in the same session can be a bit much.
- Keep sessions short: 10 to 20 minutes is plenty for many toddlers.
- Give a clear end step: “When we’re done, we wipe the window together.” Toddlers often love the cleanup part when it is framed as play.
- Rotate the tools: A sponge brush, a silicone spatula, or a chunky paintbrush can feel brand new.
- Renter-friendly note: If you have fresh paint, delicate trim, or a landlord who loves their windowsills, keep all the fun strictly on the glass and do that test spot first.
If your rainy day routine needs more ideas that keep mess under control, waddle over to Indoor & Rainy Day Play and keep the cozy fun going.
Quick FAQ
Will shaving cream damage windows?
On typical glass, shaving cream wipes away with warm water, but it can leave a light residue. Avoid getting it into window tracks and seals, skip it on specialty window films, and finish with a dry microfiber cloth (or a small amount of glass cleaner) if the window looks streaky. Keep it away from little eyes, and crack a window for fresh air if fragrances bother your crew.
What if washable marker won’t wipe off?
Try warm water with a drop of dish soap and a microfiber cloth. For stubborn spots, a small amount of window cleaner can help. Always test a tiny corner first, especially near frames or older paint.
What ages are these best for?
These work well from about 18 months through preschool, with close supervision and adjusted materials. For younger toddlers, water painting and contact paper collage are often the easiest starts.