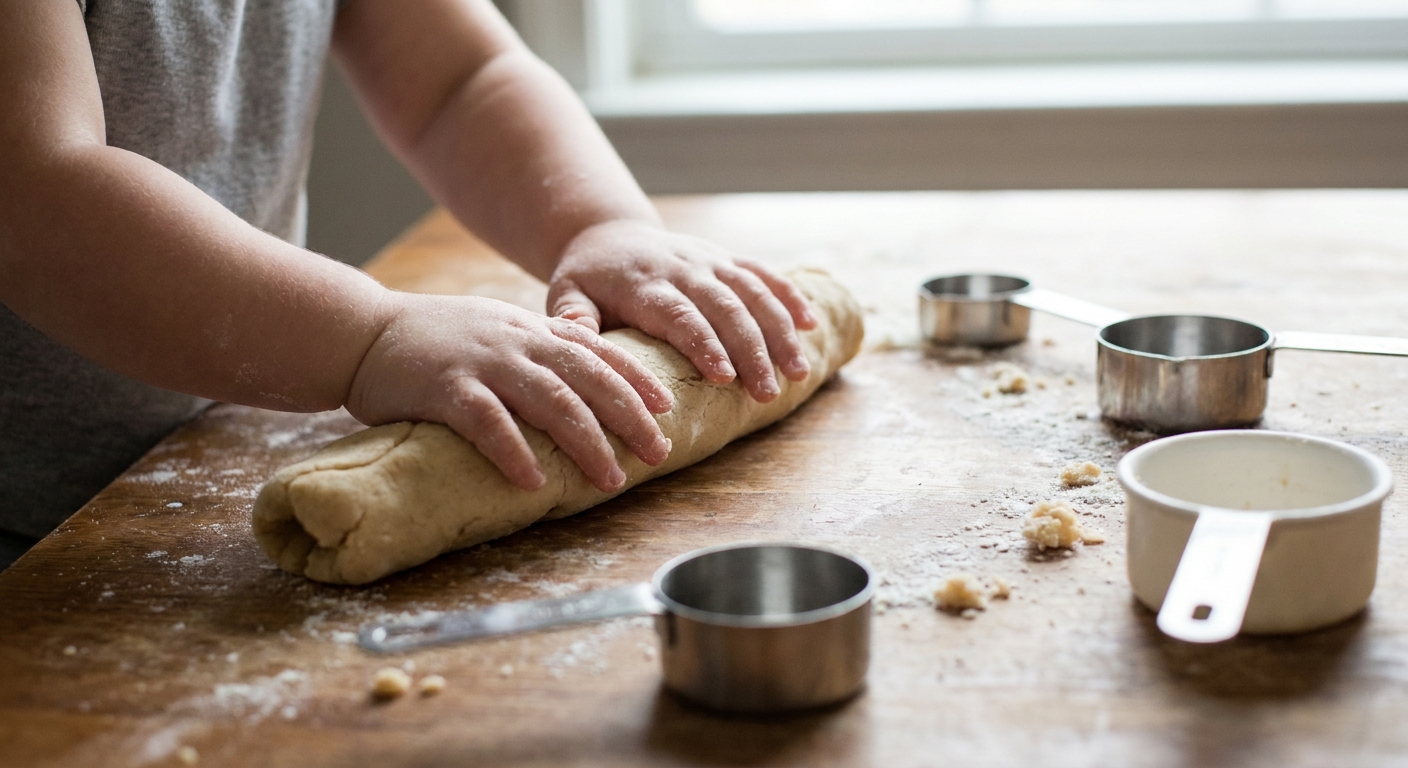
Let’s dive in and make a wonderful, happy mess together! Salt dough handprints are one of those sweet toddler crafts that start as squishy fun and turn into a keepsake you can hang up, gift, or tuck into a memory box.
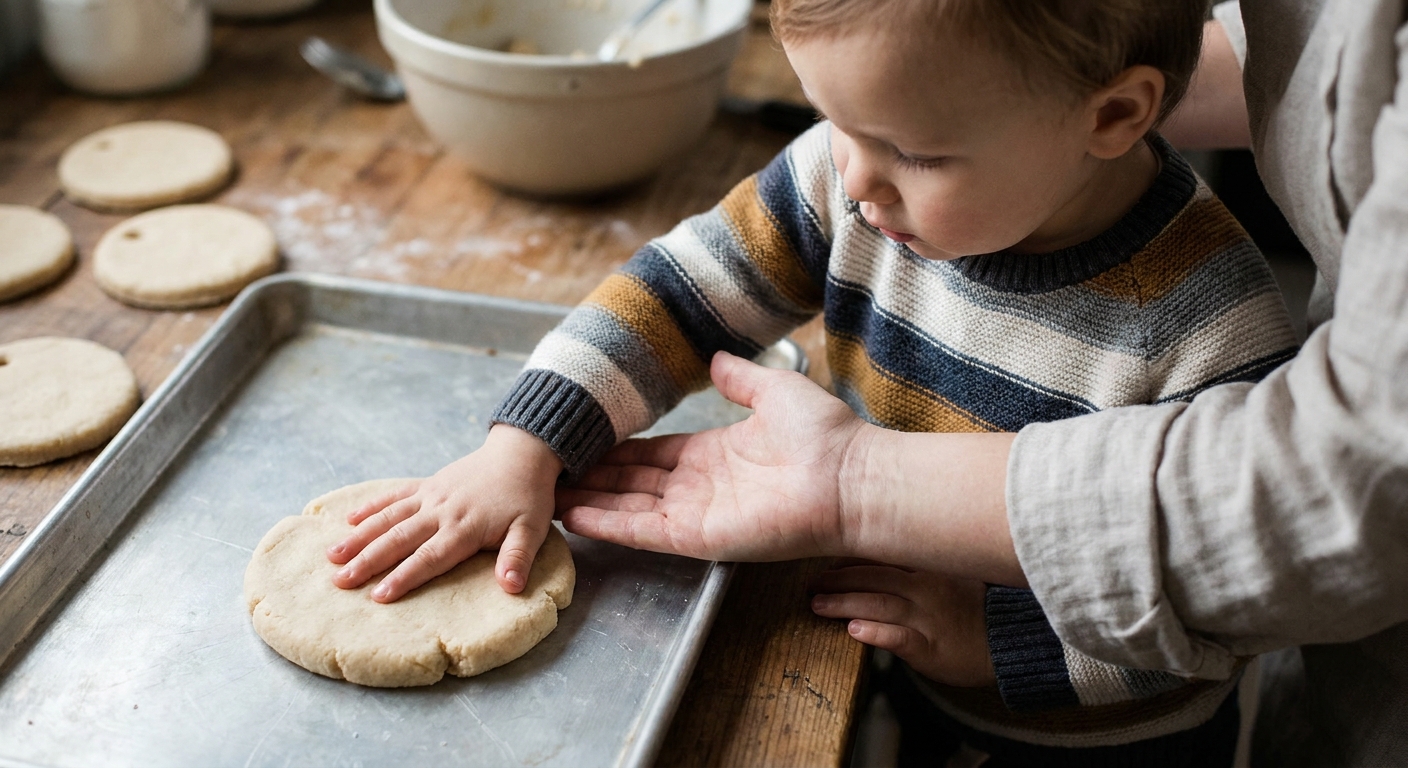
This guide walks through a simple, reliable salt dough recipe, the best way to get a clear handprint, and exactly how to bake, paint, and seal it so it lasts.
Quick safety notes first
- Salt dough is not edible. If a tiny taste happens, it is usually not a big deal, but it is very salty. Discourage eating and supervise closely, especially for toddlers who mouth materials.
- Pet safety: Keep salt dough away from pets. The high salt content can be dangerous if eaten.
- Choking hazard check: Keep small add-ons like beads and tiny decorations away from toddlers.
- Heat safety: Baking trays, ovens, and finished pieces can stay hot longer than expected. Adults handle the baking step.
- Allergies: This recipe uses wheat flour. If that is a concern, skip to the “No-bake options” section and check labels carefully. Many air-dry clays and homemade doughs can also contain wheat or other allergens.
Ingredients and supplies
Salt dough recipe (classic 3 ingredients)
- 2 cups all-purpose flour
- 1 cup salt
- 3/4 cup water (add a little more only if needed)
Helpful supplies
- Mixing bowl and spoon
- Measuring cups
- Rolling pin (or a smooth bottle)
- Parchment paper or a silicone baking mat
- Baking sheet
- Drinking straw (for a hanging hole)
- Knife or cookie cutter (to shape)
- Toothpick (for writing a name or date)
- Acrylic paint or washable paint for decorating later
- Sealer (clear spray sealer or brush-on Mod Podge style sealer)
- Ribbon or twine (optional)
If your little one loves hands-on mixing, a sensory bin setup can keep things calmer. A shallow tray under the bowl catches runaway flour and salt. For more mess-taming tricks, peek at Containing Sensory Bin Mess in a Small House.
How to make salt dough
- Mix the dry ingredients. Stir the flour and salt together until the salt looks evenly distributed.
- Add water slowly. Pour in about 3/4 cup water and stir. The dough should start clumping.
- Knead for 3 to 5 minutes. Use your hands to knead until smooth. It should feel like playdough.
- Fix the texture if needed.
- If it is crumbly, add water 1 teaspoon at a time.
- If it is sticky, sprinkle in flour 1 tablespoon at a time.
- Rest the dough for 5 minutes. This helps the flour hydrate and makes rolling easier.
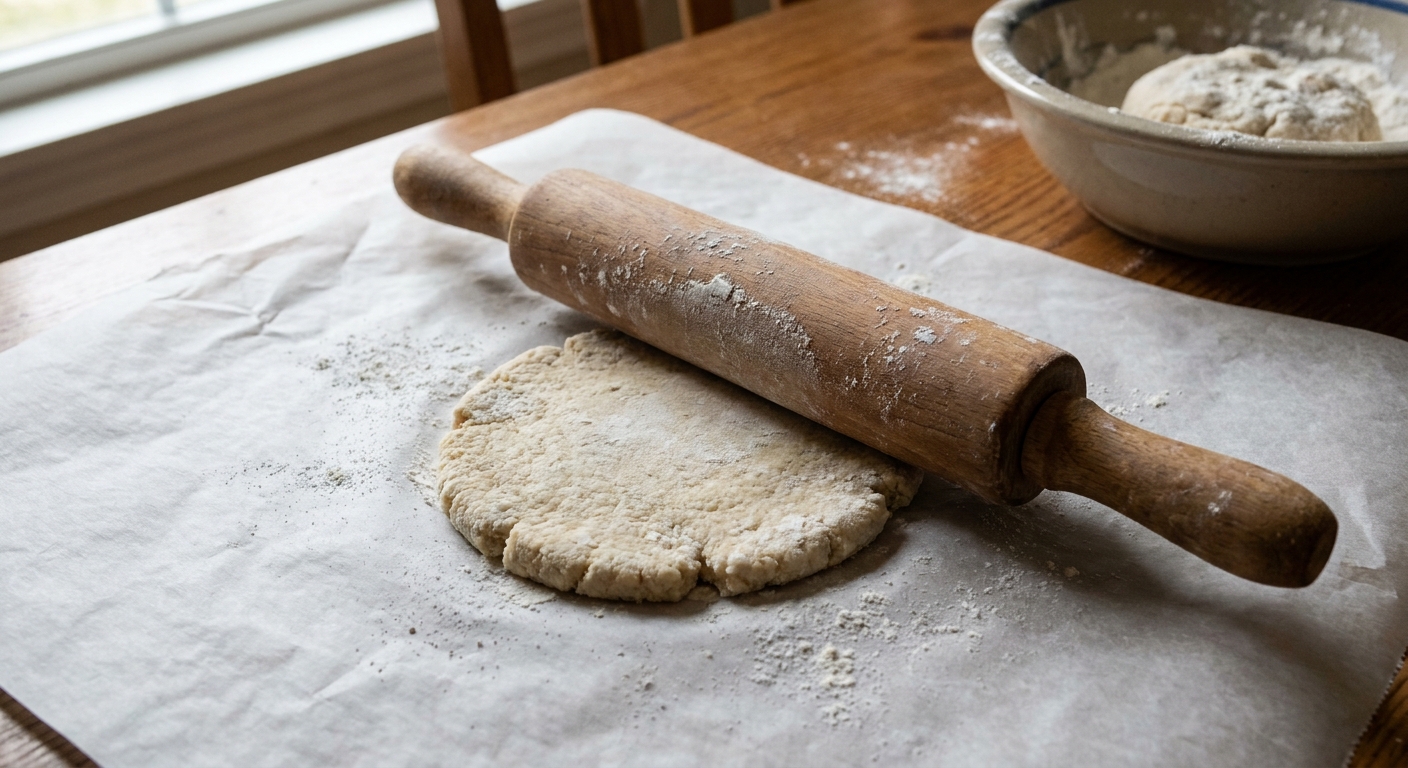
Puddle tip: Smooth dough makes the clearest handprint. If it feels rough, keep kneading a little longer.
How to get a clear handprint
Toddler hands are tiny, wiggly, and wonderfully determined. The trick is to make the handprint step quick and calm.
Step-by-step handprint method
- Roll the dough to about 1/4 to 1/2 inch thick. Thicker dough is sturdier for keepsakes, but takes longer to bake.
- Shape your piece into a circle, heart, or oval. If using a cutter, press straight down for clean edges.
- Do a quick “dry hand” check. Wipe your toddler’s hand with a dry cloth to remove lotion or moisture.
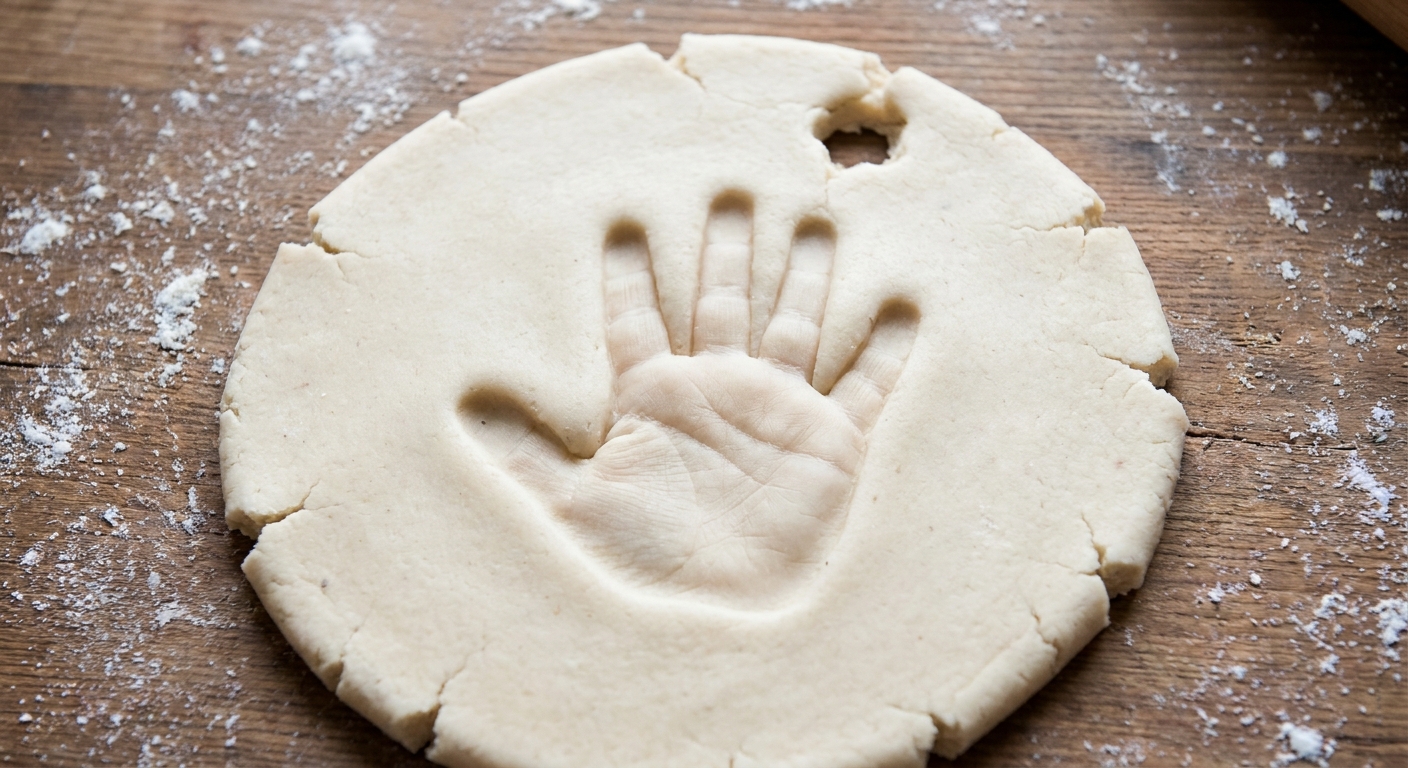
- Press the hand into the dough. Hold your toddler’s wrist gently and press the palm first, then each finger. Keep it steady for 2 seconds.
- Lift straight up. Avoid wiggling on the way up. A clean lift makes crisp lines.
- Fix tiny cracks. Smooth rough edges with a barely damp fingertip. Too much water can blur the details.
- Add a hanging hole. Use a straw near the top. Keep it at least 1/2 inch from the edge so it does not tear later.
- Add a name or date (optional). Use a toothpick to write on the back. Keep it shallow so you do not poke through.
If your toddler won’t keep their hand still
- Try a fist print. A tiny “fist bump” impression is adorable and often easier.
- Do fingers only. Press just the fingertips for a sweet “flower petal” look.
- Make it a game. Ask for a “high five” into the dough, then lift the hand right away.
Baking instructions
Salt dough bakes best low and slow. High heat can cause bubbling, cracking, or browning.
Oven temperature
- 200 to 250°F is a gentle range for drying.
How long to bake
Baking time depends on thickness, humidity, and your oven. Use these ranges as a guide, and expect very thick pieces to take longer than 4 hours:
- 1/4 inch thick: 1.5 to 2.5 hours
- 1/2 inch thick: 2.5 to 4+ hours
Best baking method
- Preheat the oven.
- Place the piece on parchment on a baking sheet. Avoid greasing the pan, since extra oil can affect drying.
- Bake until the top feels set. Once it has firmed up (often after about 45 to 60 minutes), you can flip it for more even drying.
- Flip once (optional). Flipping can help, but flipping too early can slightly distort soft edges. If your piece feels fragile, skip the flip and rotate the tray instead.
- Rotate the tray if needed. If your oven has hot spots, rotate the baking sheet halfway through.
- Check doneness. It should feel hard and dry all the way through. A few simple checks:
- No cool or soft spots on the back
- Edges feel fully dry
- A gentle tap sounds solid, not dull
- Cool completely on a rack before painting or sealing.
How to prevent cracks: Roll evenly, bake at a low temperature, and avoid rushing the cooling step.
Air-drying vs baking
Air-drying works, but it takes longer and can warp more easily.
- Air-dry: 2 to 4 days depending on thickness and humidity. Flip once or twice a day.
- Bake: Faster and usually sturdier for handprints that will be handled or hung up.
If you want the most reliable keepsake, baking is the way to go.
Painting and decorating
Once the handprint is fully cooled and fully dry, it is ready to decorate.
Simple decorating ideas
- Classic: Paint the whole piece one color, then dry-brush white over the raised areas.
- Handprint highlight: Paint just the handprint a contrasting color so it pops.
- Fingerprint dots: Use a cotton swab to add little polka dots around the edge.
- Minimal: Leave it natural and just seal it for a warm, clay-like look.
Marker note: Markers can bleed under sealer. Paint tends to hold up better. If you do use marker, test it on the back first.
How to seal salt dough
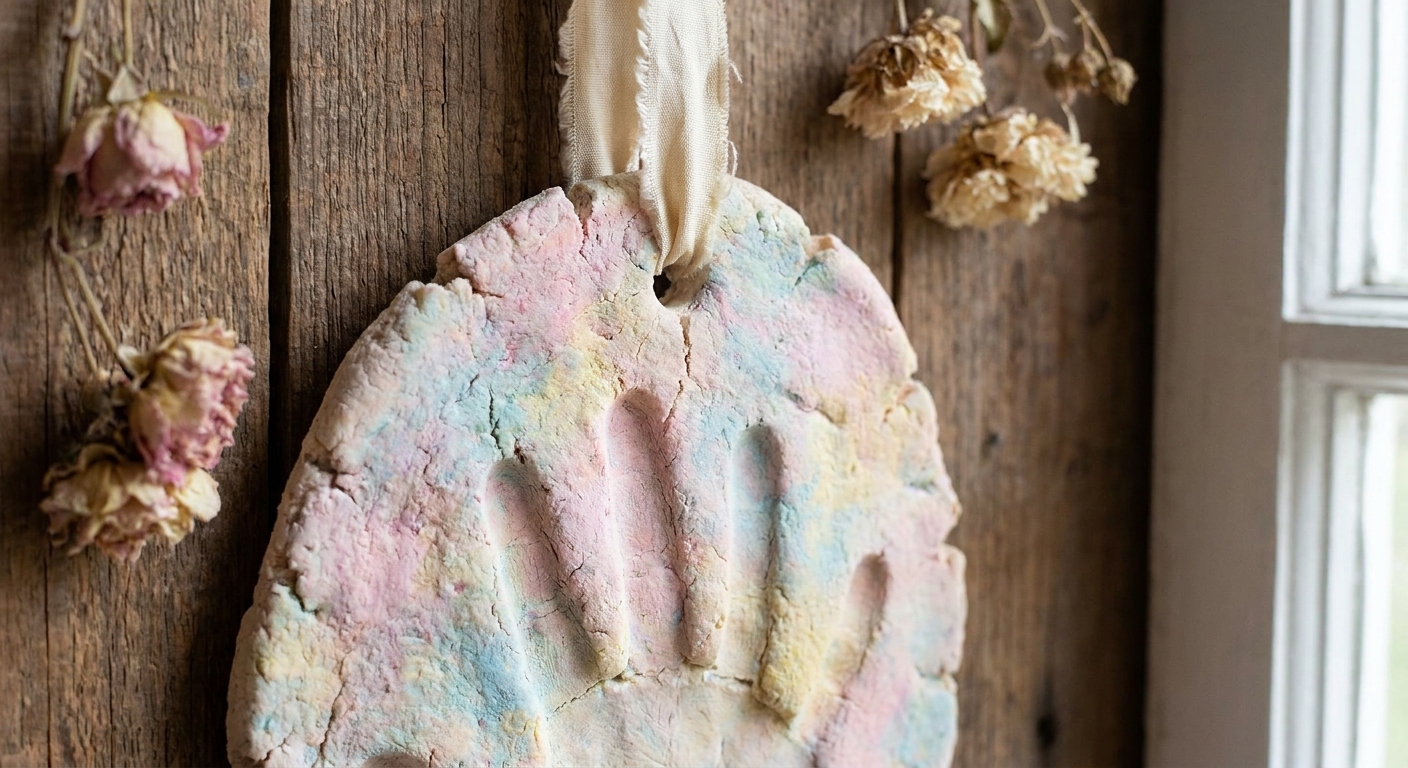
Salt dough will absorb moisture from the air over time, so sealing is the “keepsake” step.
Sealing options
- Spray sealer: Fast and even coverage. Adults apply in a well-ventilated area and let it dry fully.
- Brush-on sealer: Easy to control. Apply thin coats to the front, back, and edges.
How many coats?
- Plan for 2 to 4 thin coats, letting each coat dry completely.
Puddle tip: Seal the back and the edges too. Moisture loves sneaking in from the sides.
Another keepsake tip: If you did not scratch the date in before baking, you can add it after sealing with a paint pen. Test on the back first so it does not smear.
How to store and display
- Hang it: Ribbon or twine through the straw hole.
- Display upright: Lean it on a small stand on a shelf.
- Memory box: Wrap in tissue paper and store somewhere dry.
Avoid damp basements, steamy bathrooms, or spots near a humidifier.
One more note: Salt dough is not food-safe for serving. Keep it as a decoration or keepsake only.
Troubleshooting
My dough is too sticky
- Add flour 1 tablespoon at a time and knead well.
- Let it rest for 5 minutes, then knead again.
My handprint looks shallow
- Press the palm first, then each finger.
- Roll the dough a bit thicker so there is room for an impression.
It puffed up in the oven
- Next time, lower the temperature and bake longer.
- Make sure the dough thickness is even.
It cracked
- Cracks often come from high heat or uneven thickness.
- Small cracks can be patched with a tiny bit of dough and a barely damp fingertip, then re-dried.
It browned
- The oven was too hot or it baked too long. It is still usable, especially if painting.
No-bake options
If baking is not a good fit today, these are simpler toddler-friendly alternatives:
- Modeling clay that air-dries: Follow the package directions and seal once fully dry. Ingredients vary widely, so check labels if allergies are a concern.
- Homemade no-cook playdough: Great for the handprint moment, but it is not a long-lasting keepsake unless you switch to salt dough for the final version. If you want a quick sensory dough for practice presses first, try 5-Minute No-Cook Playdough for Rainy Afternoons. Note: most homemade dough recipes use wheat flour, so check ingredients if needed.
Make it a learning moment
This craft is already packed with early skills, even if it feels like pure fun.
- Fine motor: Pressing fingers, patting dough, poking a straw hole.
- Language: Talk about “palm,” “thumb,” “fingers,” “press,” “lift,” and “smooth.”
- Math: Count fingers and compare hand size on future keepsakes.
For more playful learning ideas, waddle over to Easy Arts & Crafts and keep the creativity going.
FAQ
How long do salt dough handprints last?
When fully dried and well sealed, salt dough handprints can last for years. Moisture is the biggest enemy, so thorough drying and sealing are key.
Can I use self-rising flour?
It is best to stick to all-purpose flour. Self-rising flour includes added ingredients that can change texture and baking results.
Why is my ornament still soft after baking?
It likely needs more drying time. Keep baking at a low temperature in 15 to 30 minute chunks until it is hard all the way through, then cool completely. Very thick pieces can take longer than expected.
What paint works best?
Acrylic craft paint is a sturdy choice for keepsakes. If using washable toddler paint, seal well and handle gently.